Build Archive - June
Gas Locker
3rd June 2020
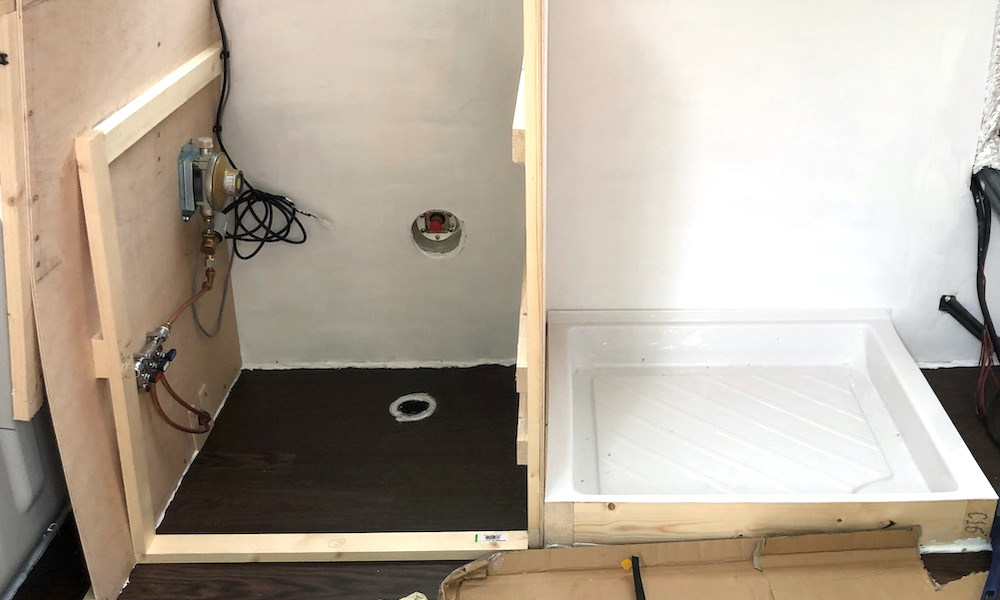
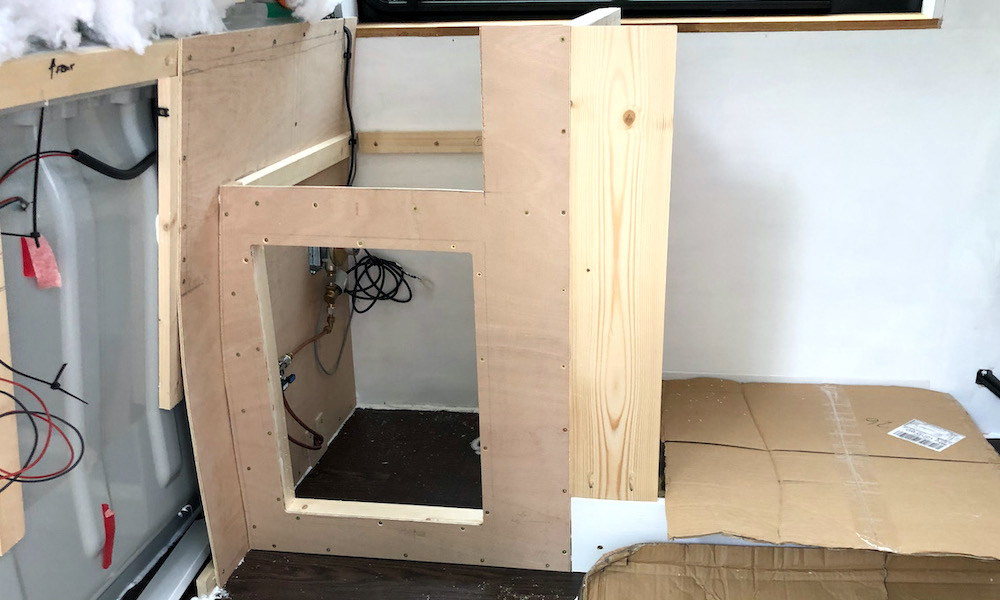
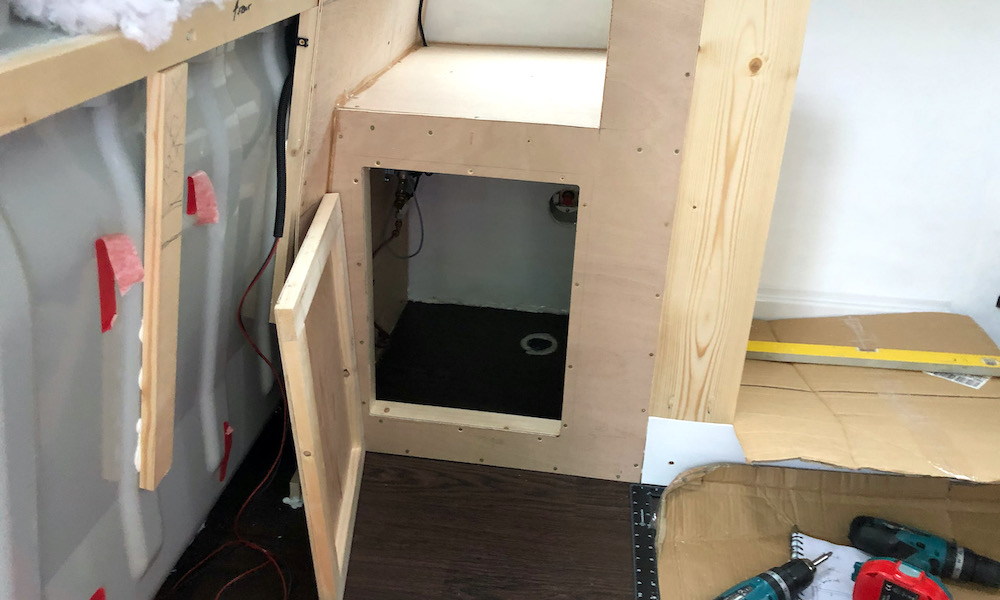
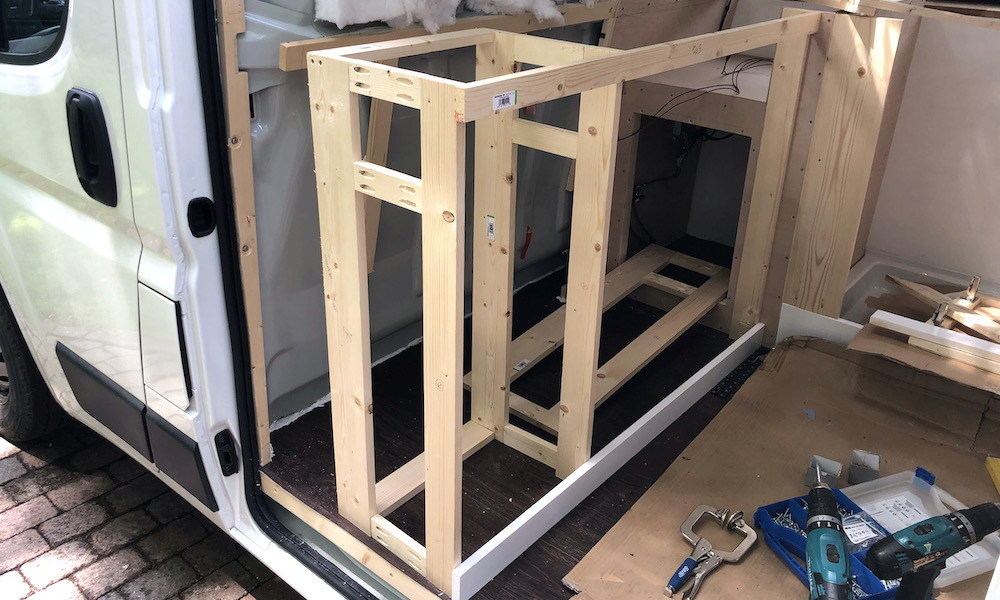
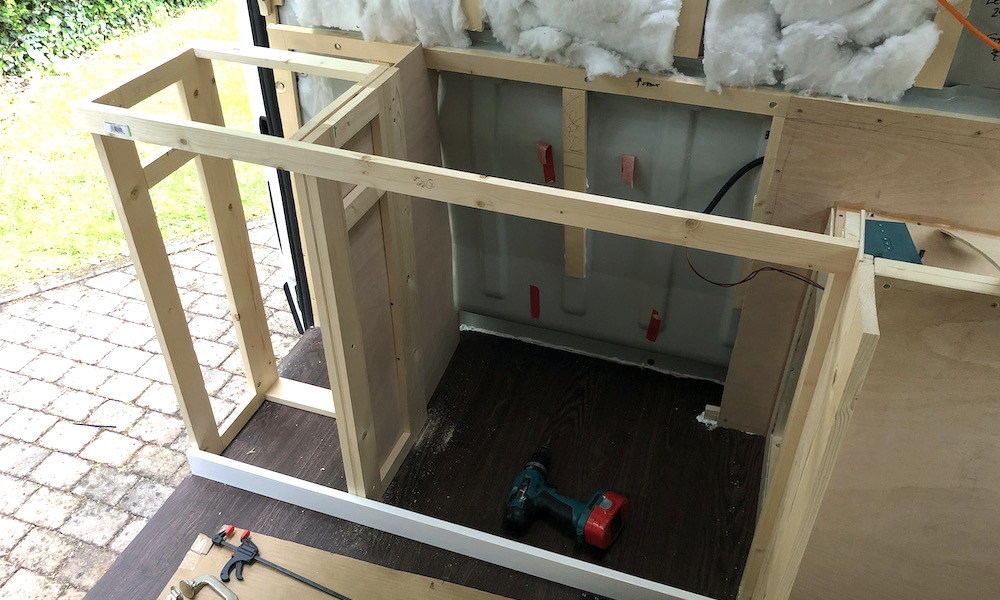
The gas locker was constructed as a fully sealed box.
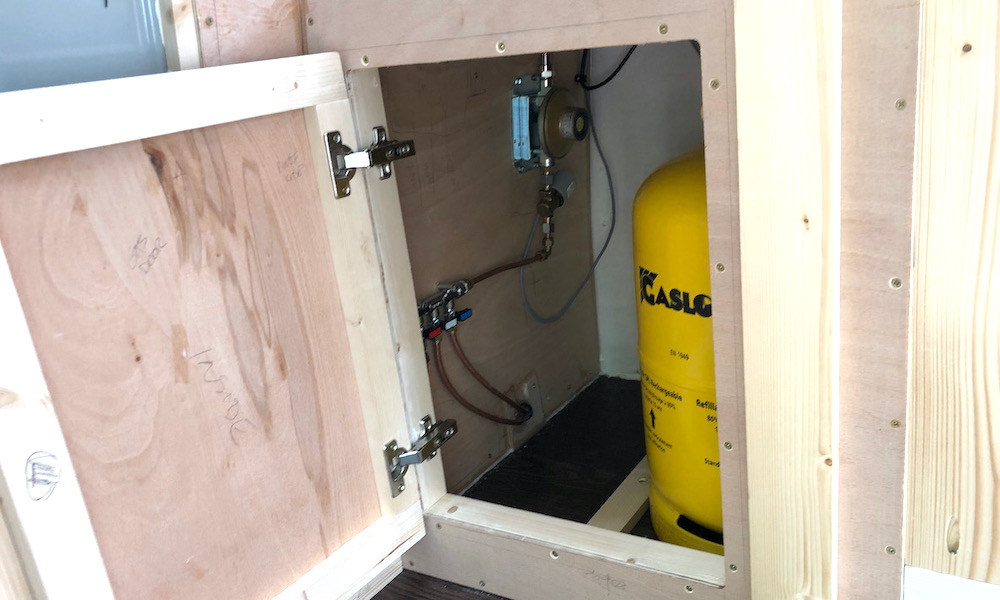
The gas bottle was held in place with a wooded frame on the floor and two straps. The door was built to allow the bottle to be removed but also allow for the step as required by the standard.
In the locker was a drop out vent in case of leaks. The connector to the LPG was sealed from the inside as there were gaps that would allow gas to enter the locker when filling the system.
The gas regulator and isolation valves were screwed to the wall. One valve for each gas device so that they can be individually isolated.
Due to the location of the locker below the sink we also installed an electric solenoid shut-off valve on the outlet of the regulator. These means we have a switch to turn off the gas when driving and when we are not using gas. We also fitted a gas level sender so that we can see the gas level at all times.
Kitchen Frames
7th June 2020
All the cupboards and drawers were going to be using IKEA fronts. This was partly for easy so we didn't have to build drawers and runner systems.
The downside was that I had to build carcasses for the units that exactly matched the IKEA kitchen units.
We have a 400-wide single unit with drawer and an 800-double unit with 1 drawer and a fixed drawer in front of the sink.
The double unit is were we will be storing the fresh and grey water for the kitchen. We will carry two 25 litres fresh water cans and a 20 litre waste can.
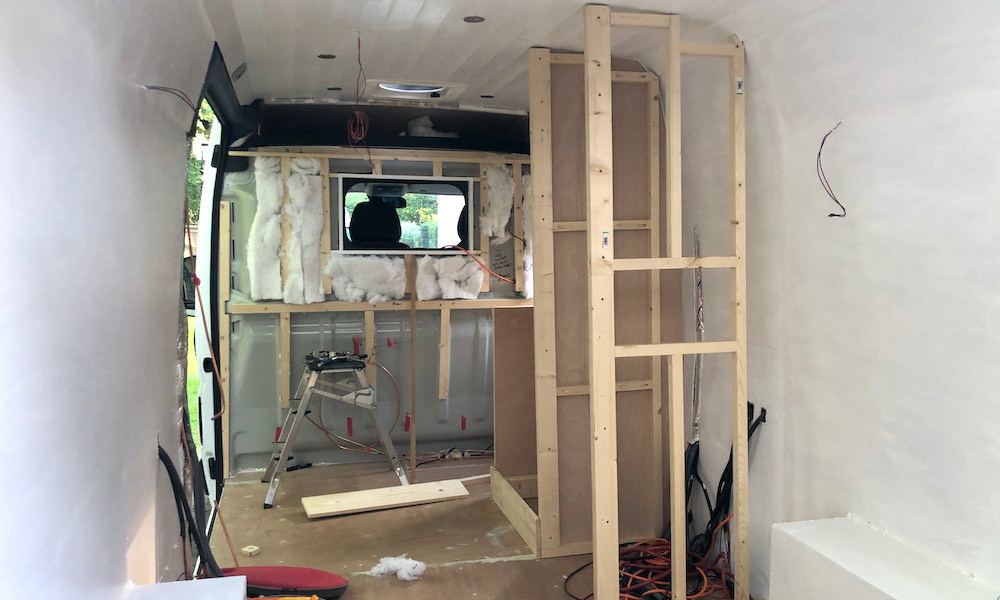
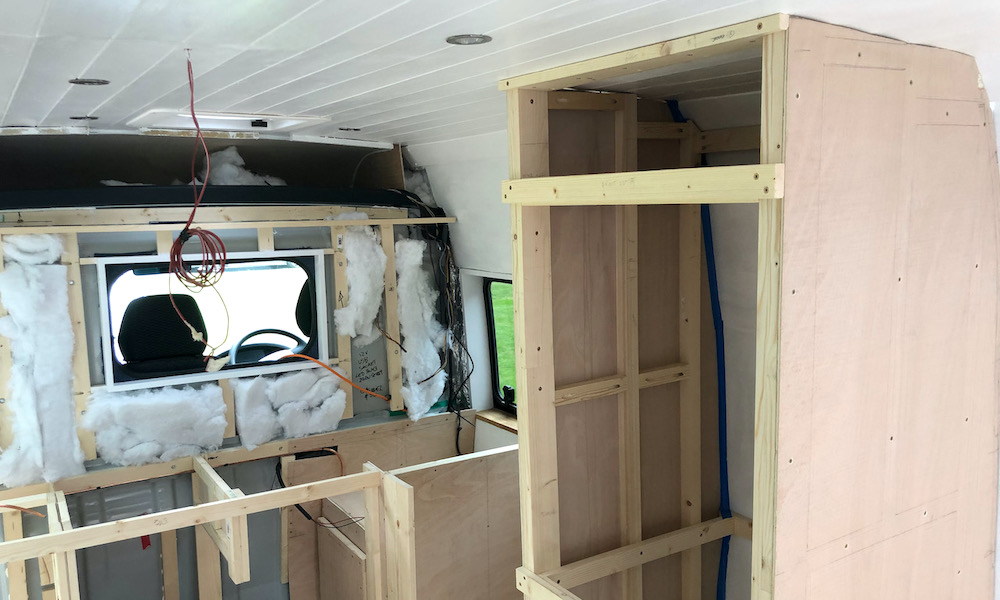
Tall Cupboard
9th June 2020
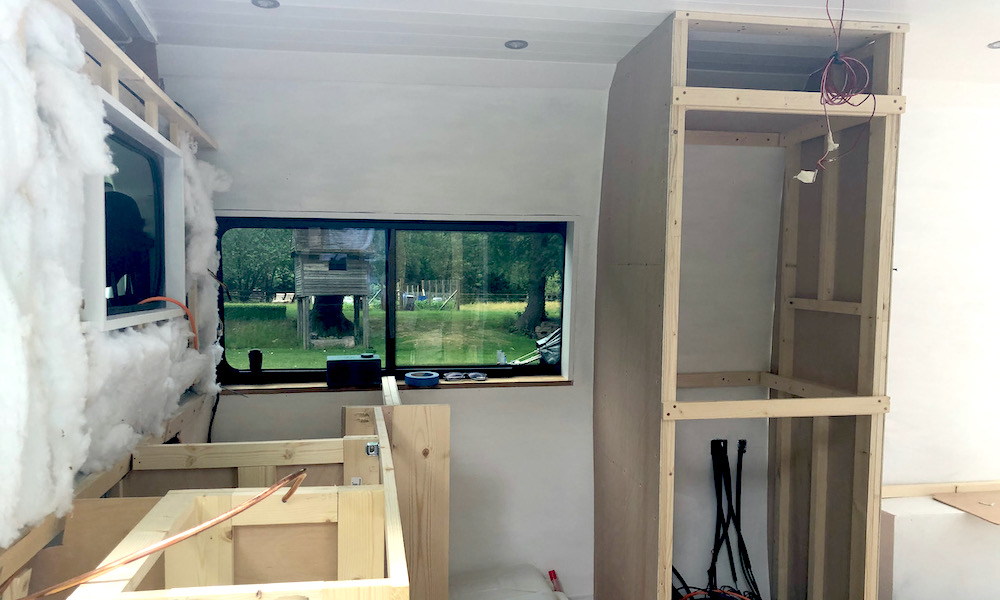
All the cupboards were being constructed from 34x34mm and 44x18mm softwood frames with 5.5mm ply sides. The side where there was going to be a hinge attached 69x18mm softwood was used.
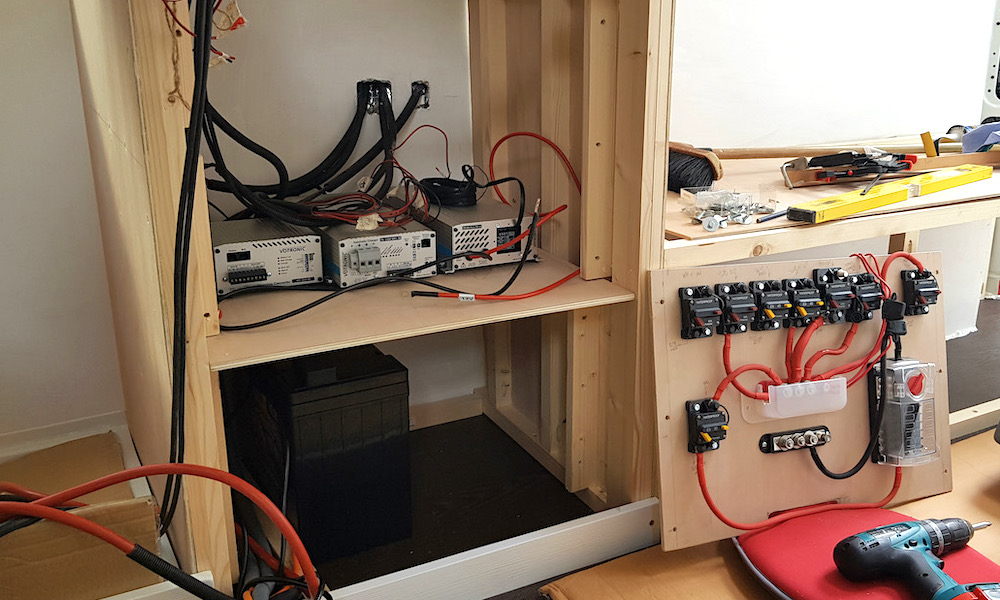
This cupboard was going to have 3 separate spaces. A top shelf with a 200mm gas strut supported door. A large 800mm high storage area split in two with shelves on one side and a hanging space on the other. The lower 800mm high space was to house the batteries and all the electrical units and trips/fuses.
On the bed side a shelf was going to be inserted into the cupboard so we had somewhere to put mugs of tea!
Bed Frames
11th June 2020
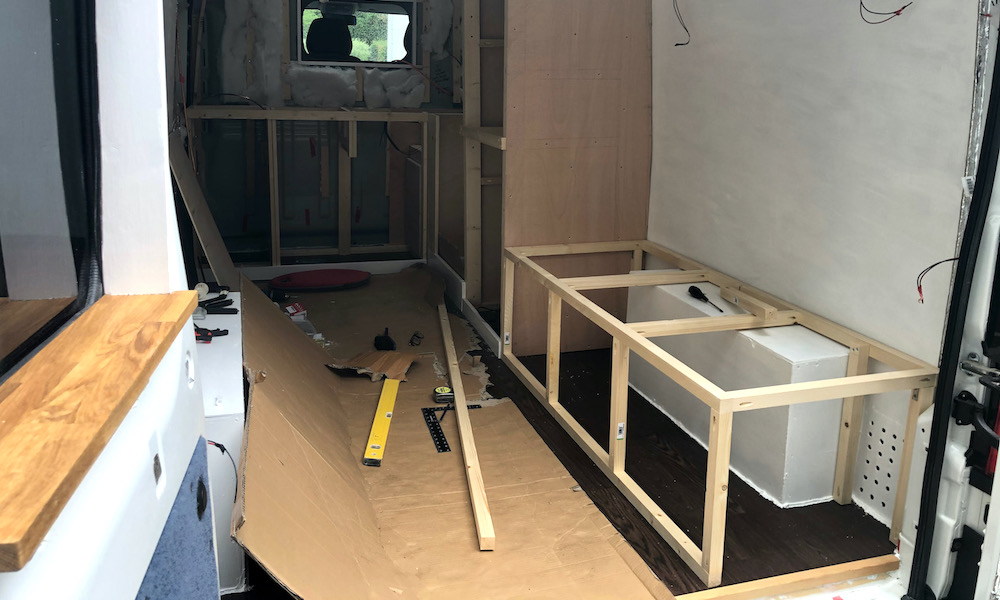
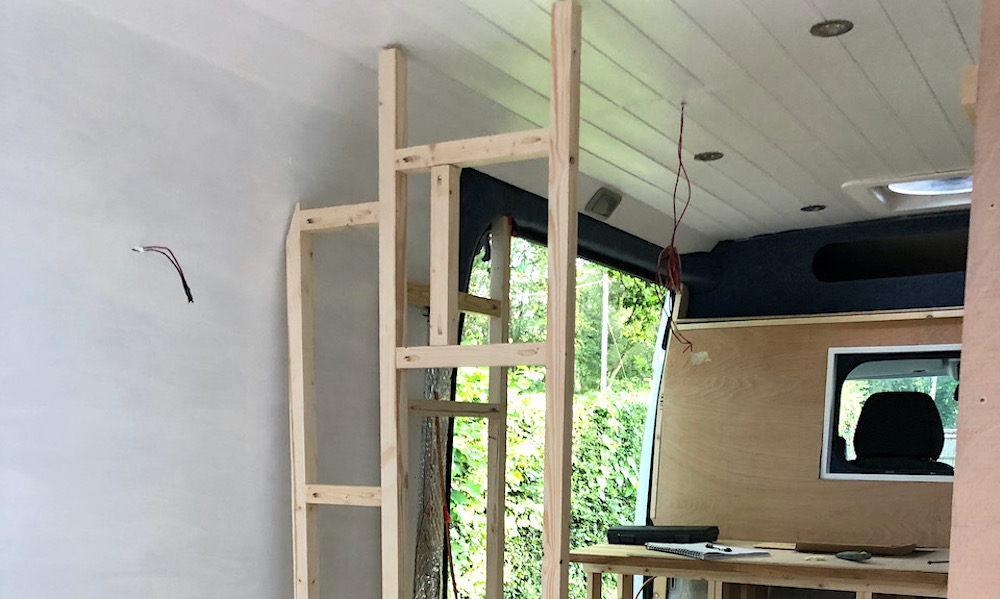
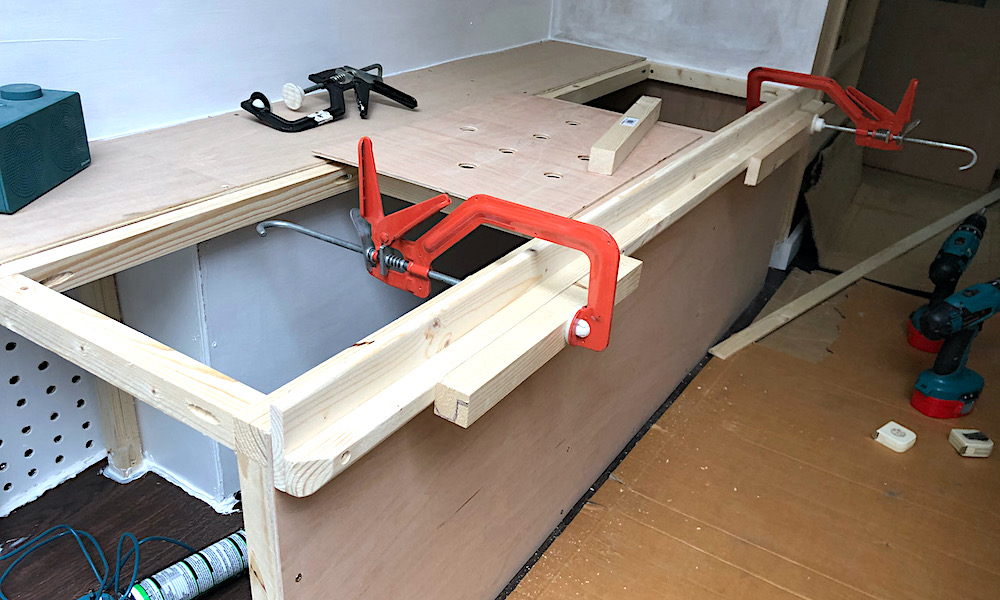
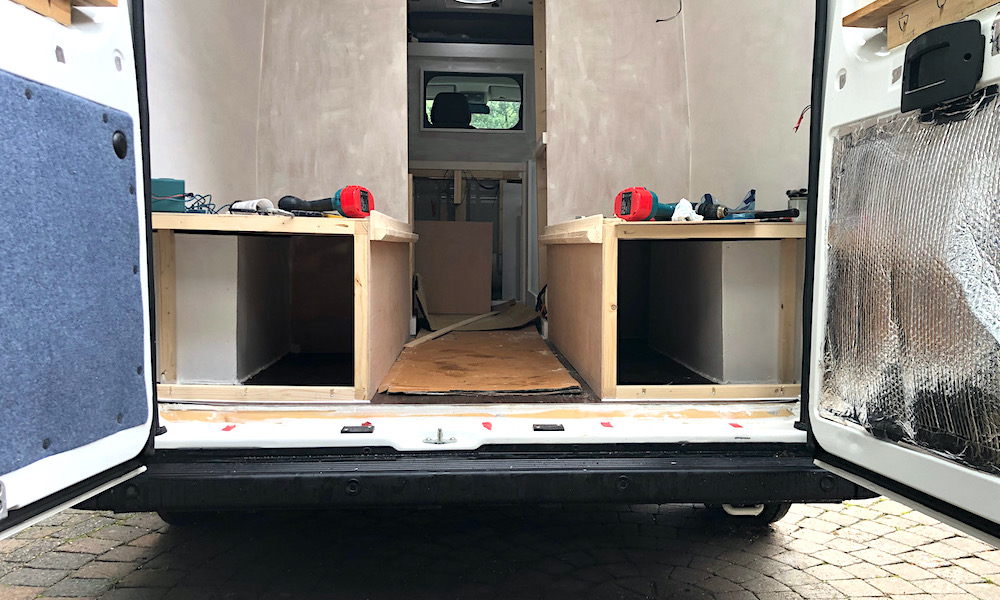
The bed frames were constructed from 34x34mm softwood. They were split into roughly three sections of equal size. So, the seat were about 600mm wide with a 600mm walkway.
The frame was fixed to the floor, wall and existing cupboard. There was clearance above the wheel arch so no load is applied to the boxed covers.
The aim was to separate one area for bedding and allow the other area for storage of outside gear, tools and long-term food storage.
The end of the bed would be covered with door access to the space below.
Electrical Control Center
15th June 2020
About this time I started to think about how I was going to accommodate all the electrical controllers and fuses.
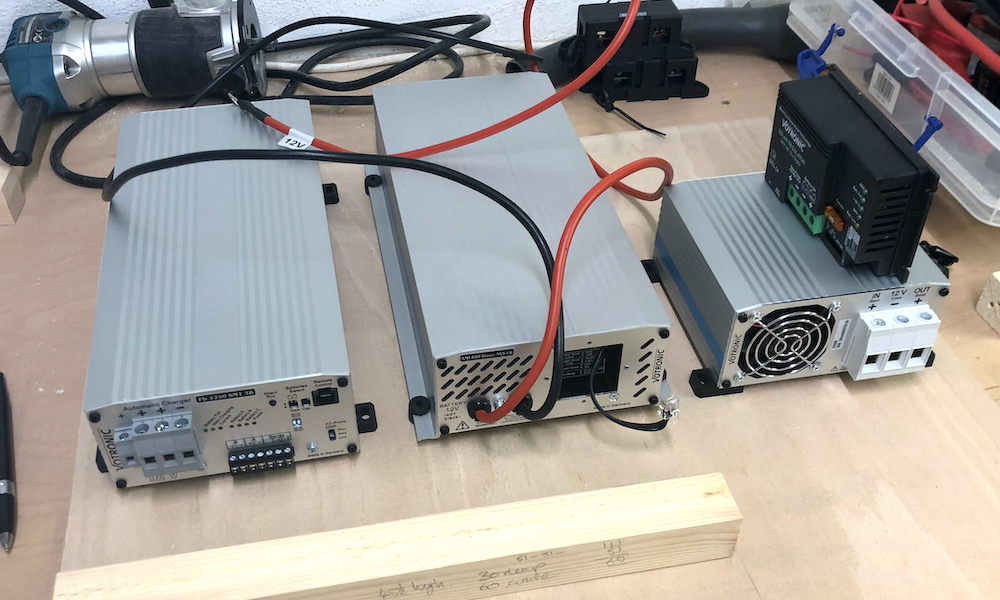
I had opted to use a single manufacturer in the hope that all the units would work well together and be better matched. I chose Votronics (available from Road Pro), a German supplier of systems for emergency vehicles, off road, marine and motorhomes. I had also gone for a full set Mains charger (40A), Inverter (600w), B2B (50A) and MPP controller (430w). The inverter has intelligent input switching so if it detects a mains input then it switches off the 12V input. so no need for a manual change over switch .
All of the units all had a remote control panel and I also fitted a 200A shunt battery computer. I have not bothered to add the Bluetooth module so that I can see usage and solar power on my phone.
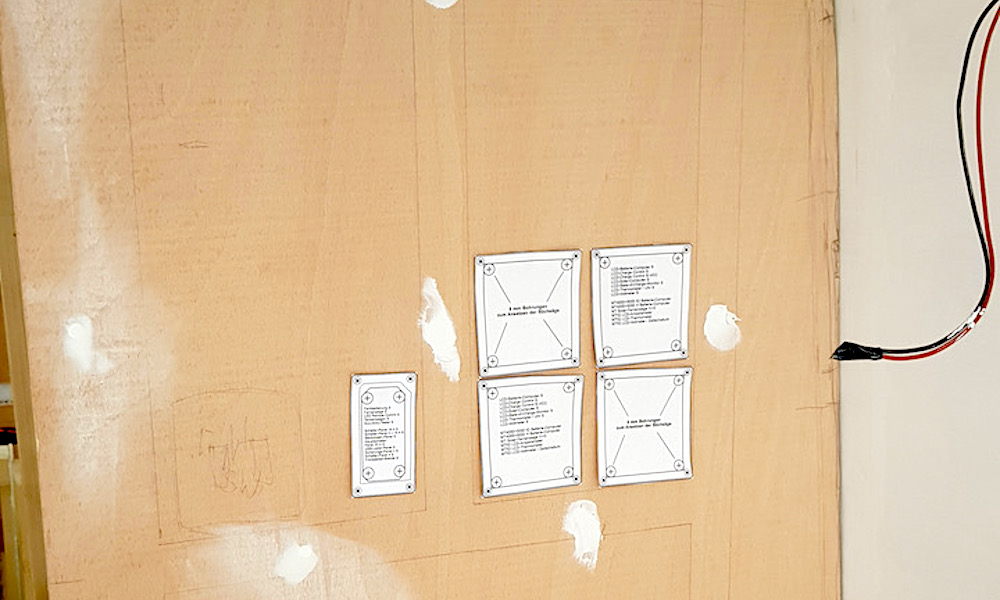
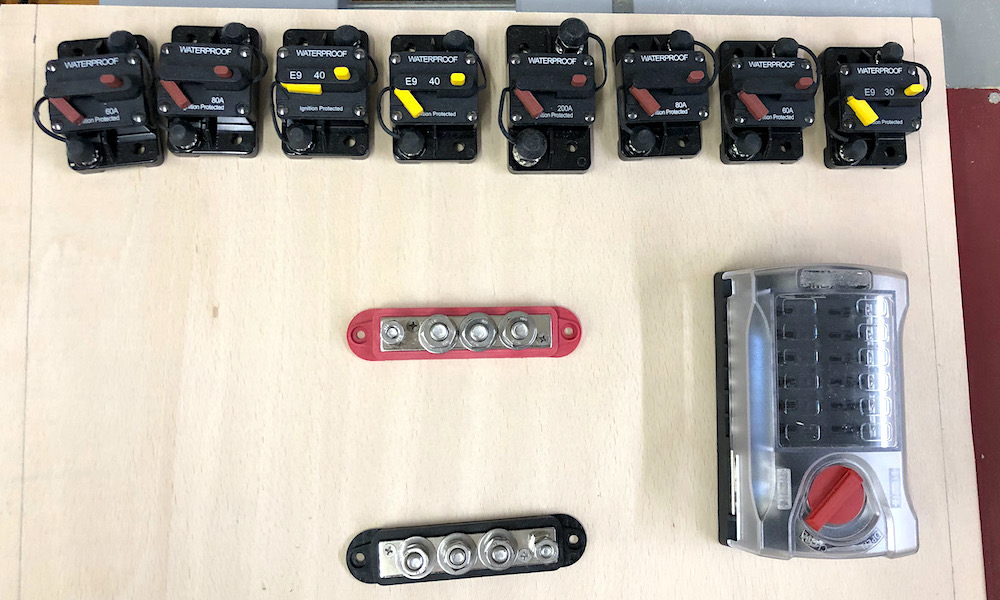
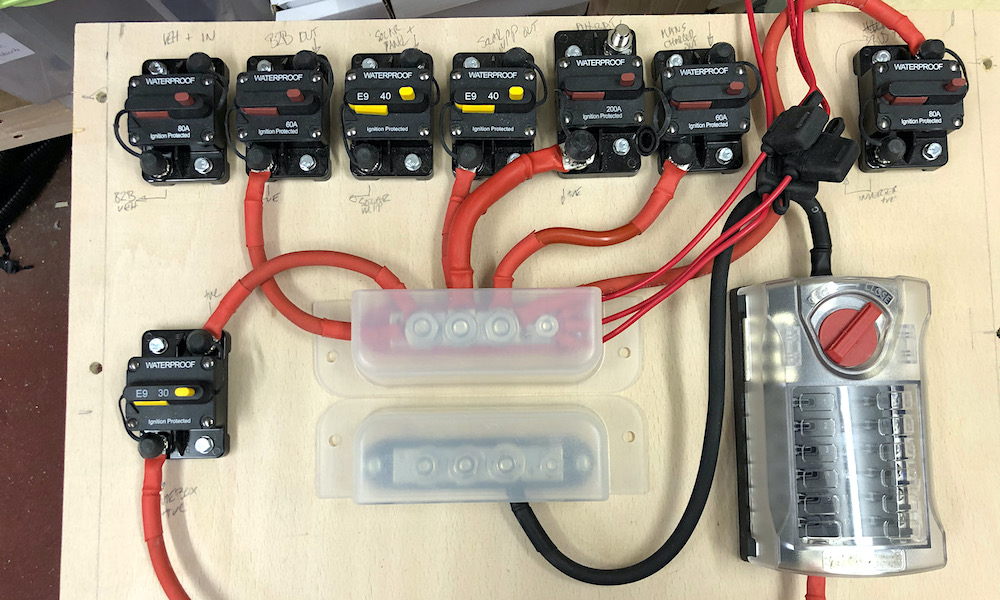
I built a 12V distribution board with all the trips mounted so that any module can be isolated along with the vehicle battery and the 12 circuit fuse box that feeds all the 12V components in the van.
This is all mounted above the two 160 Ah AGM batteries.
The 240V AC consumer unit will fit below the 12V distribution panel.
Other Tall Cupboard
21st June 2020
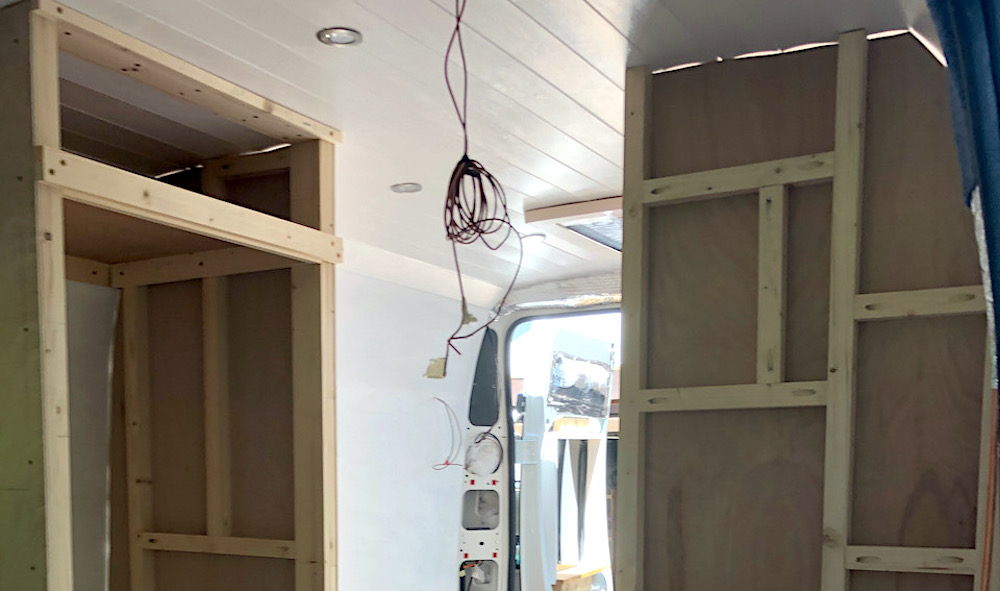
The second tall cupboard was built approximately opposite the other one. It overhangs the door so couldn't be built until the bedframe had been done.
This cupboard was going to have 3 drawer 800mm units at the bottom, the heater behind the short bottom drawer and the fridge and oven above.
This was the most complicated unit to build as it was done in about 4 sections all independant of the other but they had to go together. A complete nightmare and almost straight!
Heater
21st June 2020
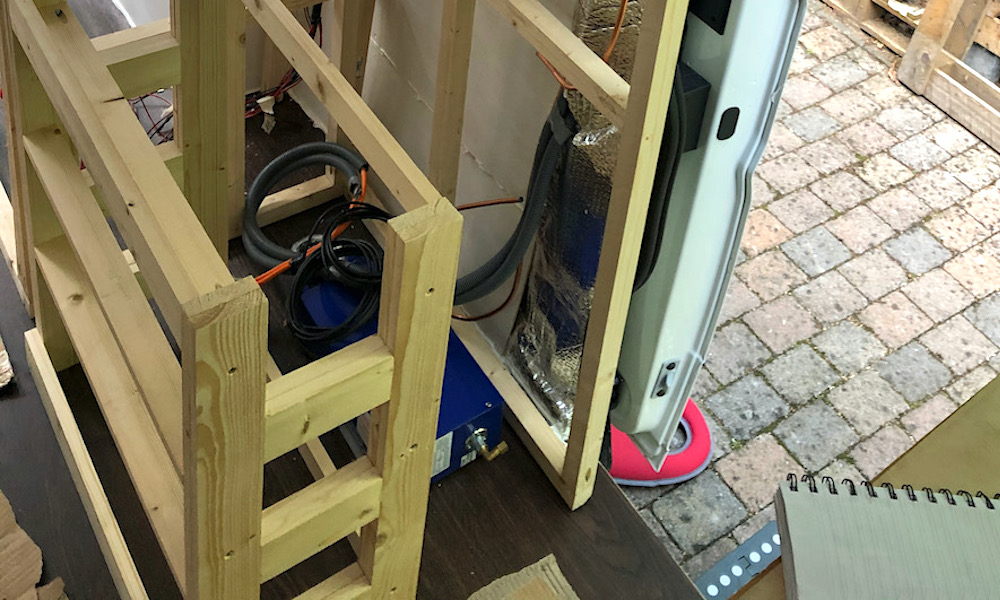
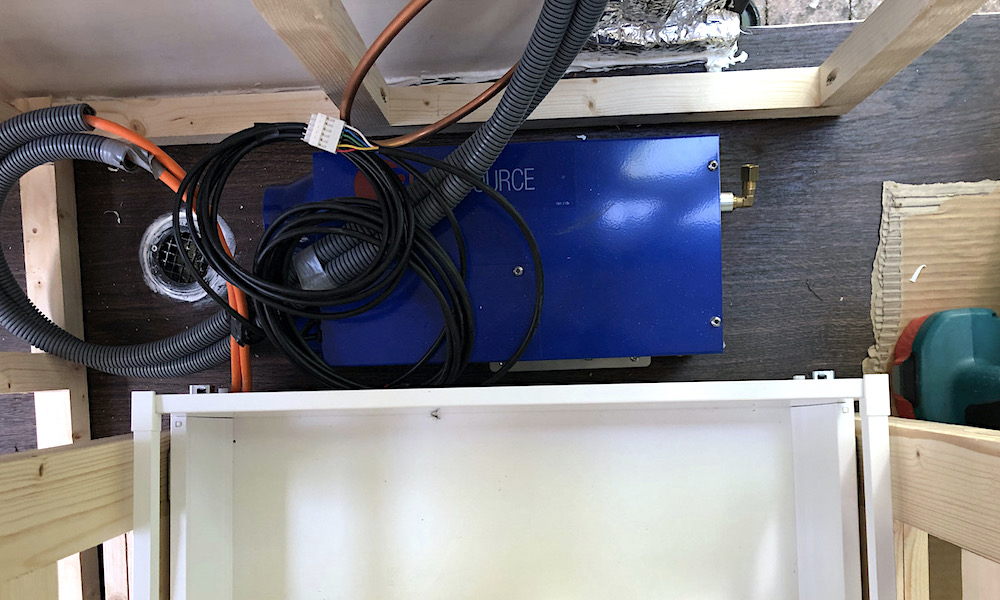
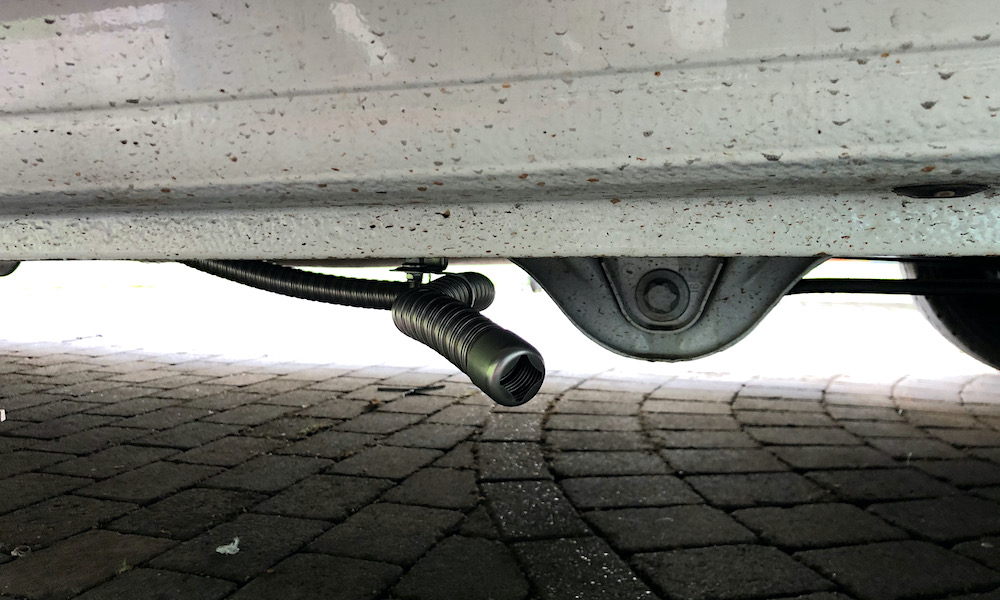
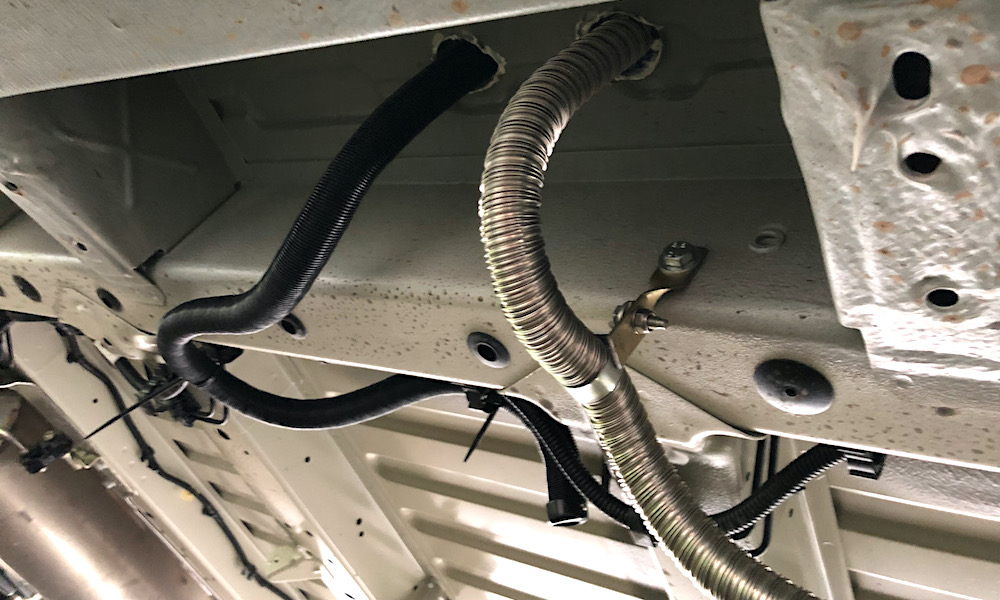
The 2kW Propex heater was mounted behind the bottom drawer of the second tall cupboard. Next to the heater a second drop out vent was installed. The air inlet would be drawn from the kitchen area and the outlet would be to the side of the drawers into the living space.
The air inlet and exhaust were clamped to the vehicle body with the exhaust at the edge of the body.
We decided on gas as were using LPG and they have lower current draw at start-up than diesel heaters.
More Bed Frames
29th June 2020
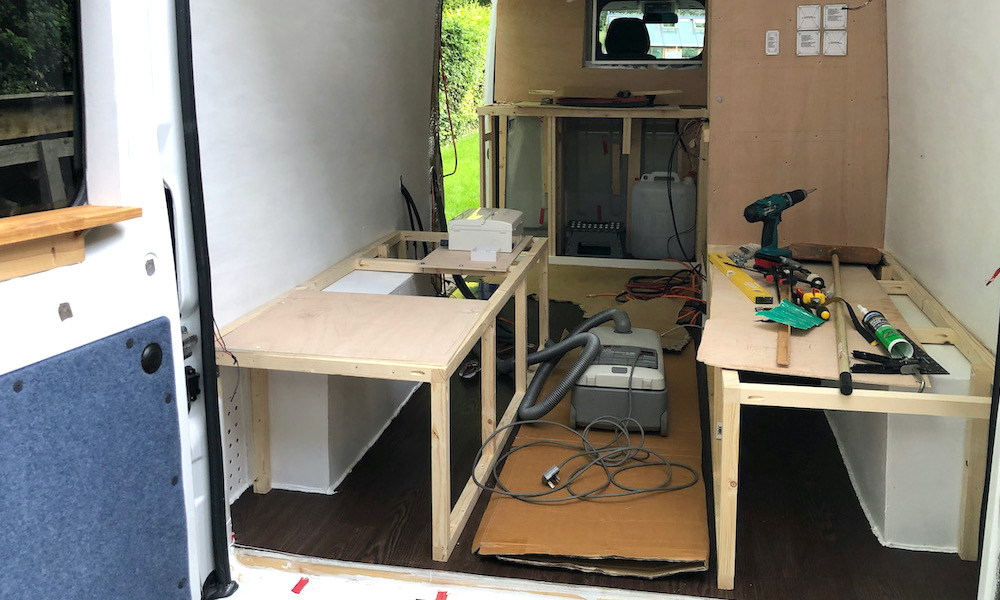
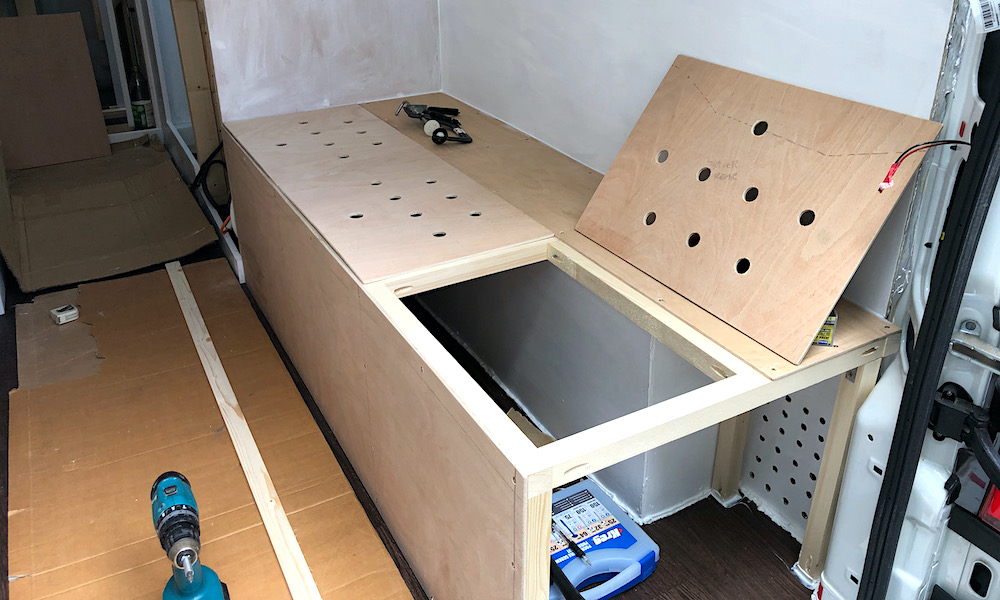
We added 5.5mm ply to the front and top of the bed frames. The top rear section was fixed and the front sections loose with ventilation holes.
A rail was added to both sides to support the table when it is made up as a bed. There was also an end stop to stop the mattress from sliding off.
As we built bits we painted everything with a white undercoat to seal the wood.
