Build Archive - May
First 4-Way Carpet
7th May 2020
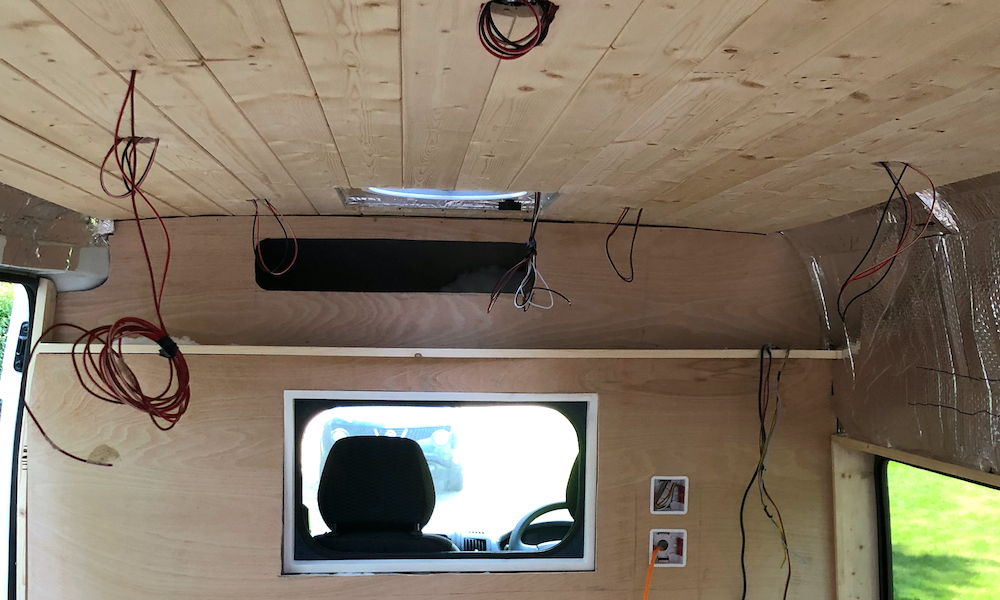
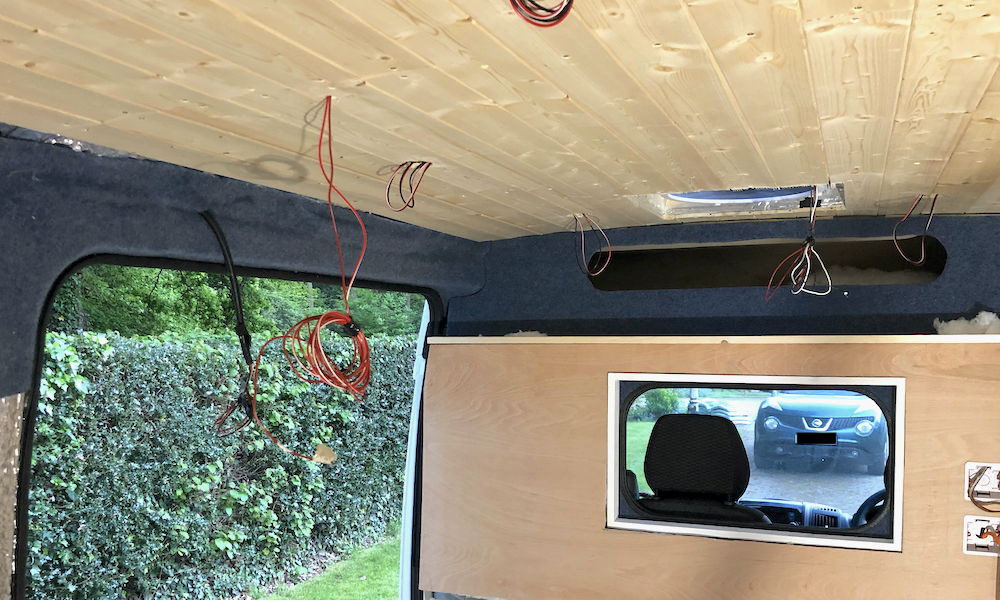
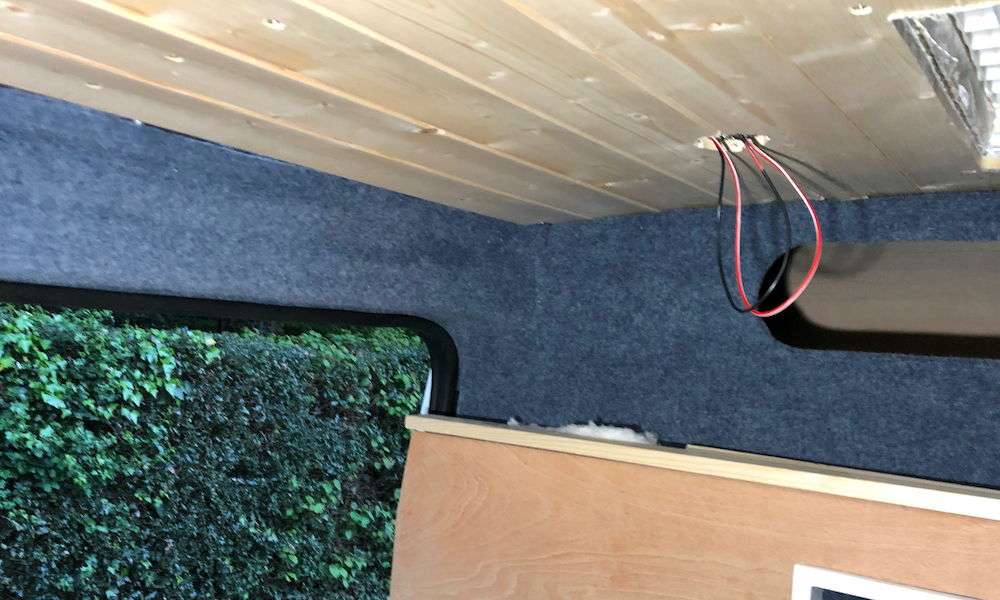
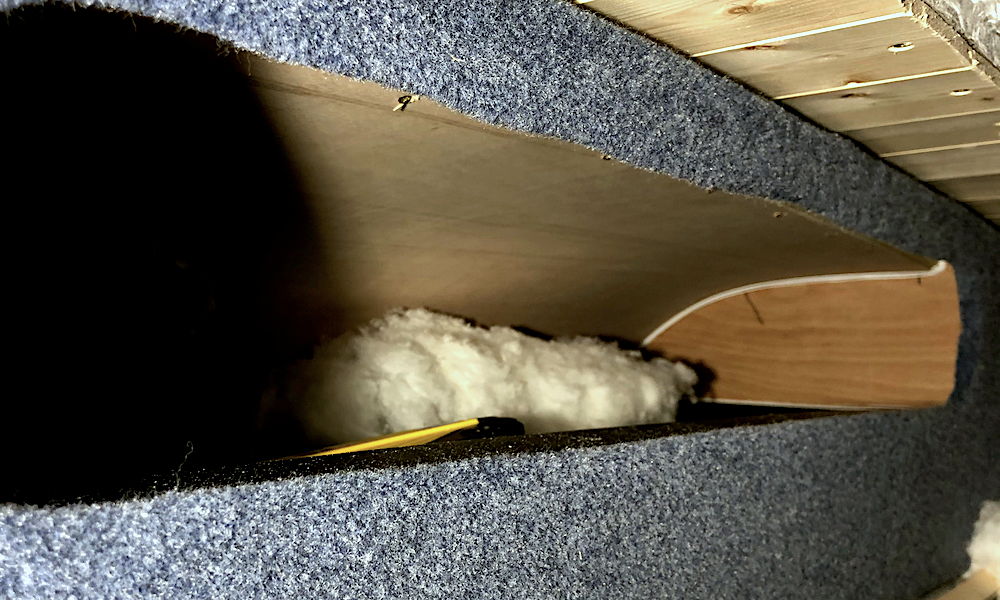
I made the first finishing panel, this one is for the front locker. It gives a better finish to the ceiling by hiding the cut edges.
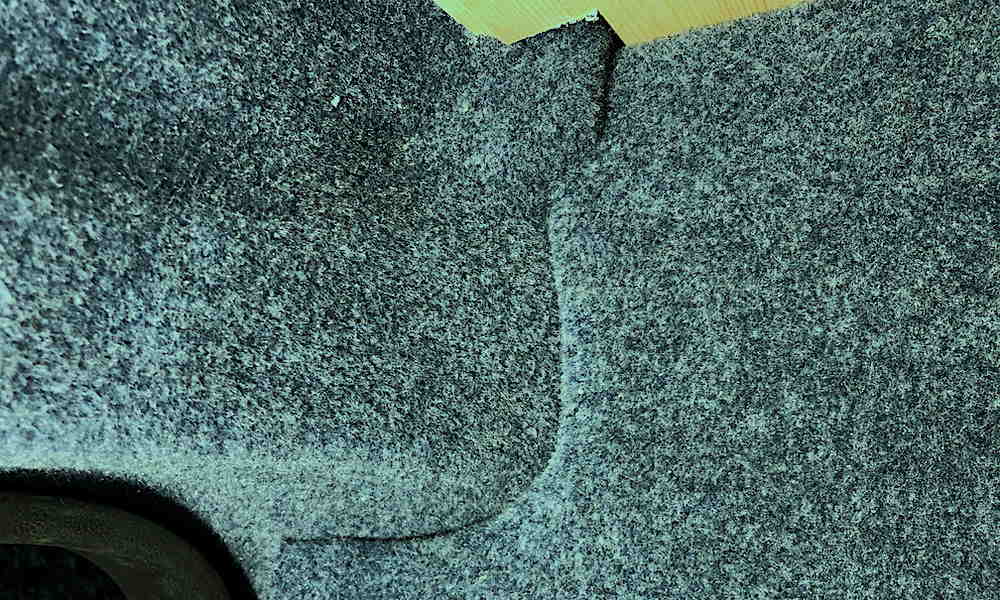
The interface with the wall above the door was troubling me for a while but having made the decision to use 4 way stretch carpet I just tried it.
I also made the call to carpet the finishing plate with the same Pacific Blue. The fitting of the carpet was easier than I thought. Spray on the adhesive on both sides and then carefully place the pre-cut carpet starting in the center and working your way outwards. Vee cuts make the rounded corners a doddle and it all sticks very securely. Use a new Stanley knife blade as this makes it much easier to cut.
The wall was started at one end spraying small areas at a time and finally trimming and hiding under the rubber seal edging strip.
The joint between the 2 parts is also invisible as the pile from each part merges with the other. I was very pleased.
Wall Panels
11 May 2020
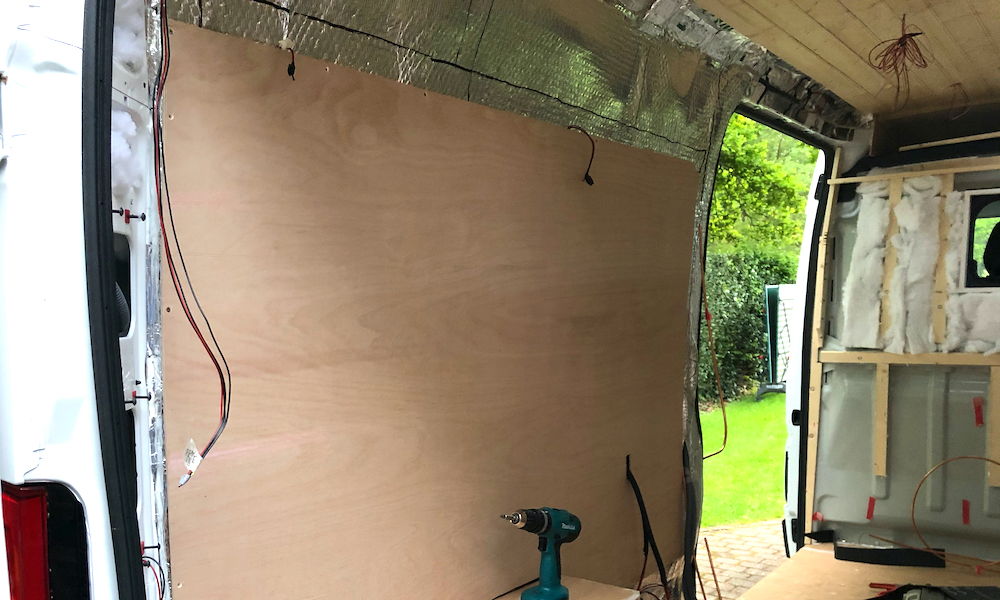
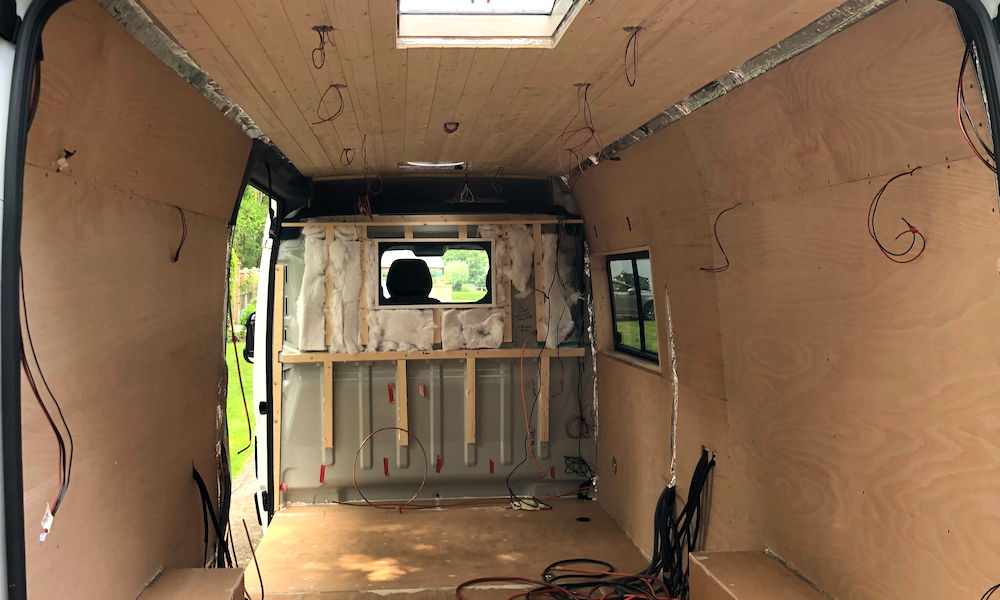
I was using 5.5mm ply for the walls. This is thin enough to flex through the curve but stiff enough not to flex at the spacing I had between the supports. I always had at the back of my mind the amount of weight that was being added to the vehicle. This led to using the thinnest ply and frames that I was happy with.
It took 4 full sheets (8ft x 4ft) and a few offcuts to cover the side walls. The bulkhead and three door panels would be completed later.
A complete sheet was fitted and then a fill in piece added above this to give a gap where the roof starts to curve.
The junction between the ceiling and side wall was filled with an angled length of tongue and groove with the outside T&G being removed to give a better finish.
First Lot of Painting
14th May 2020
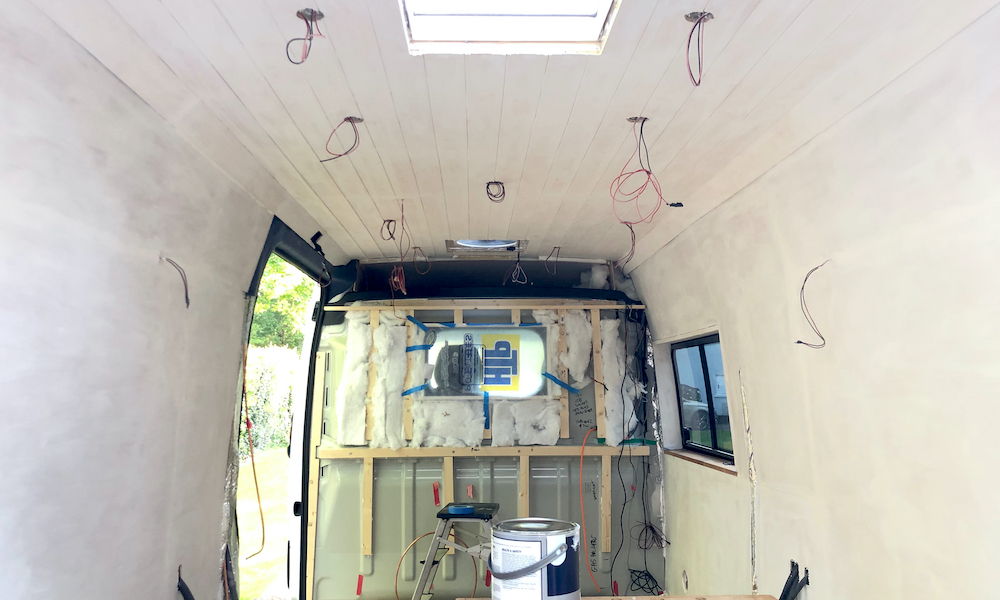
After finishing the lining of the walls, we then filled all the fixings and sanded it all down.
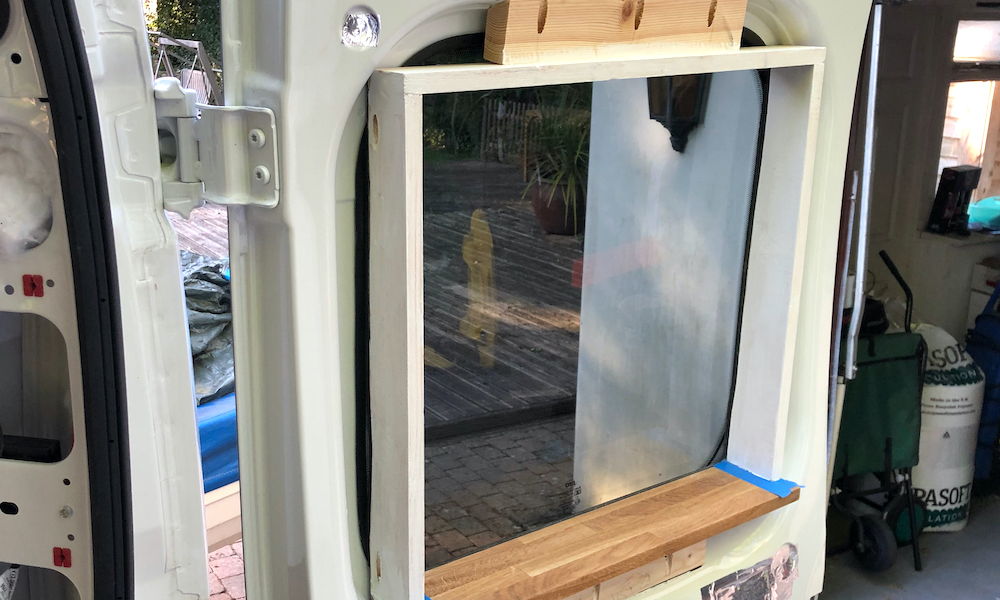
We decided to paint the walls, ceiling and window frames to seal the wood.
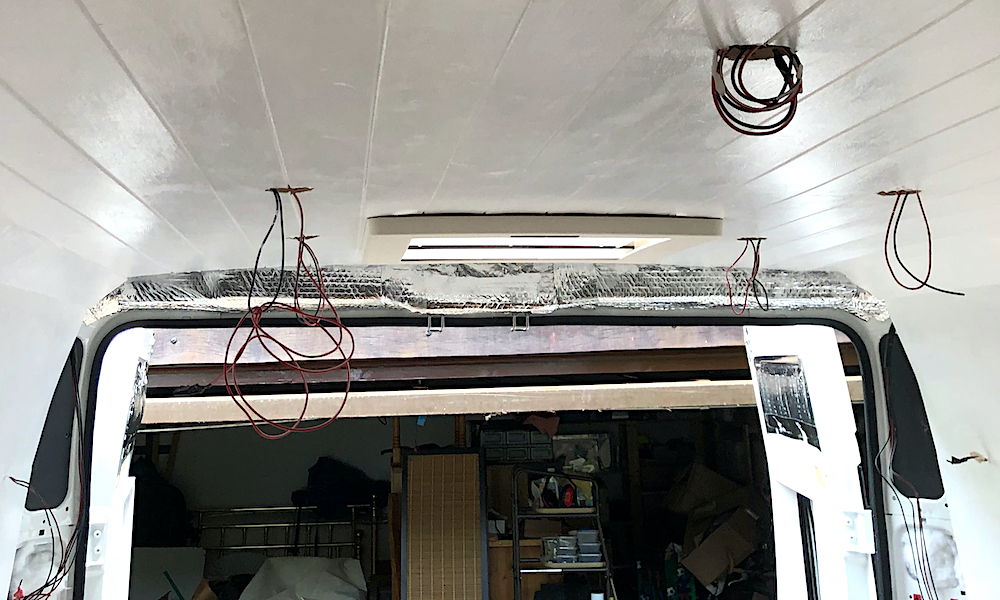
We used white wood primer as the first layer on all the wood. By now we had decided on white as the main colour inside so we painted the ceiling with a white oil-based satin finish paint. This took 2 coats to get a good finish.
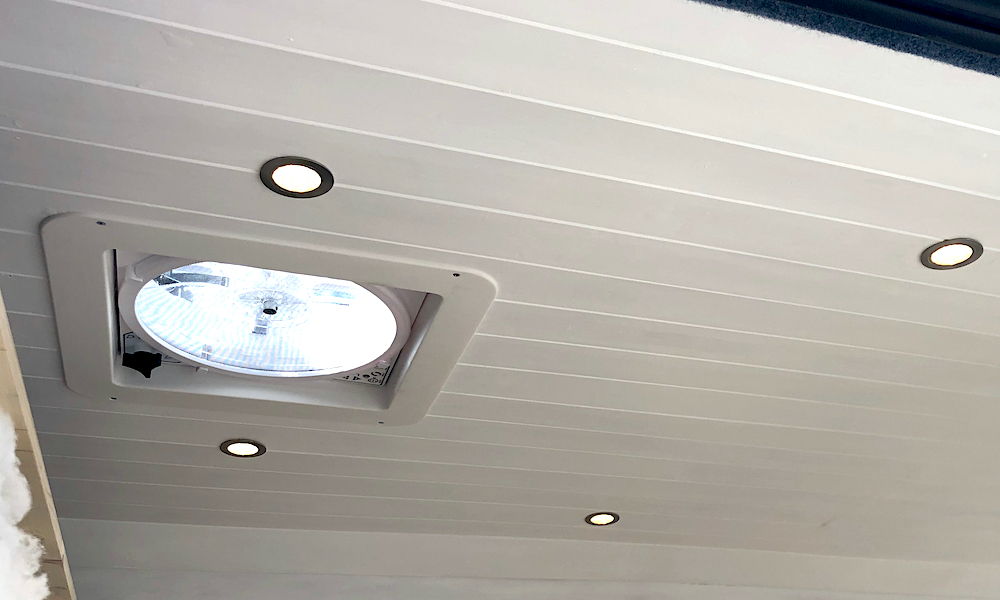
With the ceiling painted I then finished wiring in all the recessed ceiling lights. These were 3 watt LED lamps with a touch sensitive surround to turn them on and off. I tested them before clipping them in place. I had gone for 2 circuits for the 9 lamps. 5 lamps in the front section and 4 in the rear with independant circuit wall switches.
I Forgot the Bike Rack!
22nd May 2020
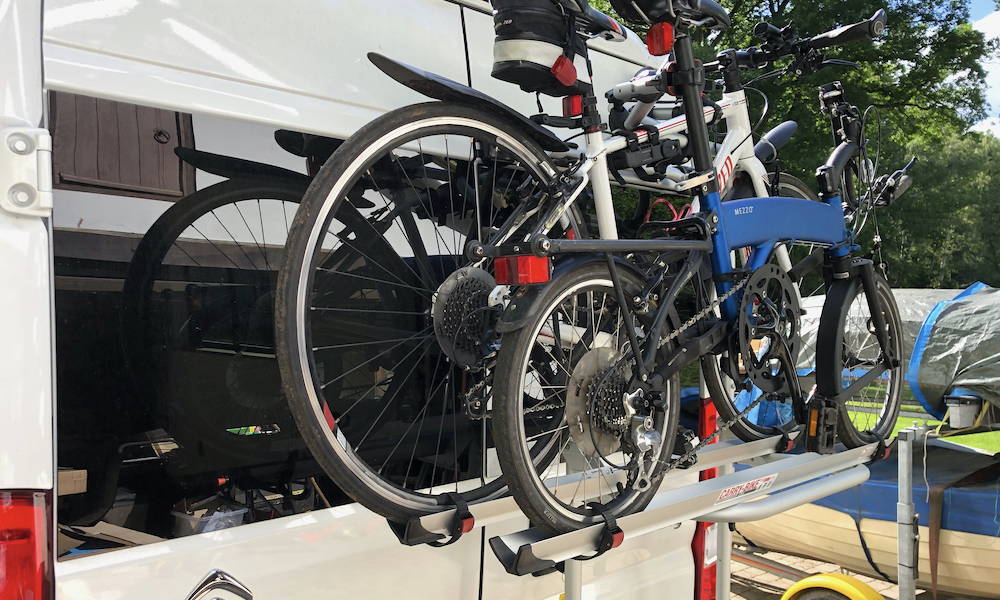
We had wanted to take bikes with us on our travels but we didn't want to take space inside. As we are not avid bikers and just wanted to use them to get about, we were not going to take anything worth more than £100. So, the problem of theft was not considered a major issue.
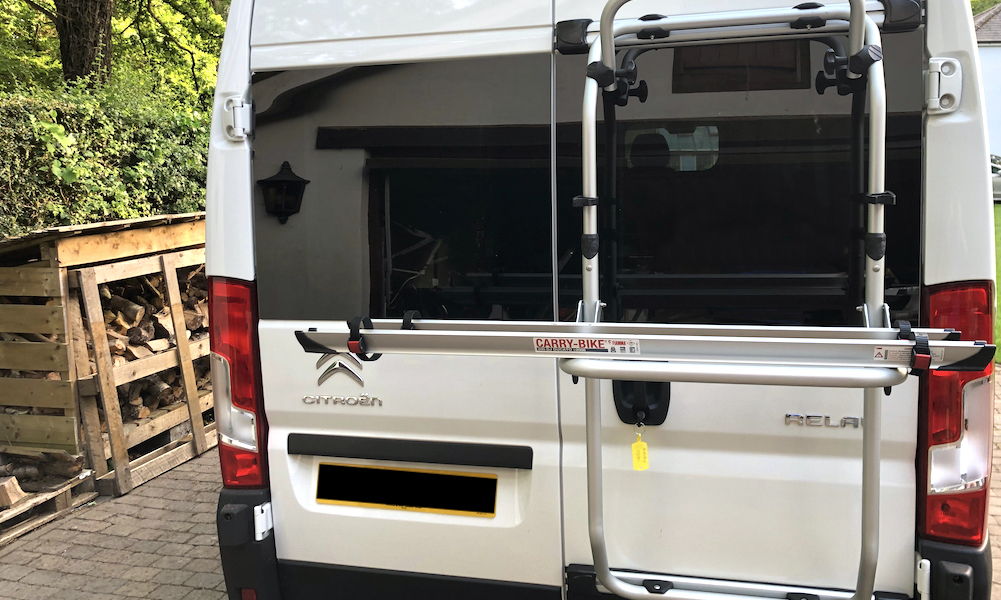
The obvious choice for the bike rack was the Fiamma Carry Bike 200 as this is designed to fit to the Citroen (Peugeot/Ducato/Pro Master) van.
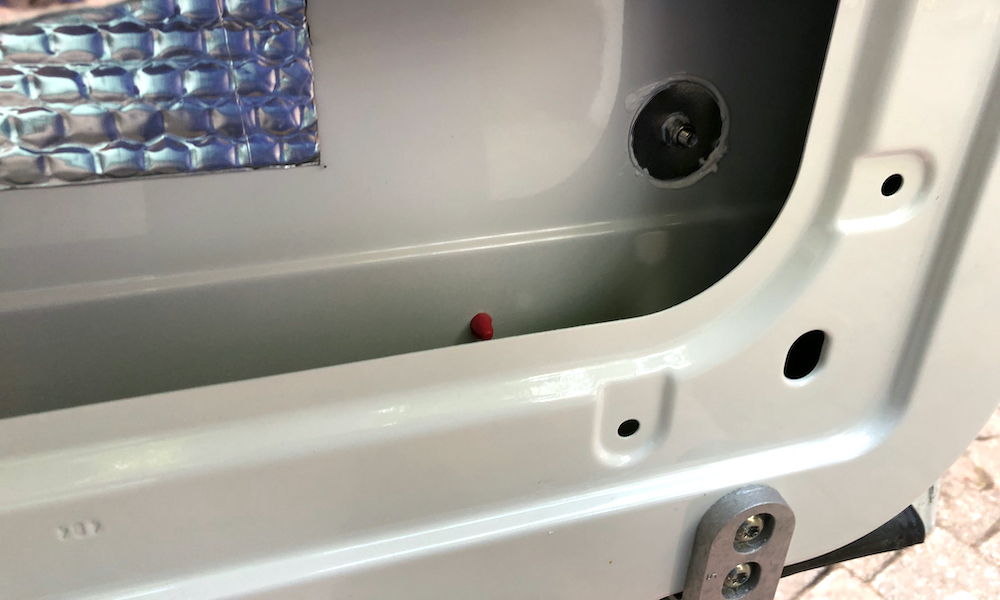
This rack does involve drilling 4 holes through the rear door to mount the two rails that the rack attaches to.
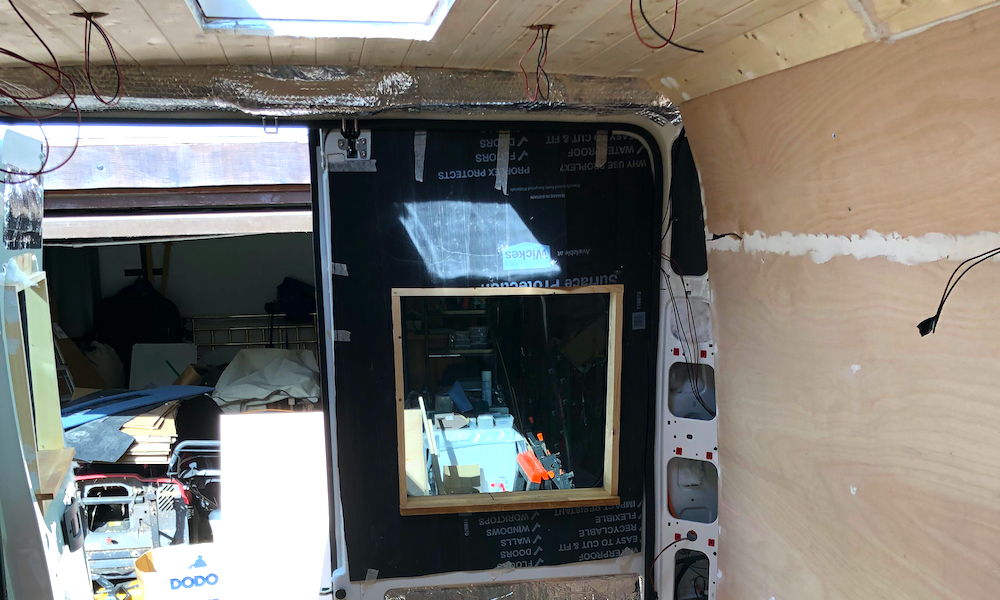
I had forgotten about the rack and had already insulated and foil lined the rear doors. So, all this came apart for me to fit the rack.
The rack itself folds away to be fairly small and can be detached when not using it to carry bikes.
Construction of Inside Starts...
25th May 2020
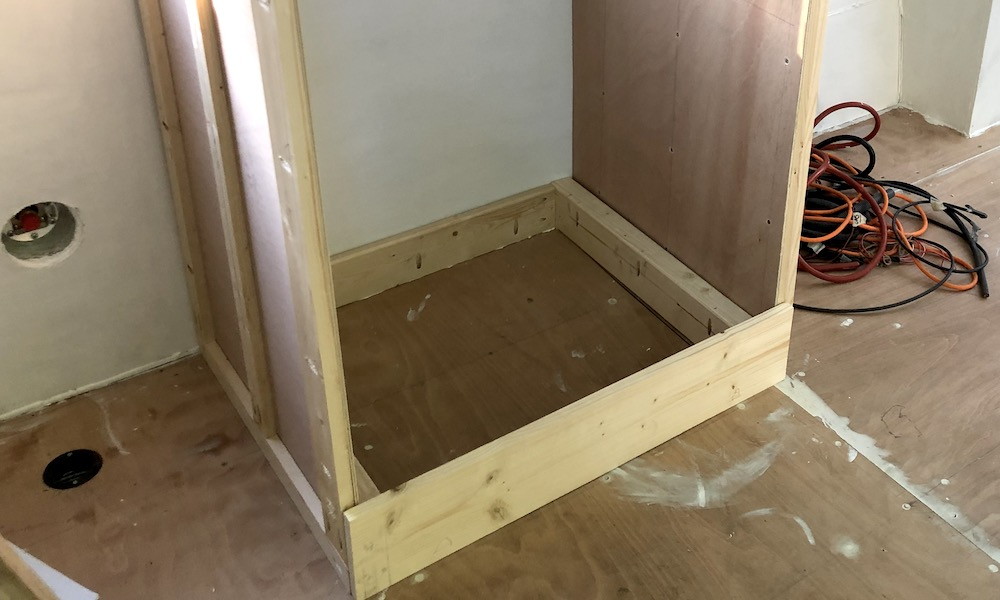
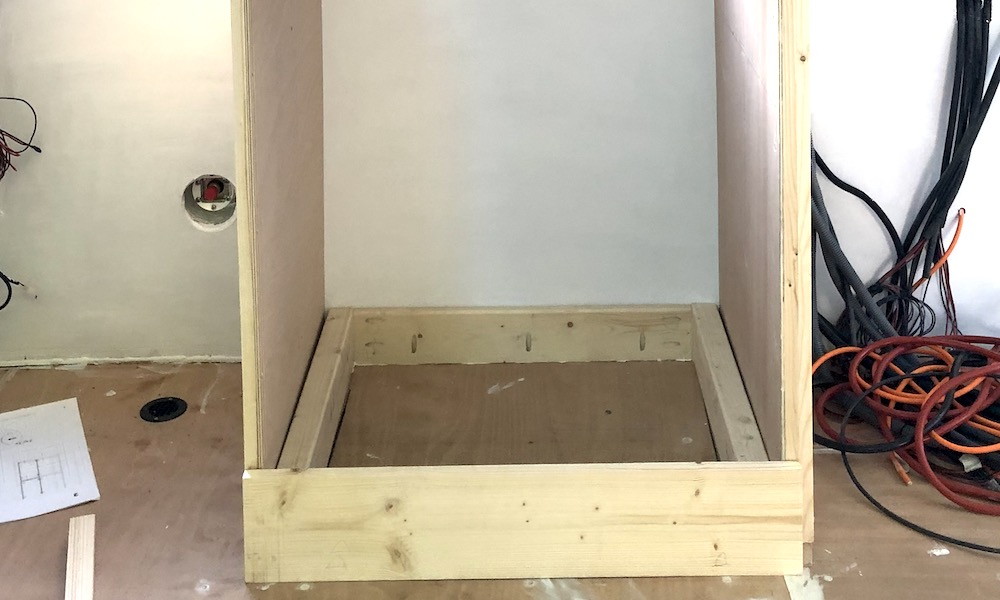
The first job in the build of the internal structures was the shower tray area.
We had decided not to build a full-size shower but to create a wet area for washing, drip drying and toilet. The area would be under the worktop, so giving us more worktop space and big enough to stand up and shower using a solar shower. The base would be a shower tray and the walls PVC lined or oil base painted. We could also add a shower curtain if needed.
The hole in the floor had already been cut so the location of the unit was now based on that. This meant that this was the reference for all the other units.
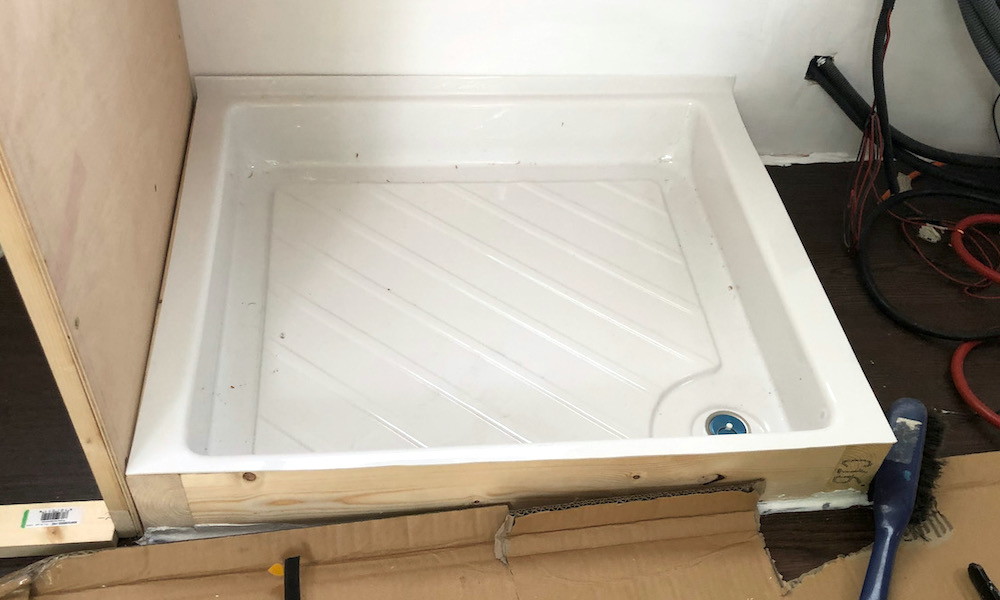
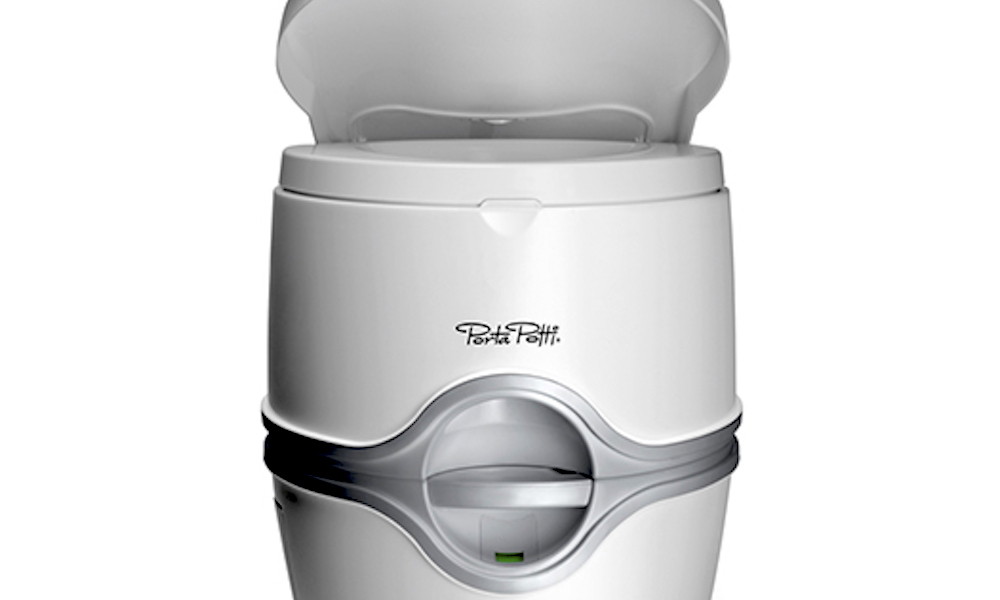
We found a good-sized shower tray at Magnum Motorhomes that fitted our width restriction and would fit a Thetford Porta Potti.
I built a wood frame to support the edges of the shower tray and sealed this. Added a 12mm board to the underside of the tray, a drain with hose and then boded the whole assembly together.
The tray would drain to the outside where we could collect the grey water.
Flooring
30th May 2020
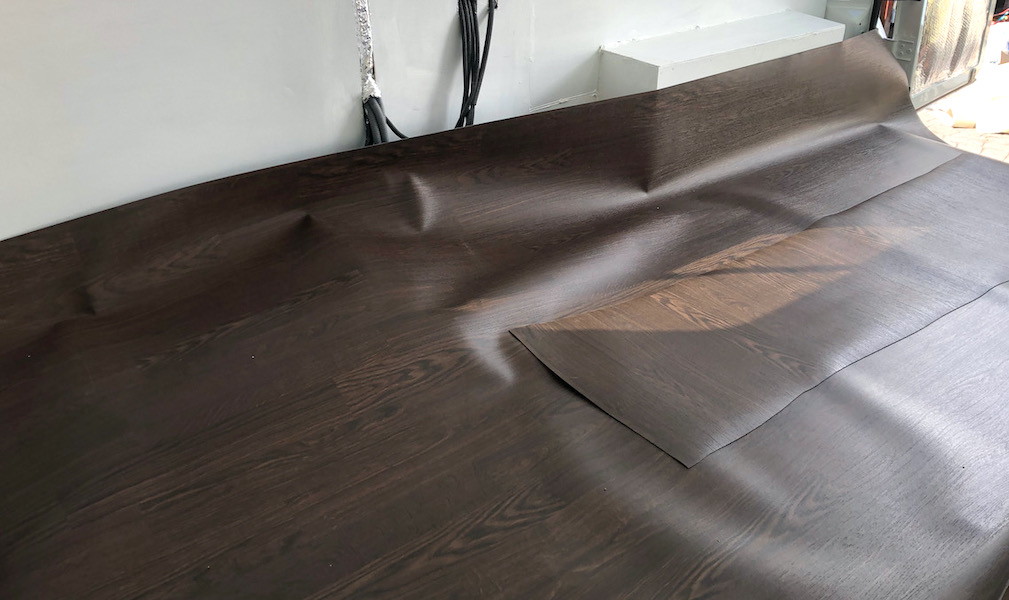
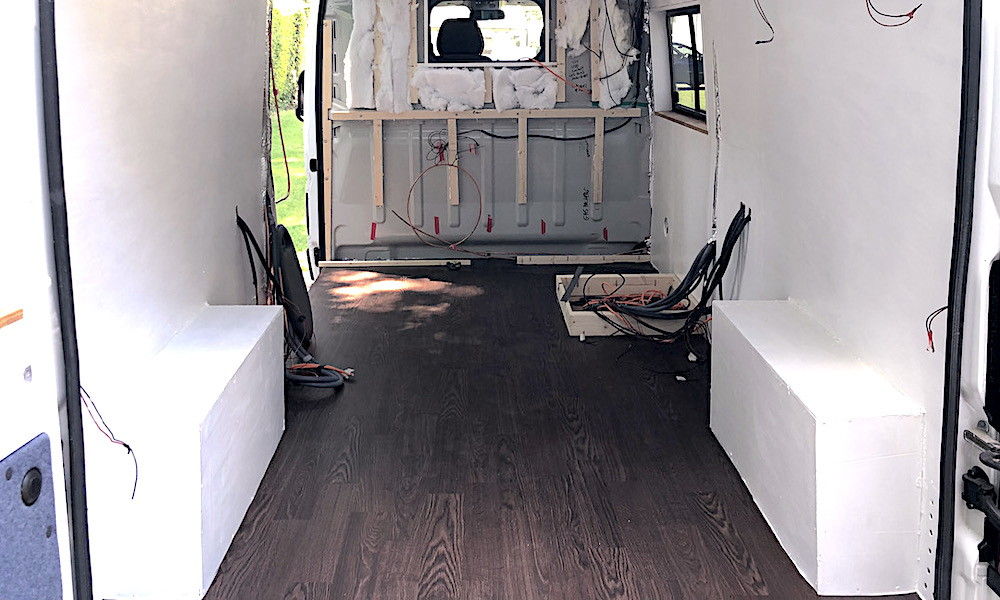
We had decided that the doors on the units and the ceiling would be white so we wanted a contrast for the floor. Wood effect was an option we both liked and we knew it had to be quiet dark to help hide marks and any spillages.
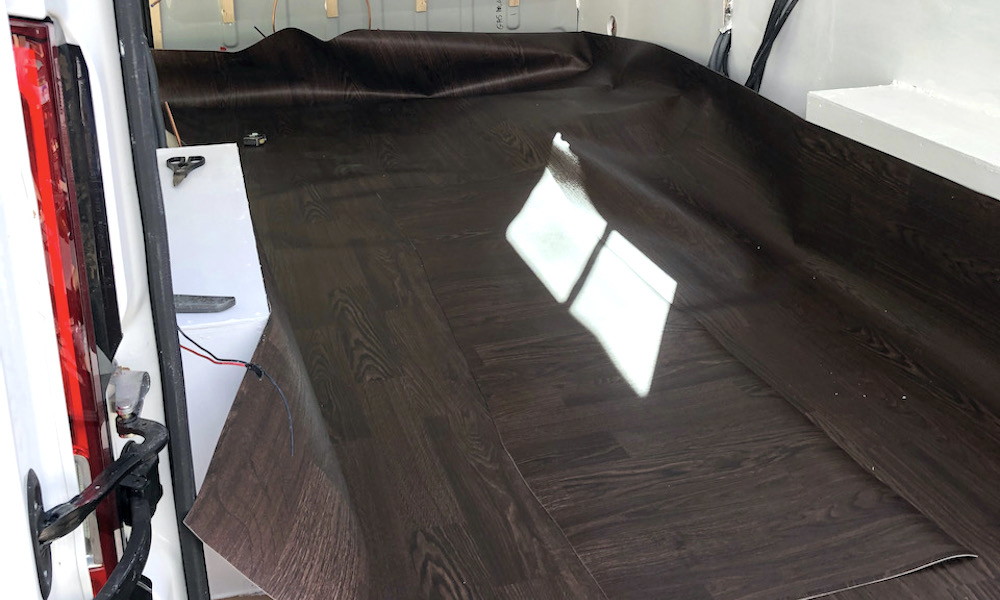
Having decided it would be vinyl the next decision would be the type and wood effect. There is a lot of choice and we went with an industrial grade anti slip one from Altro.
We chose Century Oak with a pattern repeat that is fairly large. It was a good price from Floormart.
Fitting was straight forward. It comes in 2m width and the van was about 1.8m. So, line it up down the centre of the van and begin at the bulkhead. The vinyl cuts very easily with a new Stanley knife blade (especially the curved type). Remembers cutting twice is better than taking too much off in one go!
We were building the units on top of the vinyl so that no liquid would go underneath. It was for this reason we didn't stick the vinyl in place just sealled the edges. This also meant that our floor level lockers already have a finished floor.
