Build Archive - Apr
More Holes in Van
9th April 2020
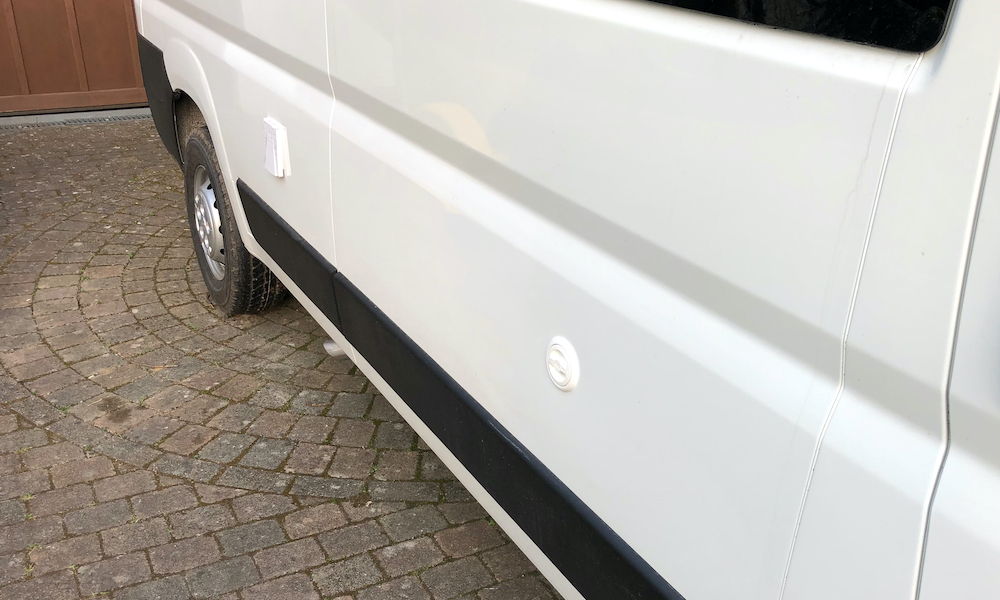
The next and hopefully last holes in the van body are in the driver's side for gas and electricity connections.
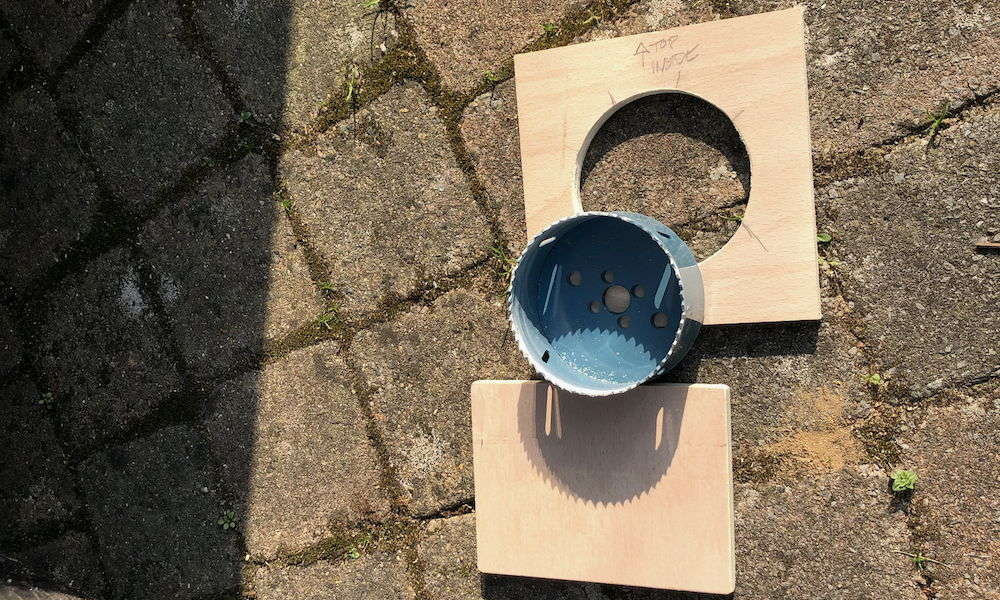
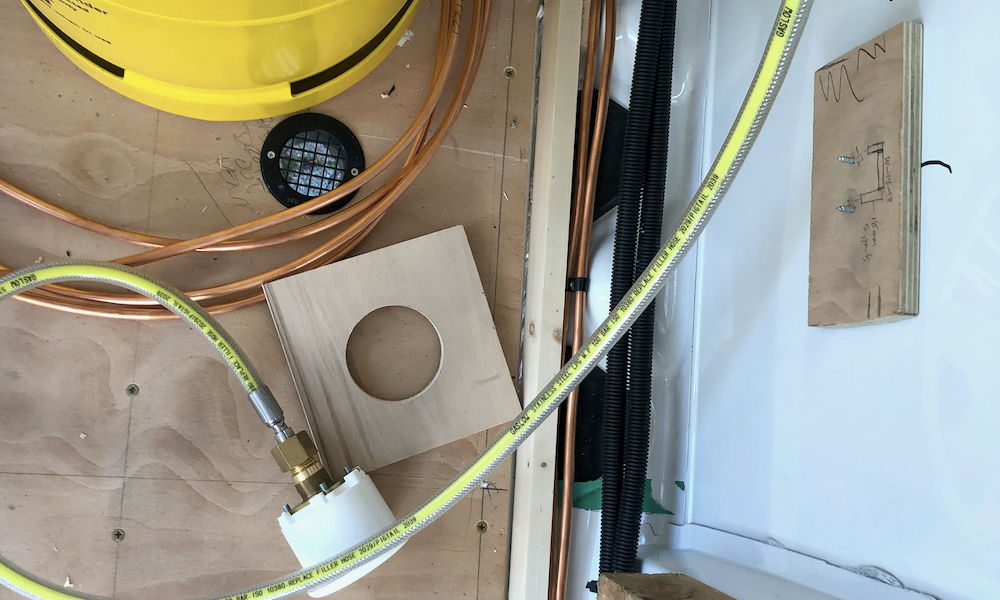
We are using an LPG re-fillable system from Gaslow that requires a connector somewhere on the vehicle. After many iterations of where and how I can attach a connector, I have ended up with one on the side directly into the gas locker.
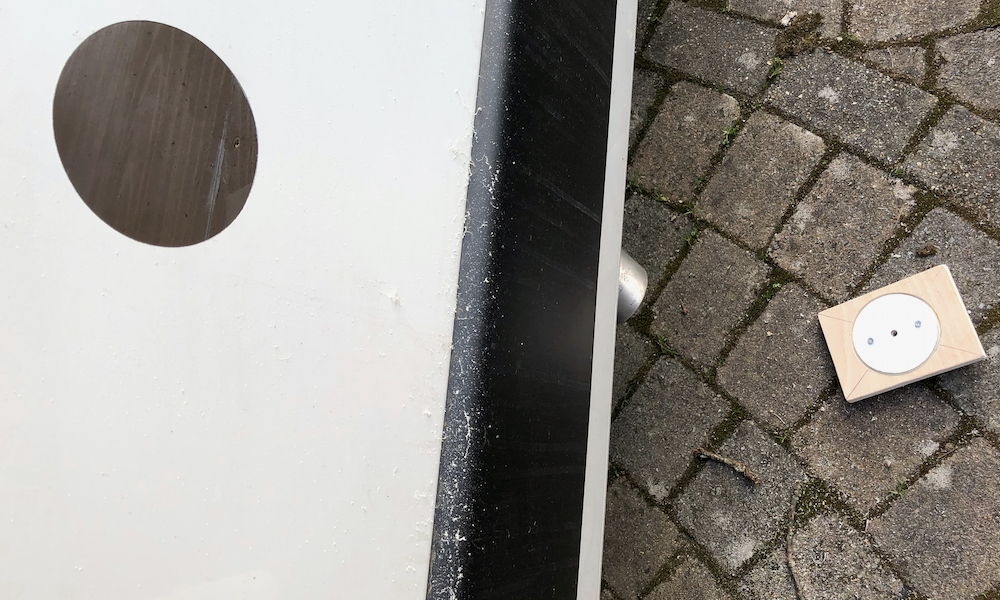
The method I used can be seen in Greg Virgoe's YouTube video. This involves using a block of wood behind where you are going to drill, held on with 2 screws through the metalwork (these screws are in the bit that is being cut-out). This gives you something to push against and allows the saw to cut the metal with out a wavy edge. A second block with a hole is bonded on with Sika and held in place with the screws on the connector.
The connections are screwed in place after the raw edges are filed and painted. Then they are sealed to be waterproof.
Building Window Frames
23rd April 2020
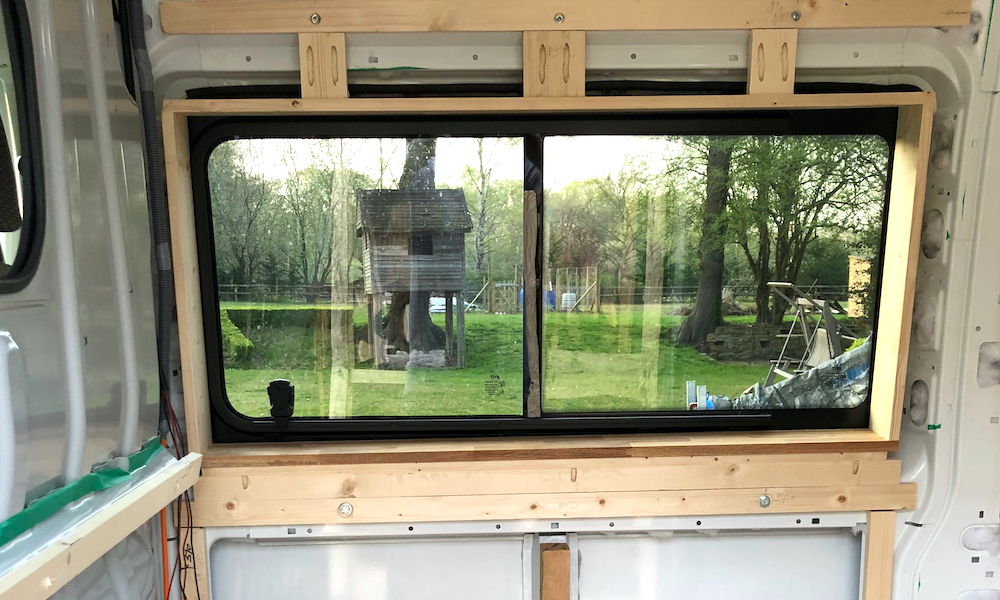
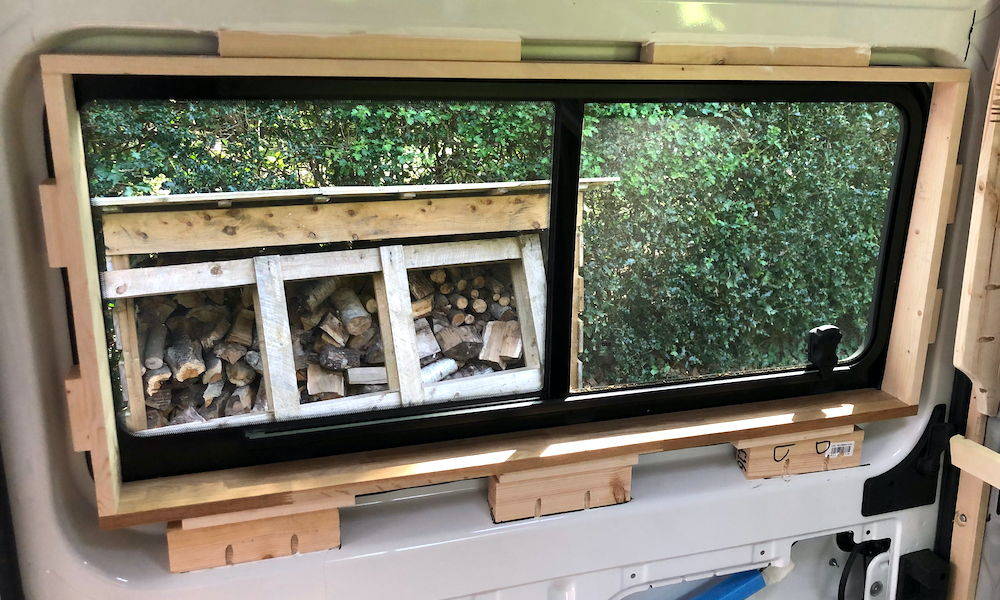
To cover-up the internal metal work of the opening windows we had decided to make wooden window frames to fit inside. These frames will also give a straight edge to fit the side wall panels. We had a colour pallet for the van and we also only wanted Oak to be the natural wood used through-out the van.
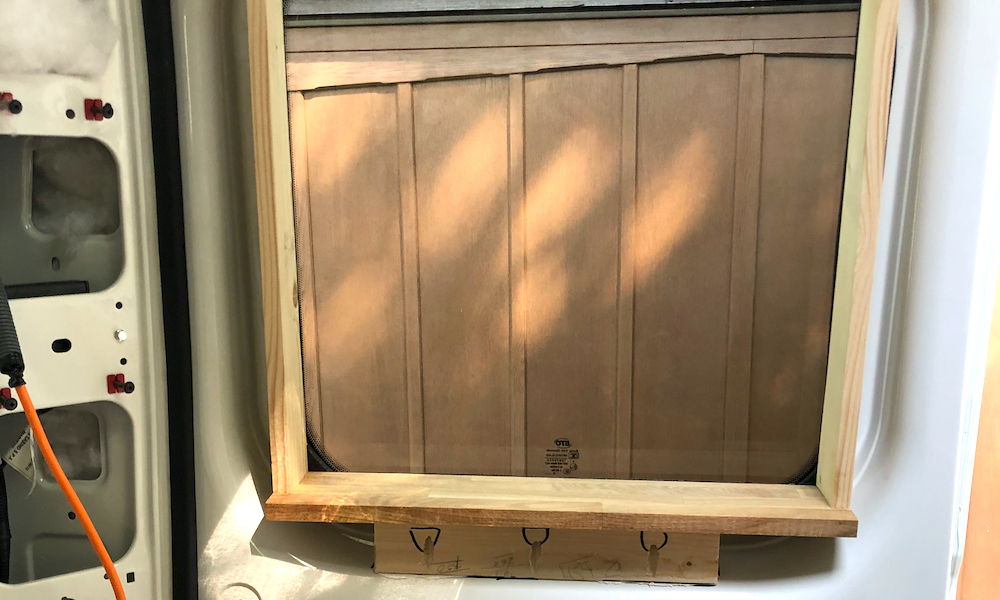
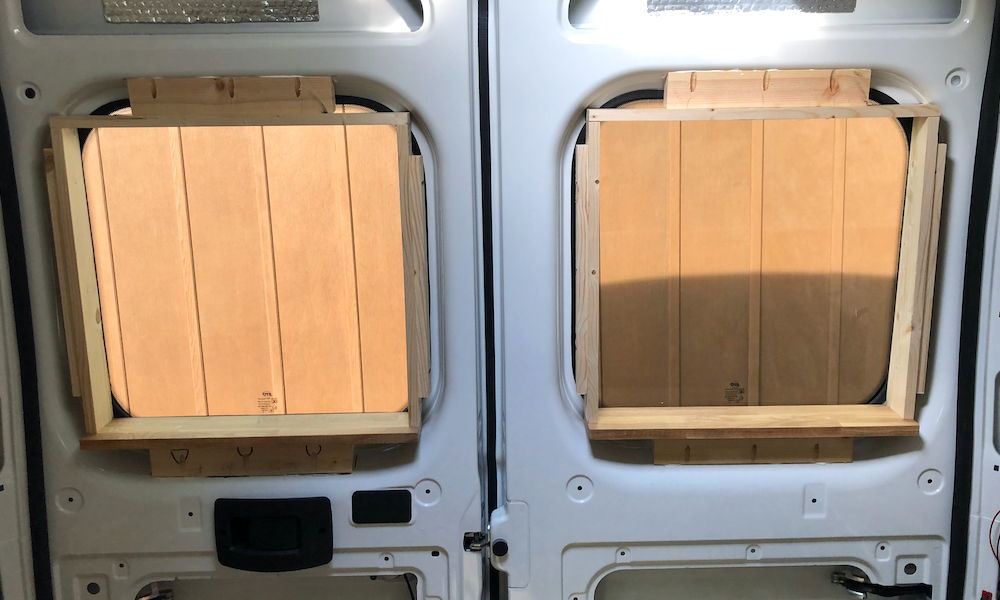
The frames were made from softwood on 3 sides and oak block board as the window sill that would be oiled as the finish. Pocket screws were used to build the frames so that no fixings would be visible once installed.
The problem with adding the frame was that they had to be individually made so that the finished frame was at the same level as the wall panels. They also had to be securely fixed the timbers or doors with shaped blocks of wood that were screwed and sealed to the metalwork.
A layer of self-adhesive closed cell foam was used between the frame and window to ensure that we didn't get squeaks and to stop condensation from running behind the frame.
Wall Insulation
25th April 2020
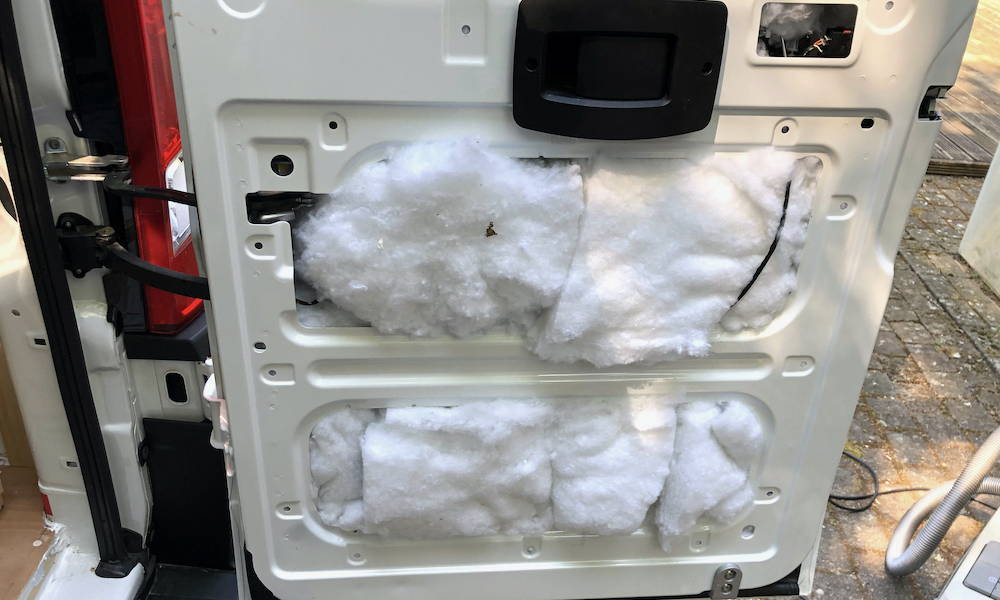
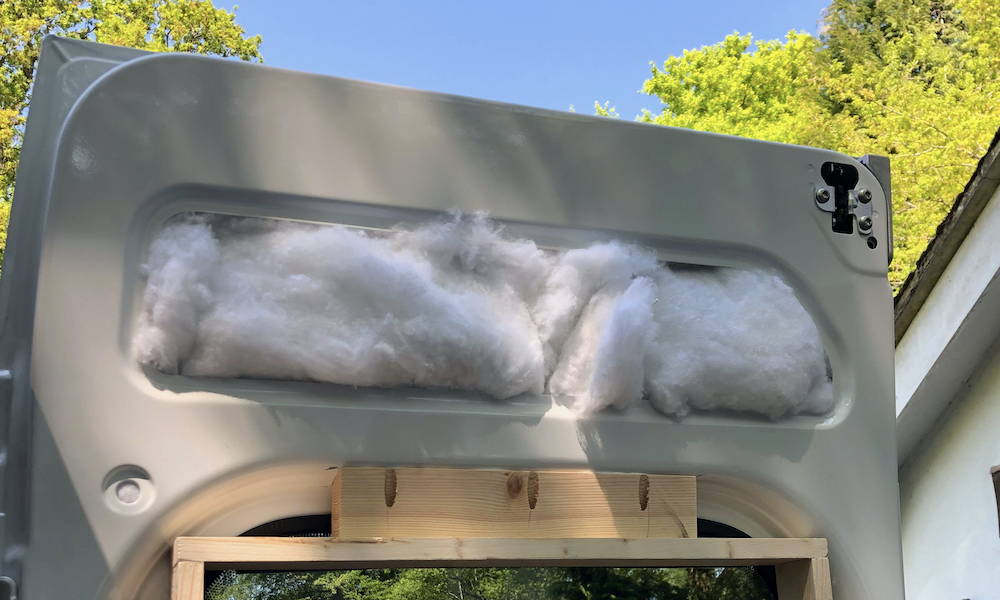
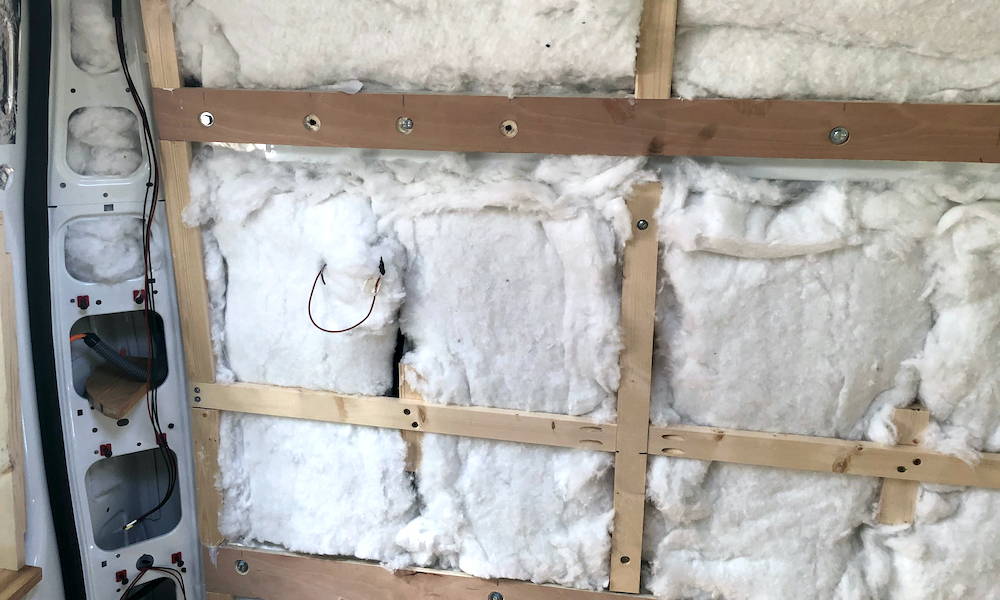
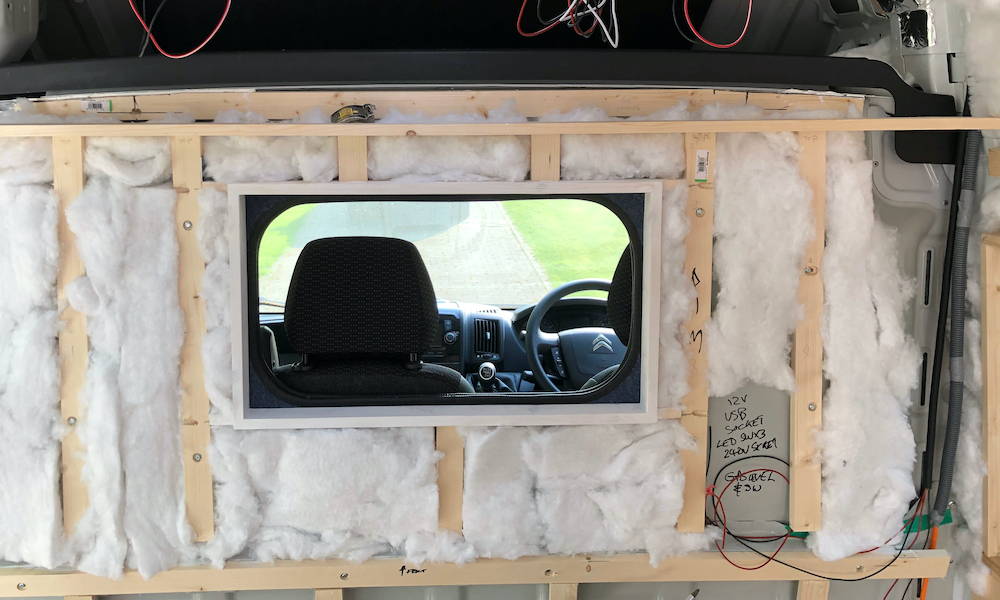
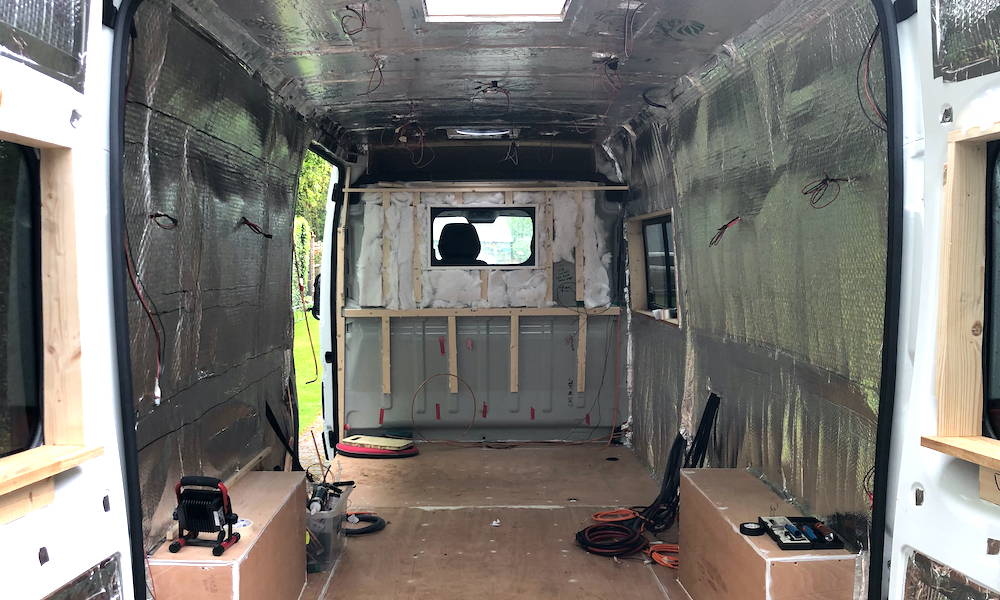
I'm using Supasoft insulation made from recycled polyethylene plastic bottles in the walls. First the insulation is pushed down all the channels, making sure not to stop any of the door mechanisms from working.
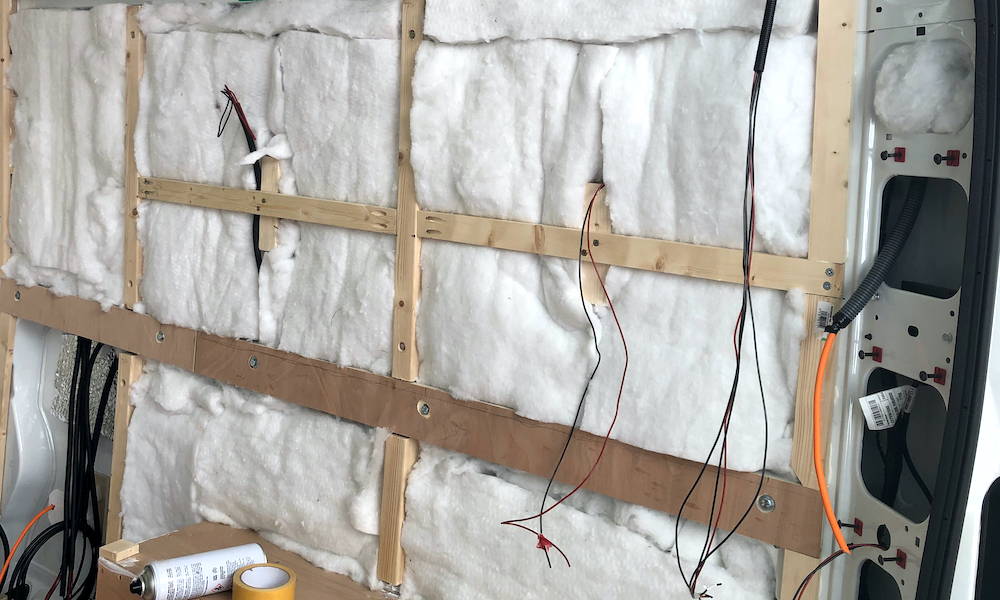
The main panels can be covered with large slabs of the insulation held on with some spray on adhesive. Just make sure all the wiring is positioned to the final area.
I used about 5 rolls (5m per roll) of 100mm insulation.
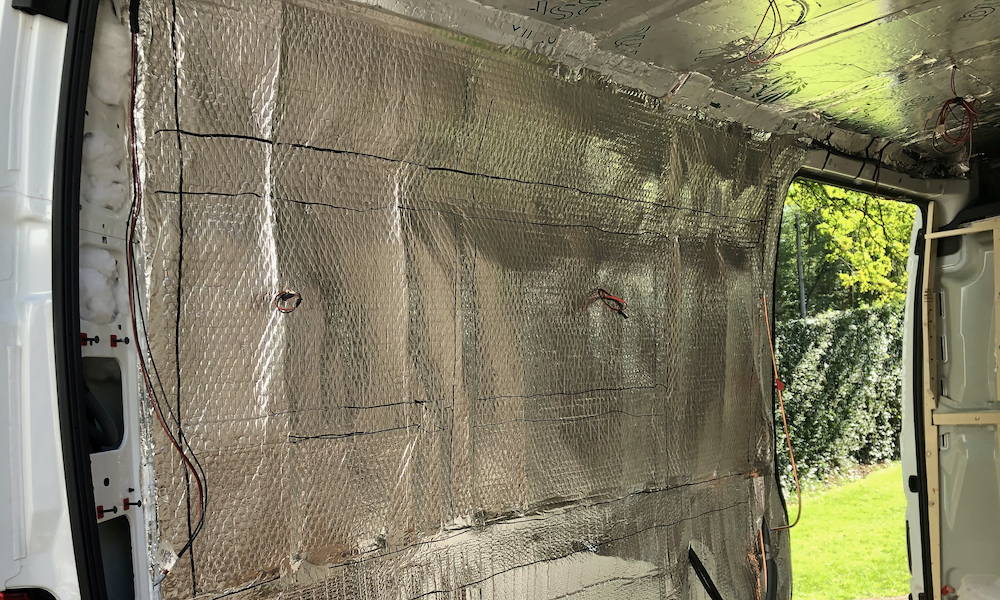
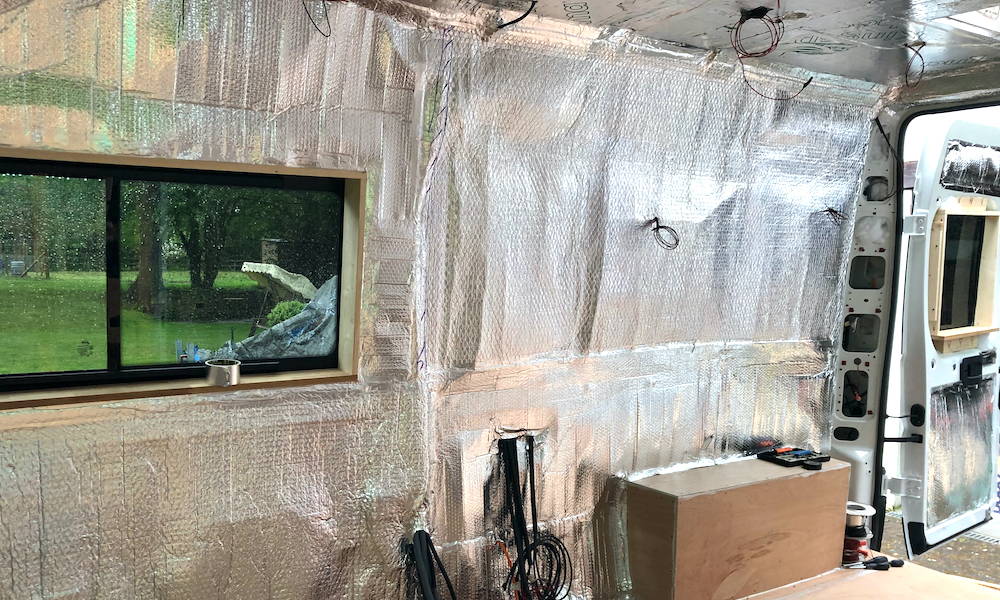
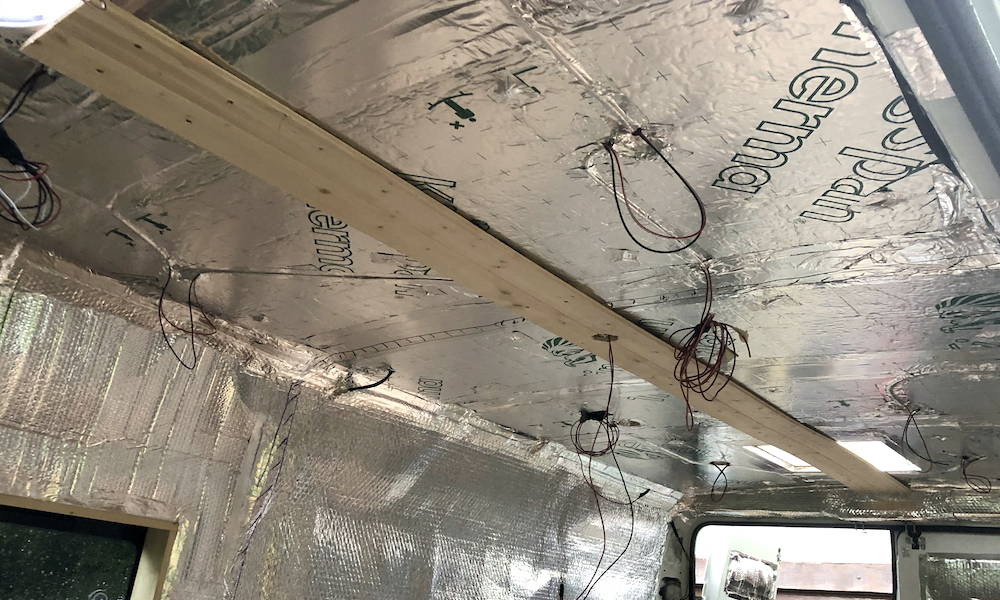
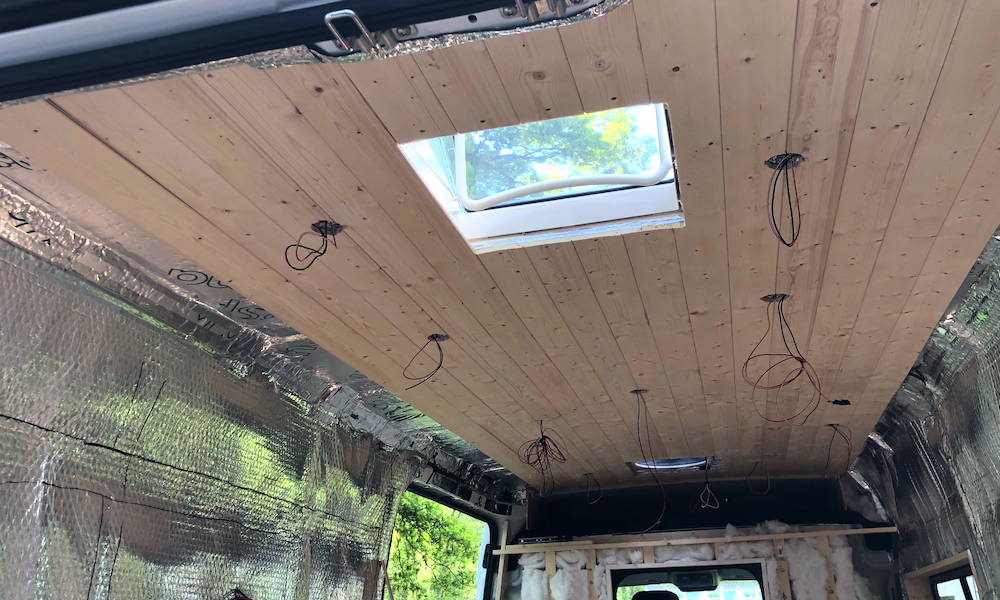
All the insulation was then covered with a foiled bubble wrap (I used about 3 rolls). The idea being that this is a waterproof membrane that will stop any moisture from getting into the insulation and condensing on the metal walls.
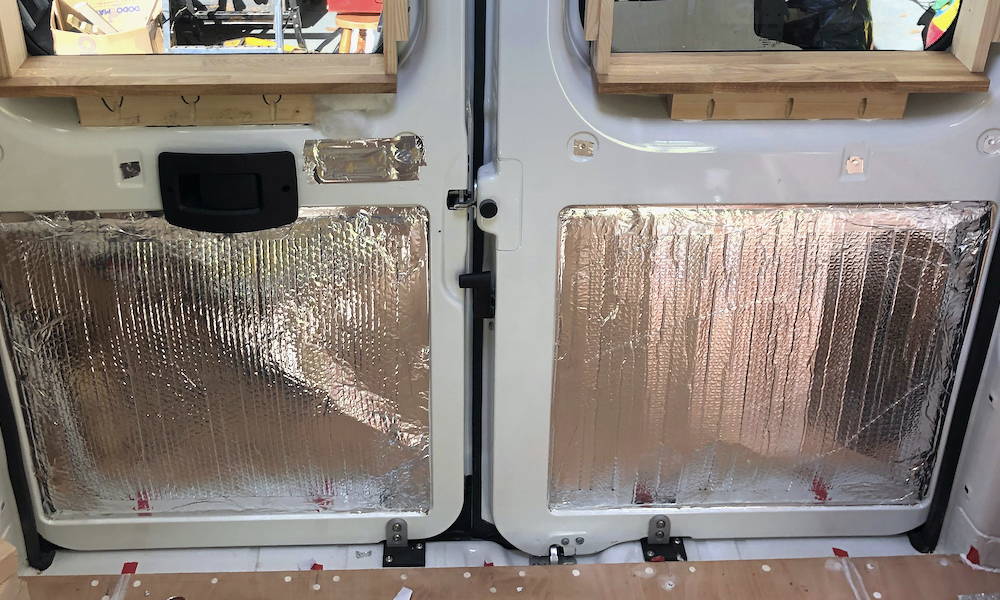
I sealed the rear doors as best as I could but the mechanism means that there will always be a path for moisture.
The walls were easier to seal as the floor and roof were already sealed. The electrical cables were poked thought were required and I drew on the wooded battens behind as a guide for fixing the walls.
You now get a very shiny van interior.
Locker Above Cab
27th April 2020
I had already begun to realise that the things that looked simple were taking the longest time to complete. The locker area above the cab was no exception.
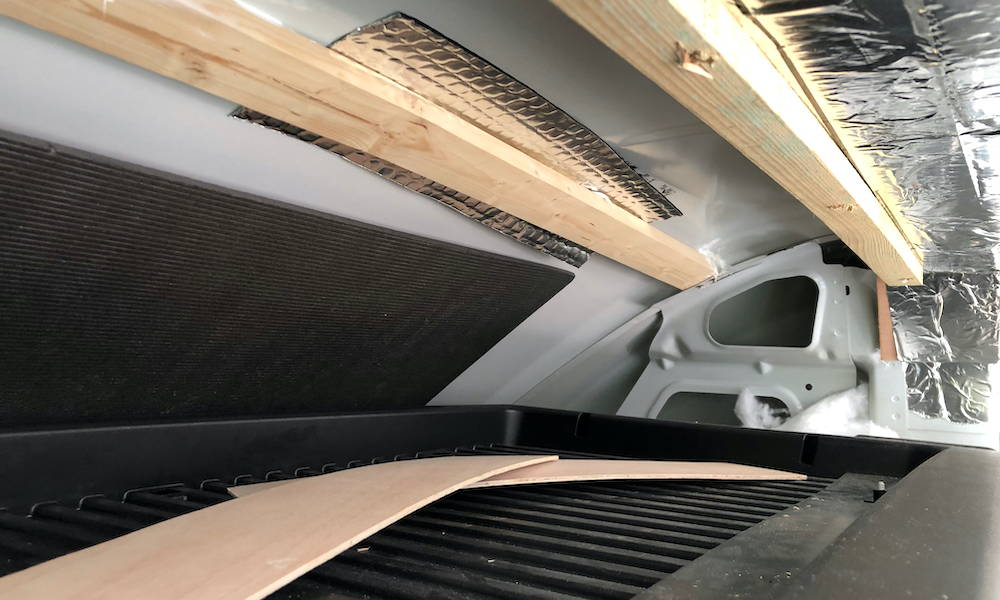
I went through many ideas on how to finish the front of the locker and what to do to an area that looked so obviously partly complete. It had a nice plastic shelf that I didn't (couldn't) need to remove.
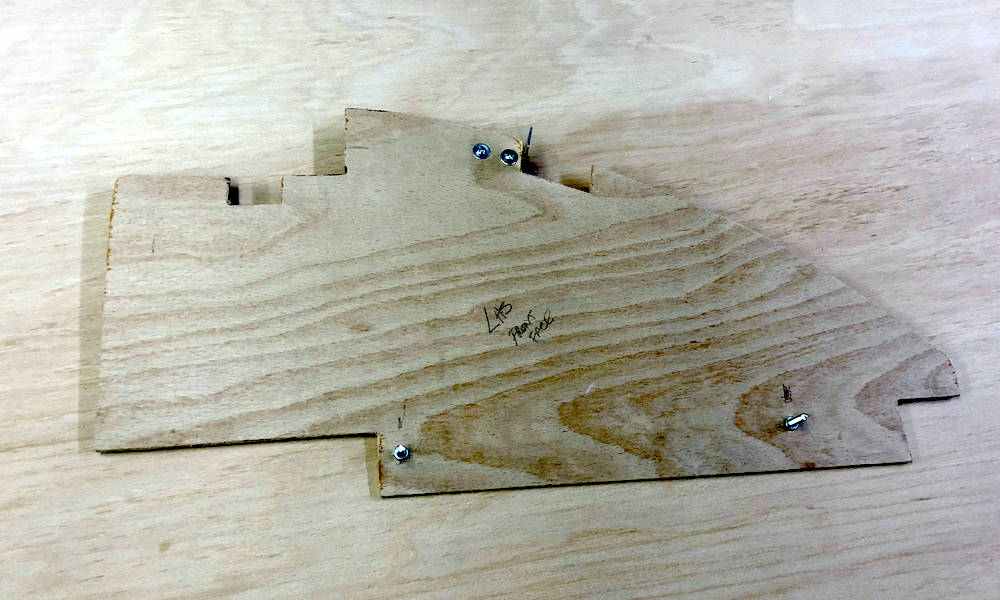
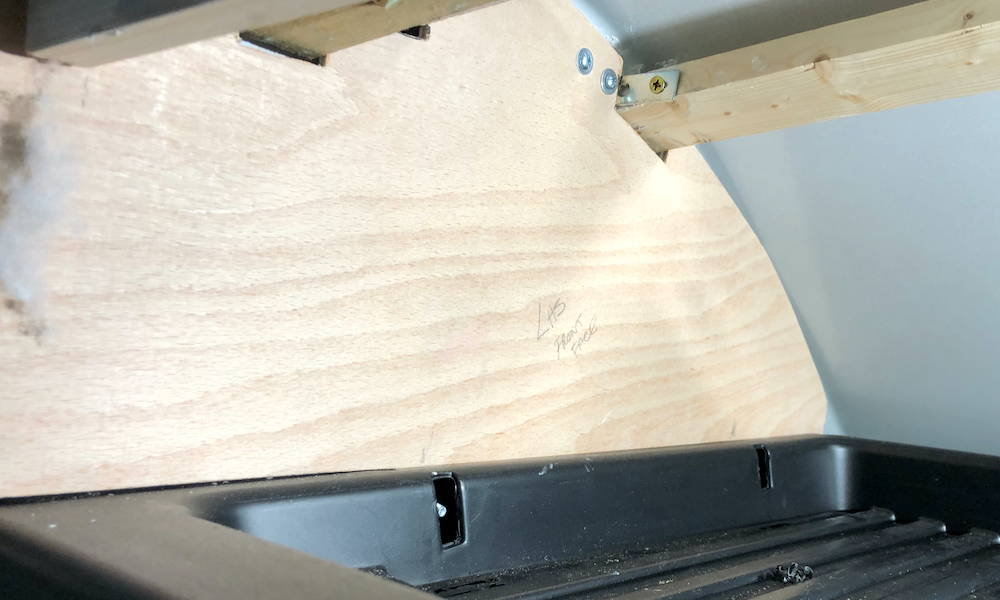
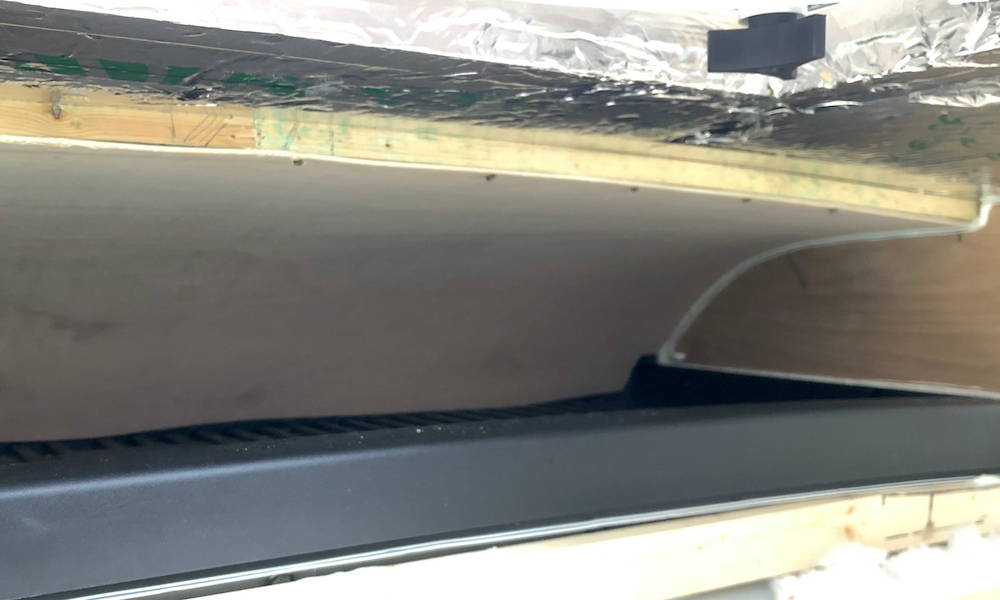
My final solution was to add a couple of wooden members to the metalwork with screws and adhesive to act as a frame. I could then insulated the sides with wool and enclose with a wooded plate, cut to shape. This plate could be screwed to the frame and bolted to the plastic tray.
The middle section was insulated with rigid foam sheets and a piece of 3mm ply was bent to shape between the plastic tray and frame. Screws hold the shape of the ply and the whole thing was then sealed with caulking mastic.
The front will be covered with a finishing plate later.
Ceiling of Van Goes Up
30th April 2020
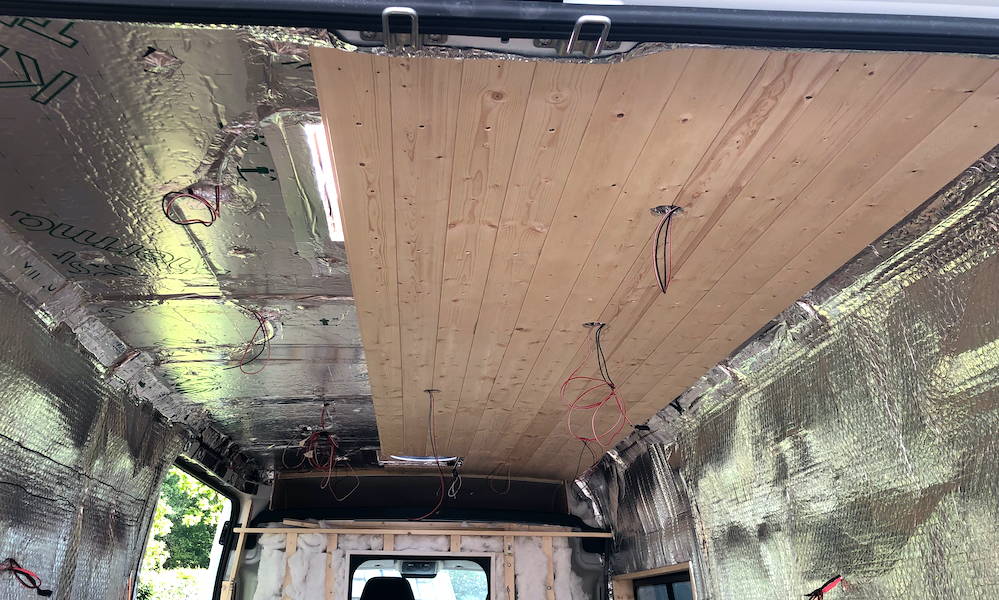
We were using 8mm softwood tongue & groove cladding for the ceiling. We still have not decided if this will be varnished like a sauna or painted.
Starting with the central planks and working outwards fixing to the 12mm ply supports in the ceiling. We tried to ensure that the were only a few joints by using the 3m lengths between the vents.
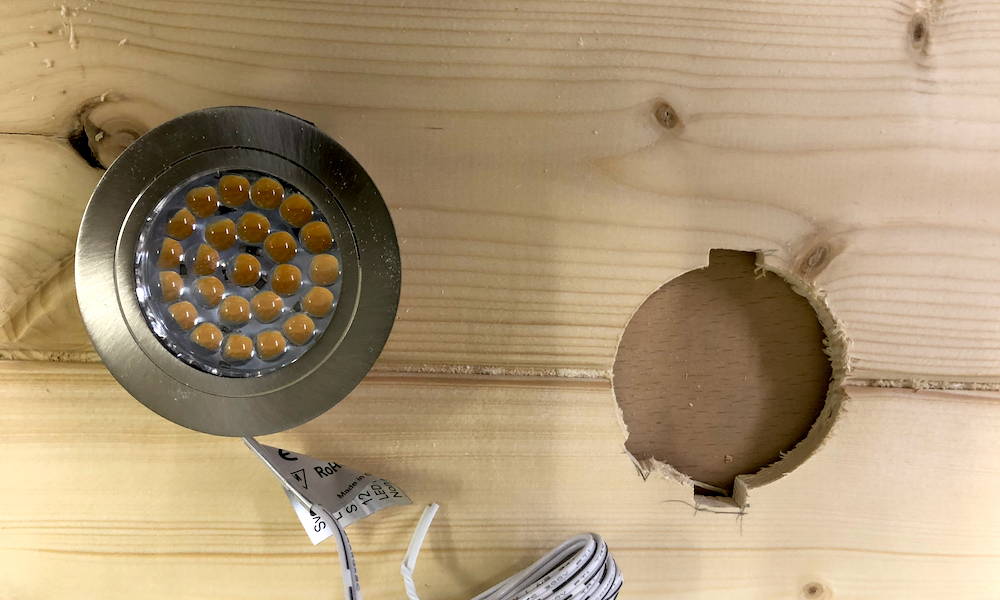
As we went, we cut the openings for the LED lamps. A pocket had already been made in the insulation and foil lined for each lamp.
When the whole of the ceiling had been covered, I used a router to cut the opening in the rear and front vent. The wooded frame provided a guide for the bearing on the bit to give a flush finish, which is then covered with the vent surround. Although this was very messy it was quicker that cutting length of cladding to the correct length.
