Build Archive - Mar
Floor - Fixed Down
2nd March 2020
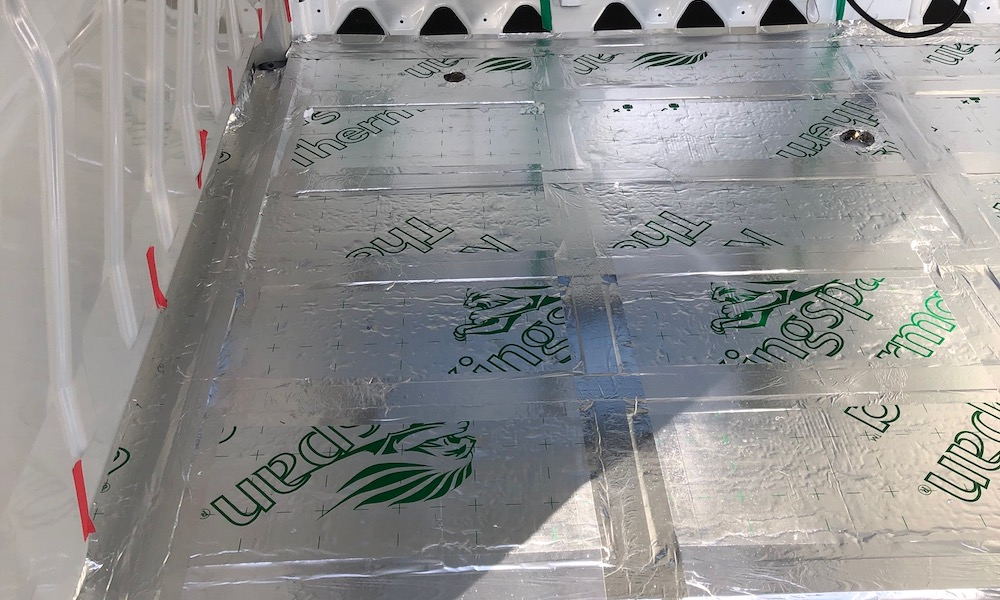
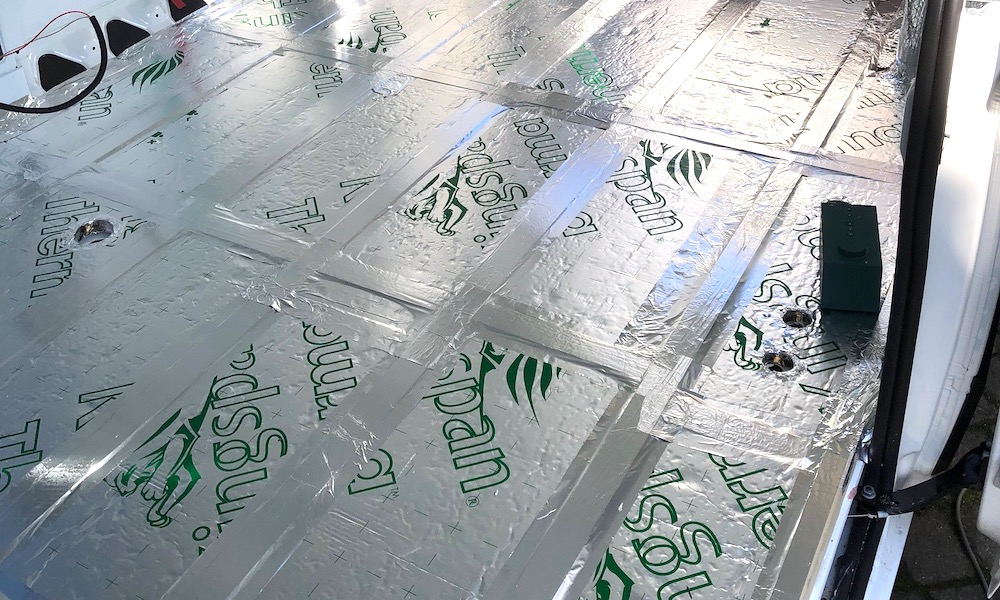
With the floor trial fitted and the holes drilled the insulation could be taped down. Foil tape was used to seal the floor completely.
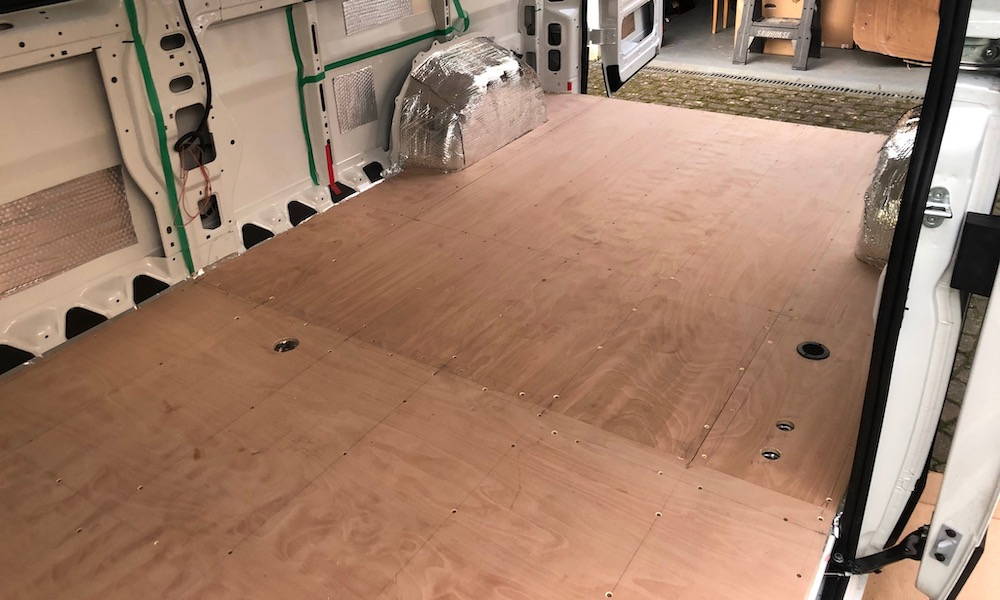
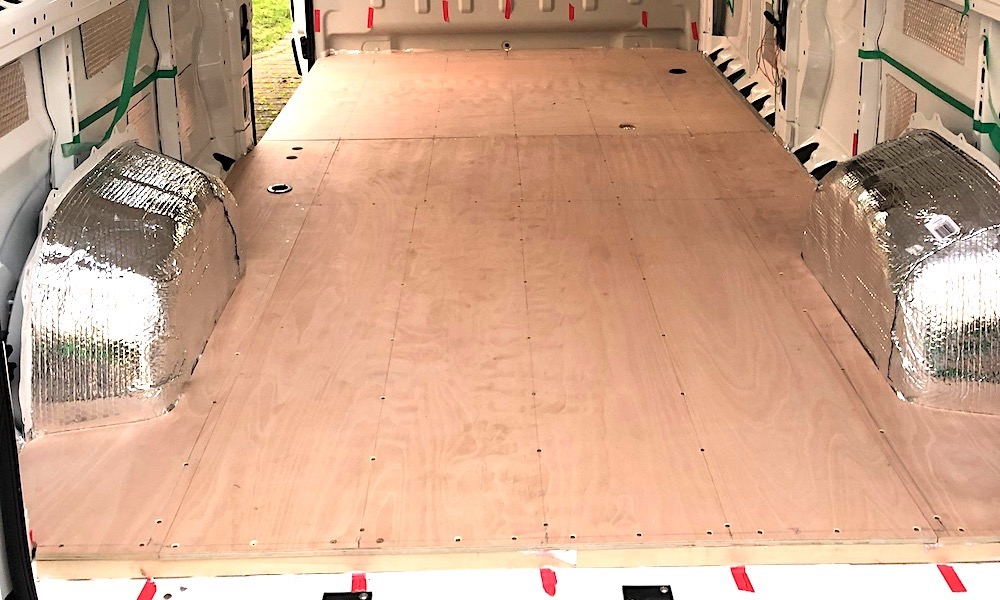
The plywood was then refitted and screwed down to the batterns with nearly 200 screws.
I then used silicon sealant to seal around the plywood edges and joints to make sure no water would get under the plywood.
I also sealed the underside of the dropout vents when fitted.
More Holes for Roof Vents
7th March 2020
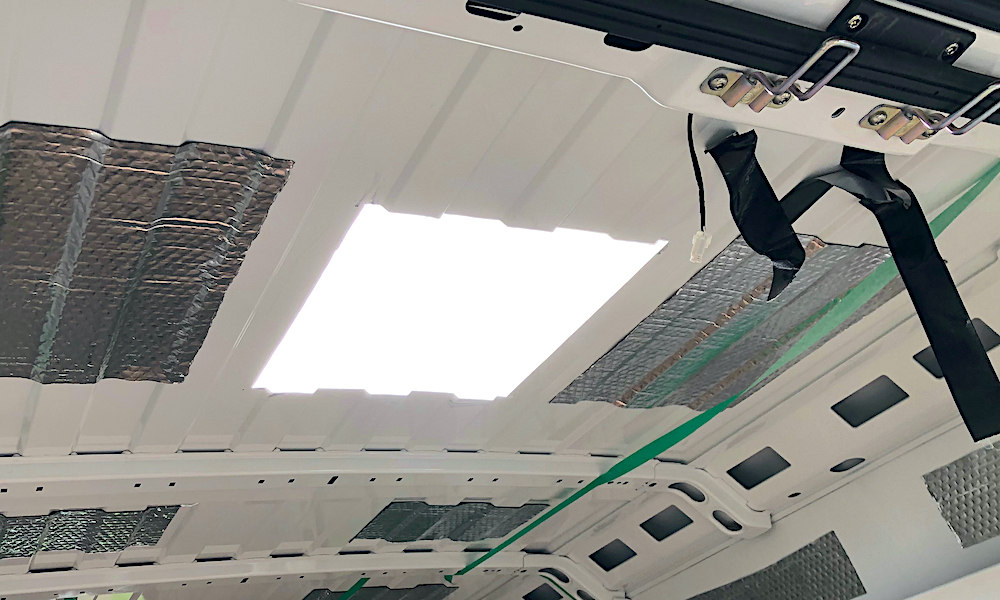
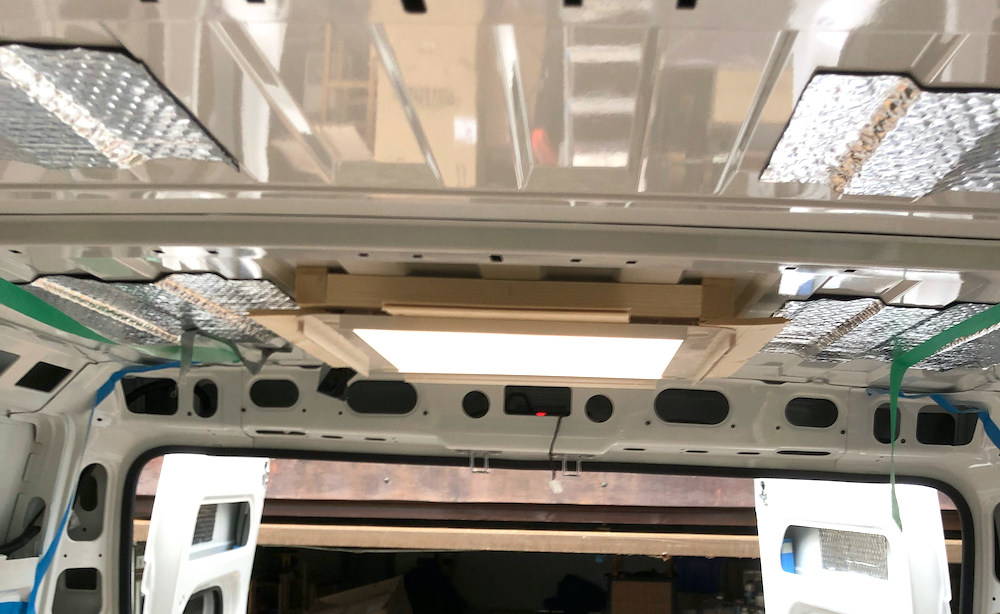
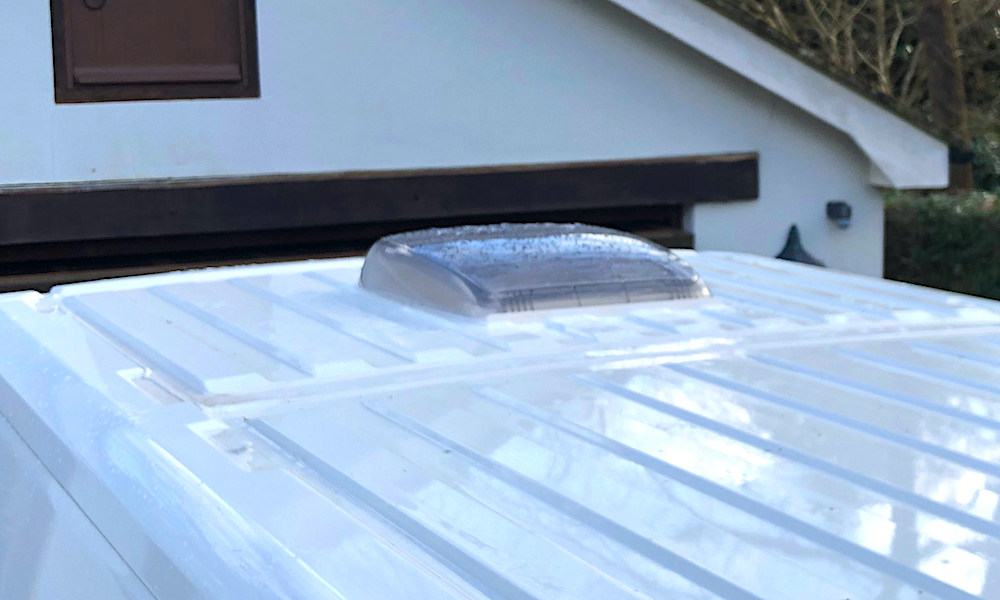
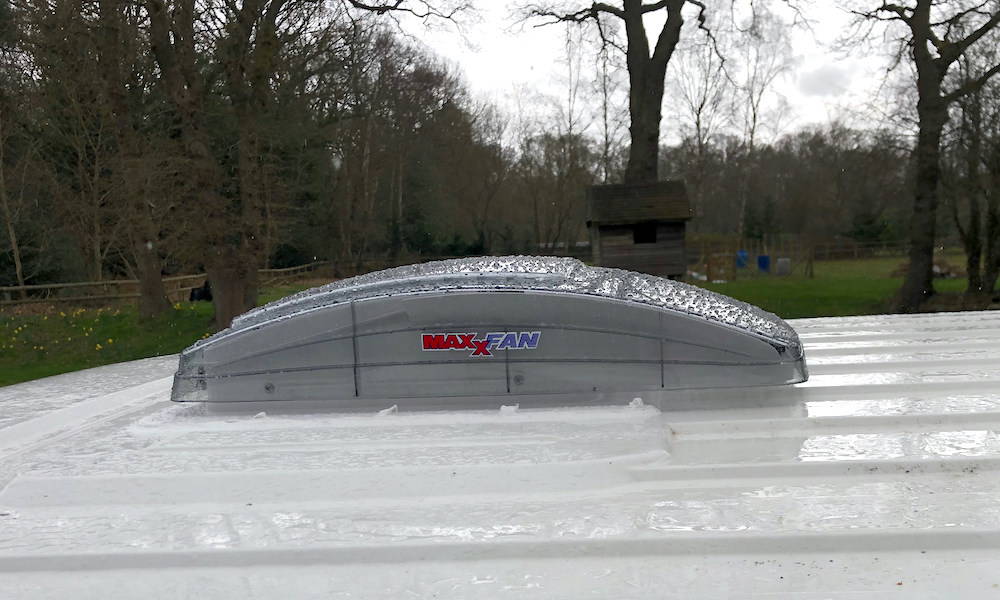
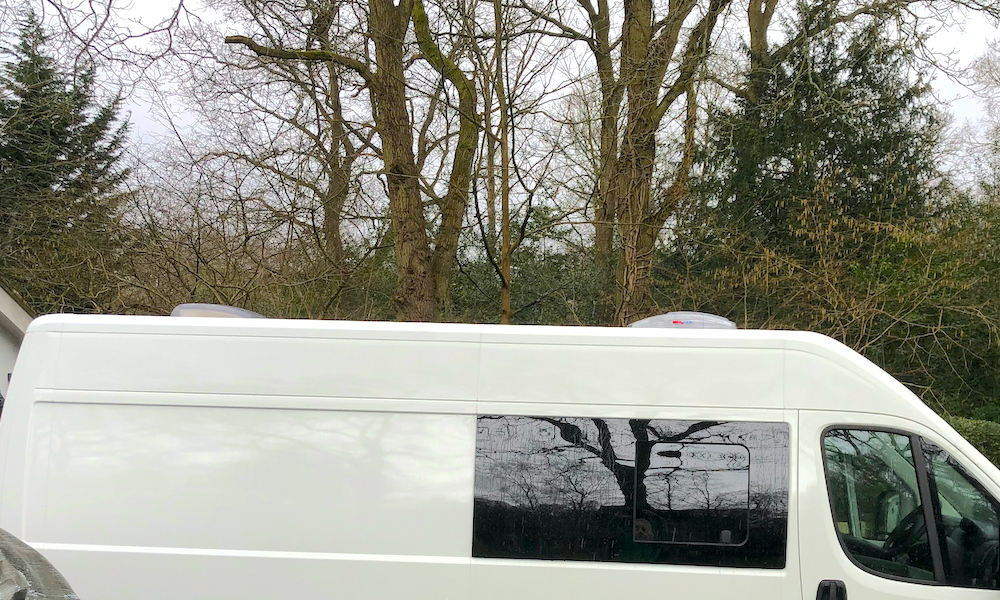
Cutting more holes in the panels, this time the roof. I was fitting two vents, one at the rear above the table/bed and one above the cooking area. The rear vent is a Dometic Mini manual vent with bult-in mesh and blind. The front vent also has a fan to created forced ventilation. We went for the clear Maxx Fan with remote (so we can change it from the bed!). Both from Jackson Leisure.
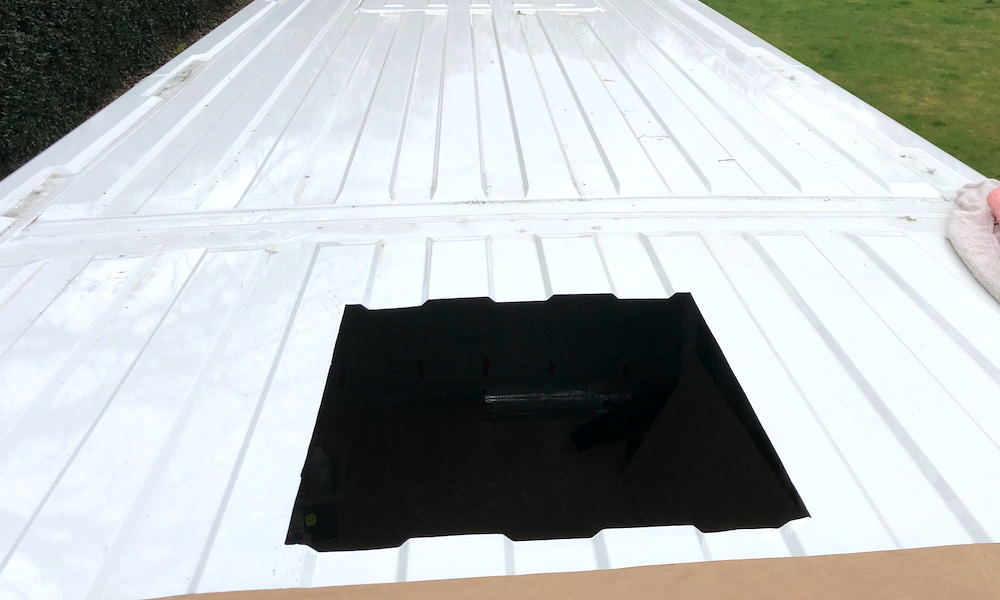
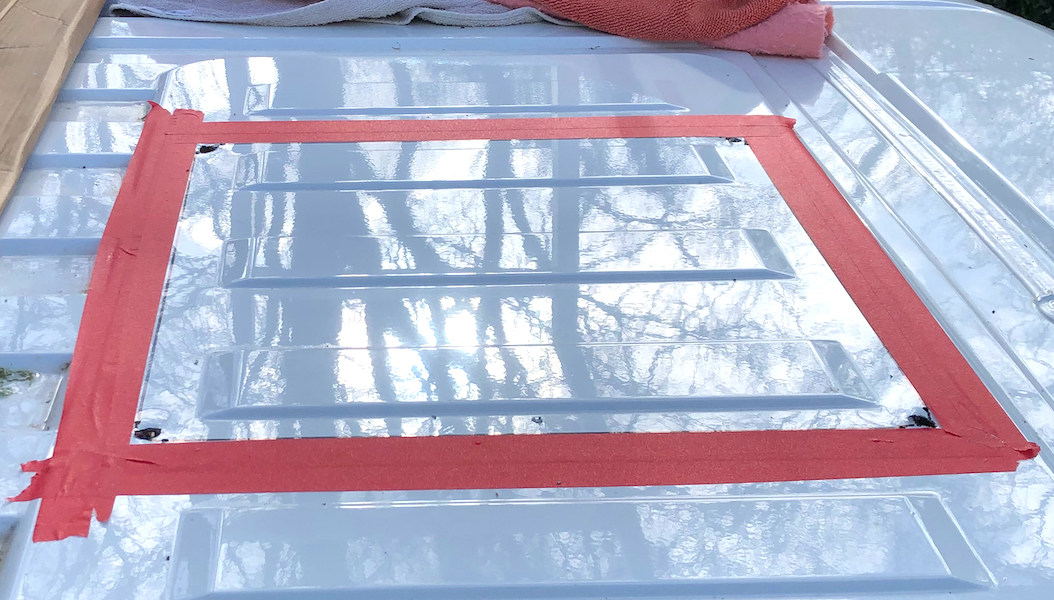
Having chosen a position for both centrally between roof ribs, the cut out was marked on the outside. Tape was place on the outside edge to prevent scratching the paintwork. A hole was drilled in each corner and then a jigsaw used to cut the metalwork. The vents were trial fitted to check clearance and then the edges were filed smooth and painted.
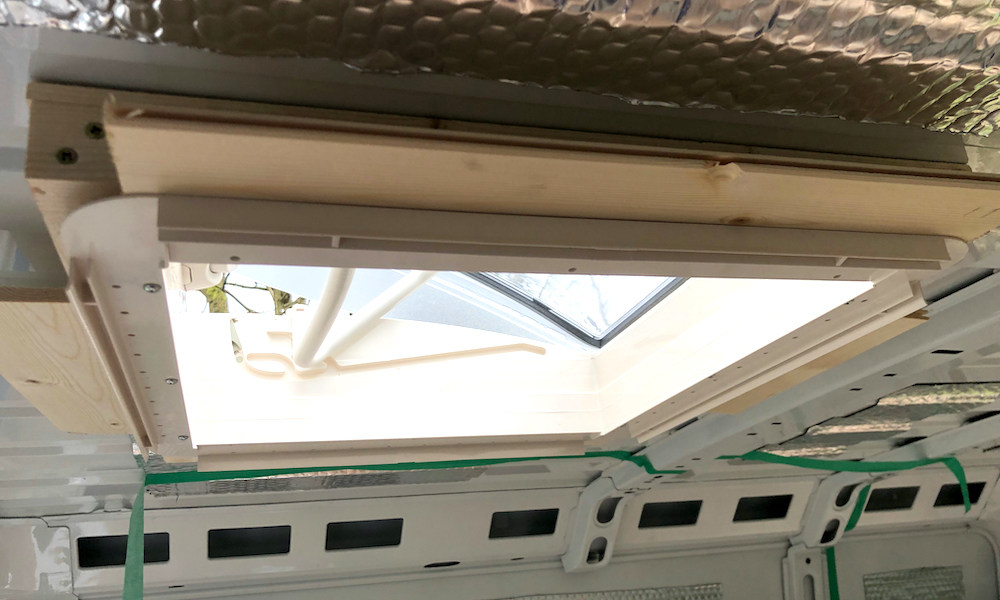
The rear vent is clamped in place using the frame inside so no extra holes were made in the roof. The roof was cleaned and prepped before the roof gulleys were filled with plastic pieces and Sika adhesive/mastic.
The roof was cleaned and primed before more Sika adhesive was used to seal the vent flange to the roof. More sealant was used around the edge of the flange to make sure there was at least 2 water tight seals.
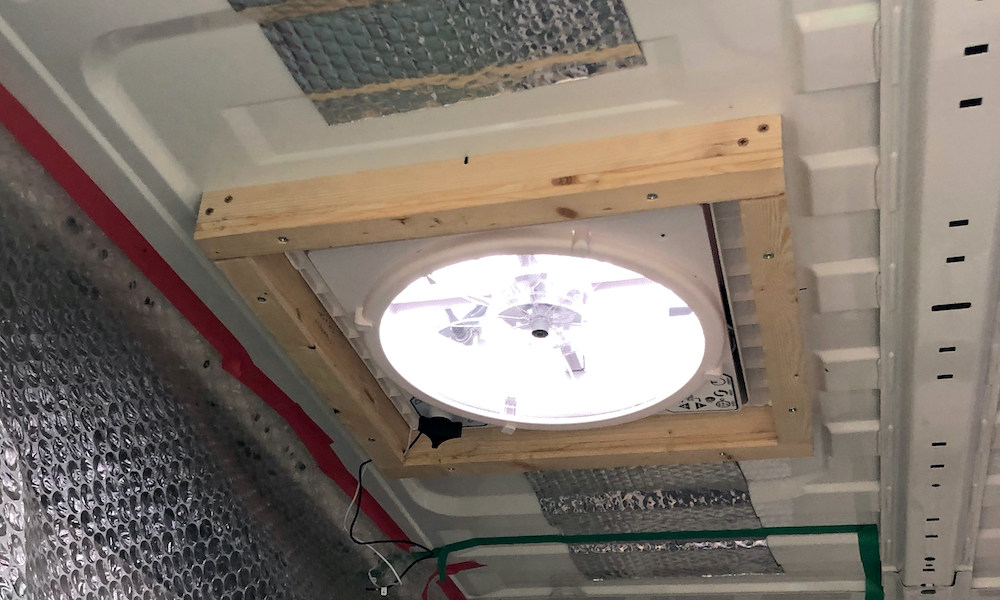
A wooden frame had been made to be the same size as the hole and the same depth as the roof insulation and with some offcuts of ceiling cladding it was sandwiched between the vent and the inner frame and all screwed together.
The front fan was slightly easier as the roof was flat and the outer frame screwed directly into my wooden frame. Check the sizes as the two frames are slightly different for the vents I used.
Wiring - First Fix
12th March 2020
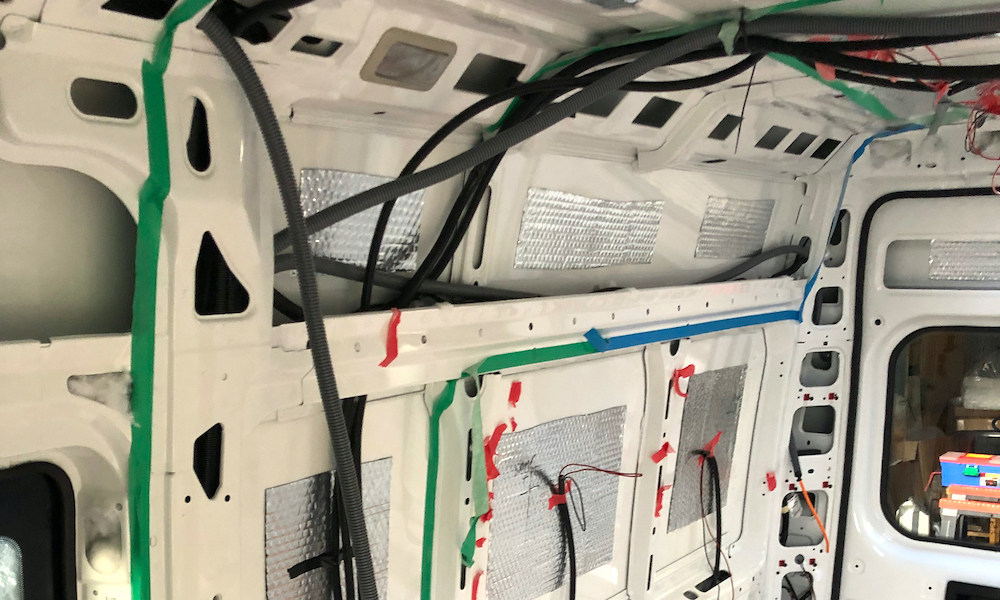
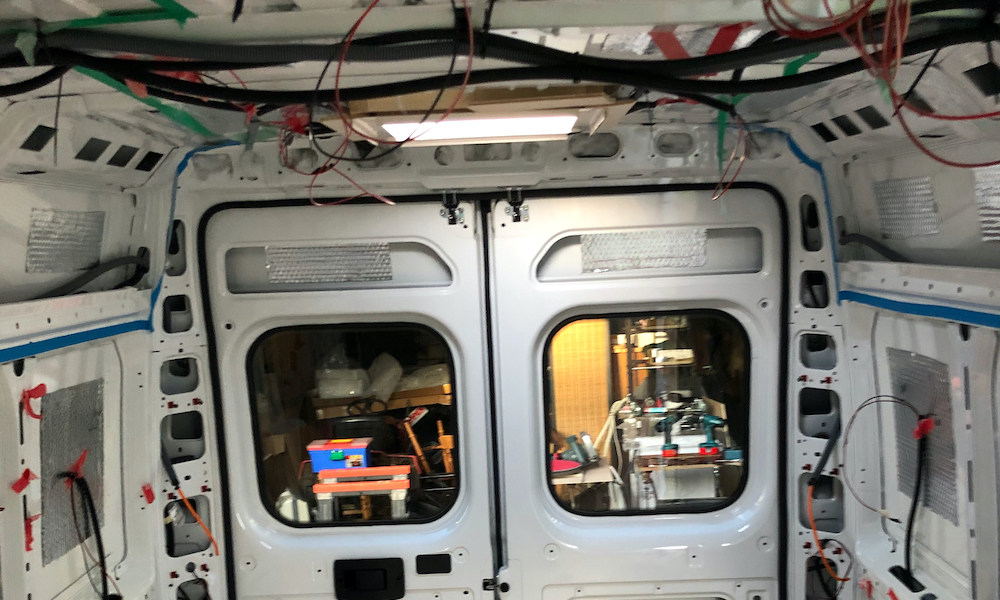
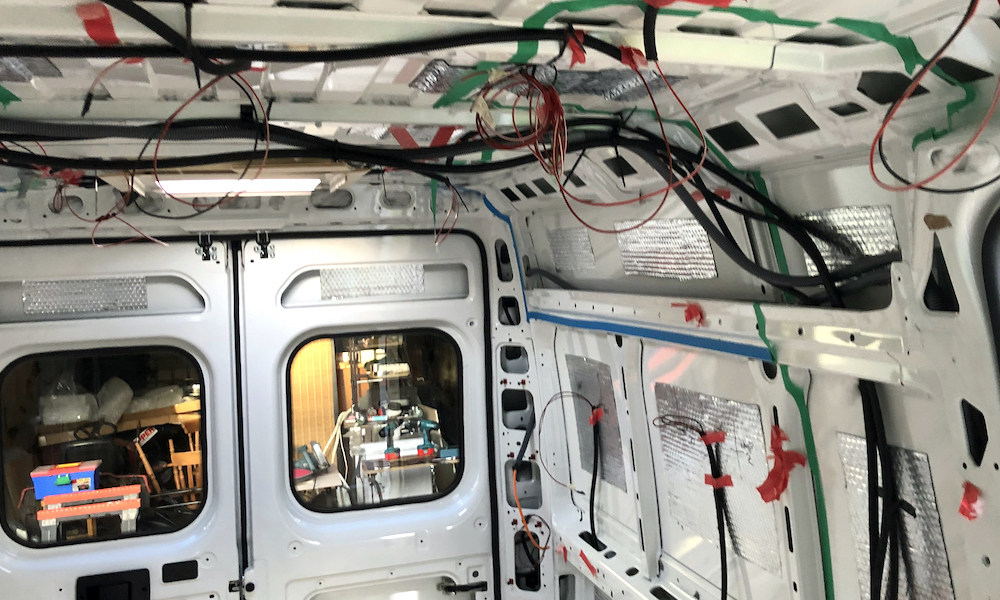
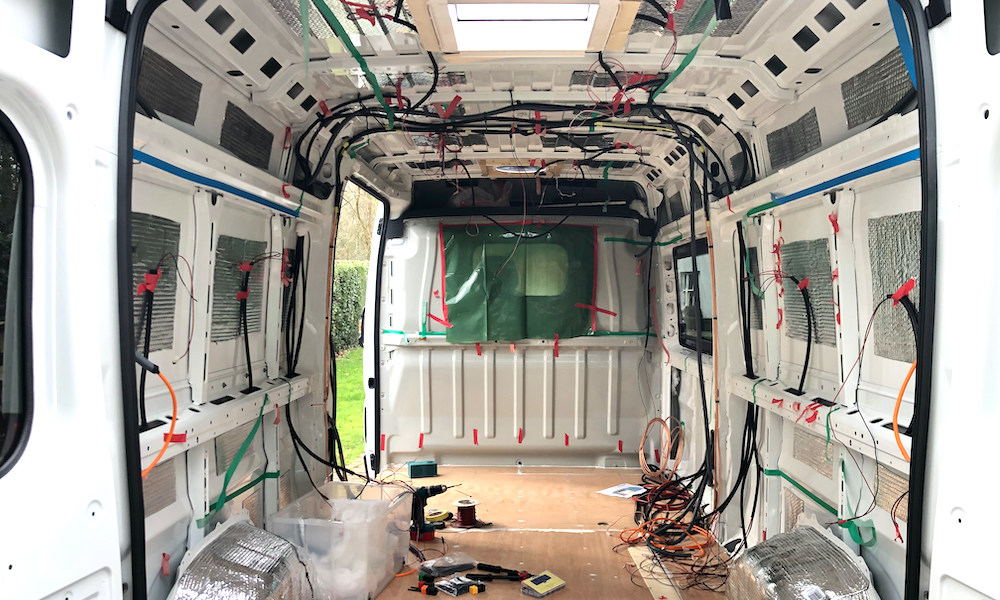
The next step was to run all the wiring into the van. I was using nylon black conduit for all 12V DC and grey conduit for 240V AC. It was used to protect the wiring from rubbing against any metalwork. I was using 2 mm sq. automotive wire from ALM for all the 12V DC (apart from the Fridge which was 4 mm sq.) and 3 core 240V AC cable.
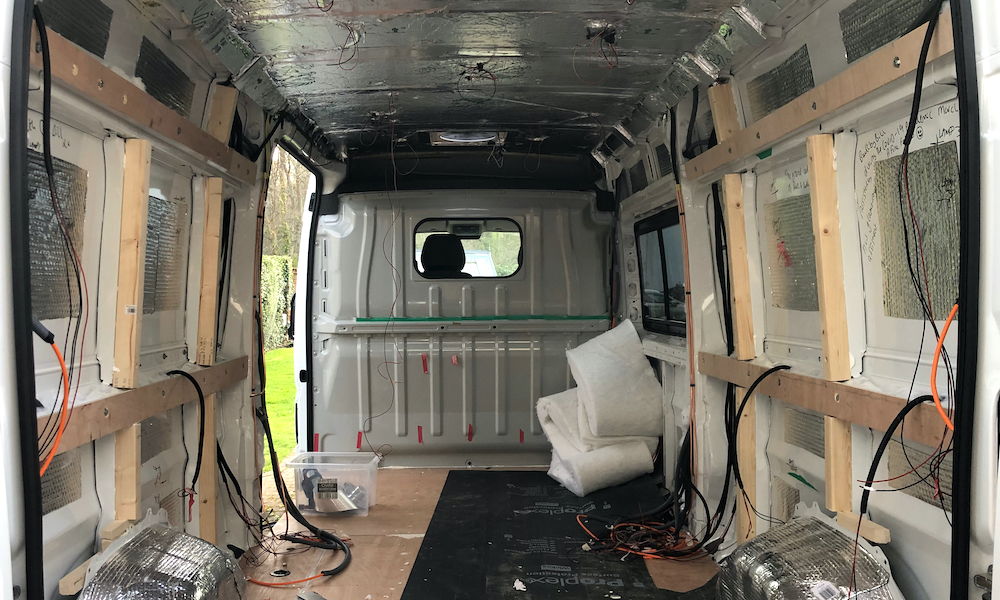
All the conduits were run from the position of the Electrical cabinet to the position of the connection on the vehicle, holding with cable ties where possible but many with tape for now. As you can see there was a lot of wiring. It had taken weeks to draw the full circuit diagram!
As I was only using Red and Black for 12V ALL the wires were labelled so I knew what they were for. ALL -ve 12V DC was returned to the battery, the chassis was not being used to earth the devices even though the battery -ve would be connected to the chassis.
Insulating Roof - Prep
13th March 2020
The roof is the second area that can be insulated.
The roof supports are first stuffed with insulation wool. I'm using Supasoft insulation made from recycled polyethylene plastic bottles, it has exactly the same properties as Dodo Thermo Fleece but is a third of the price.
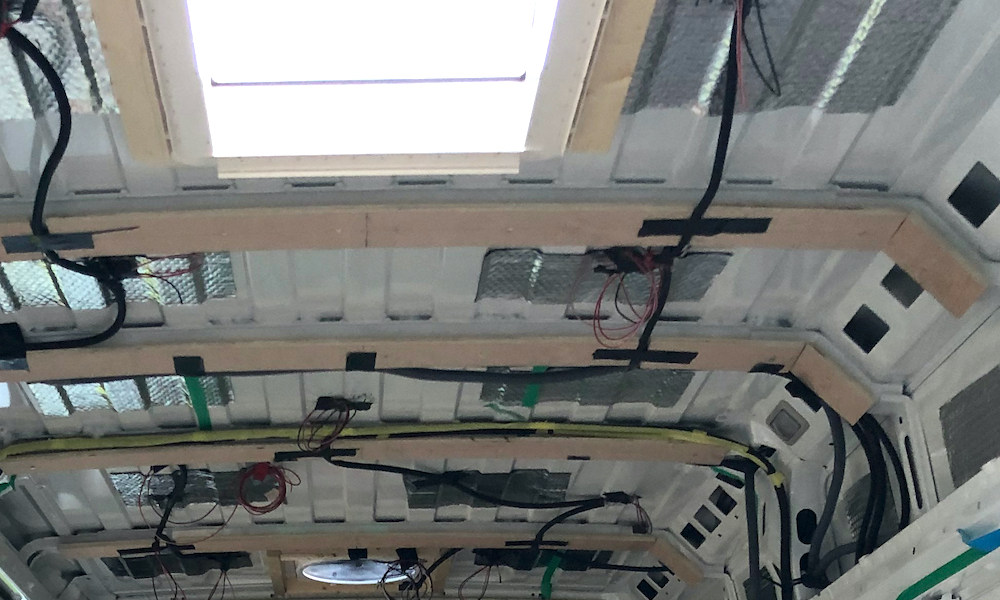
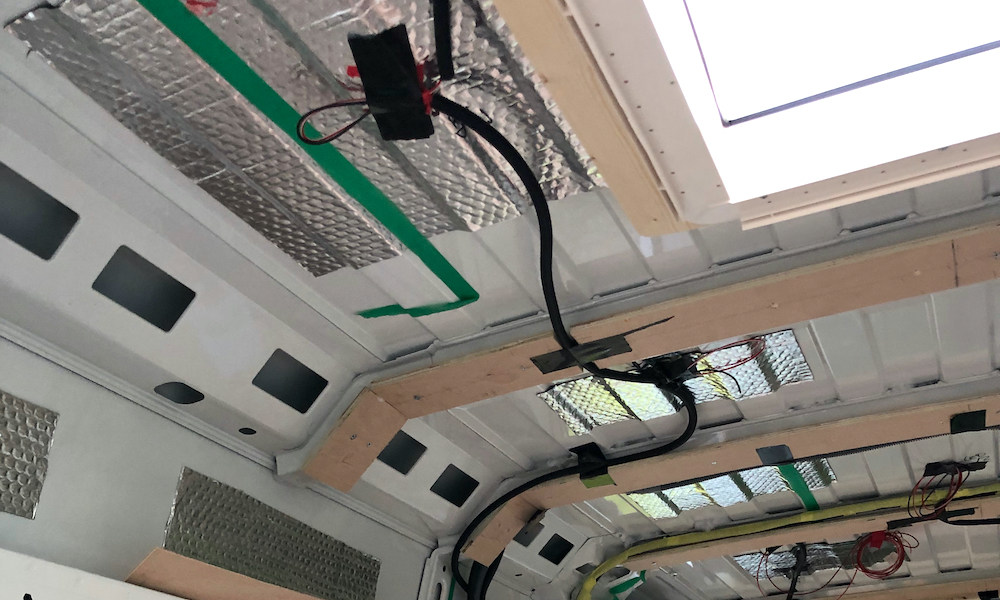
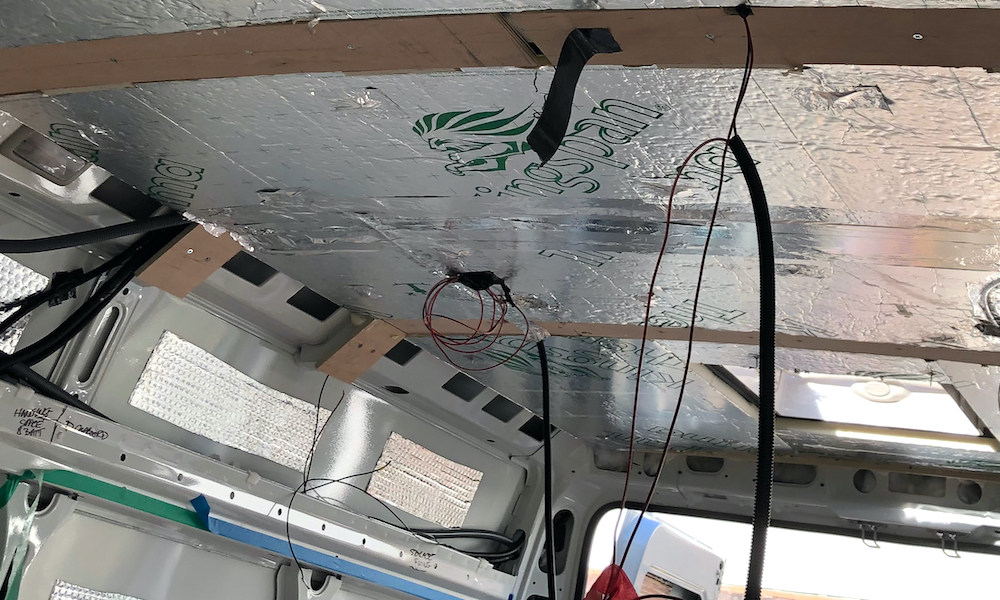
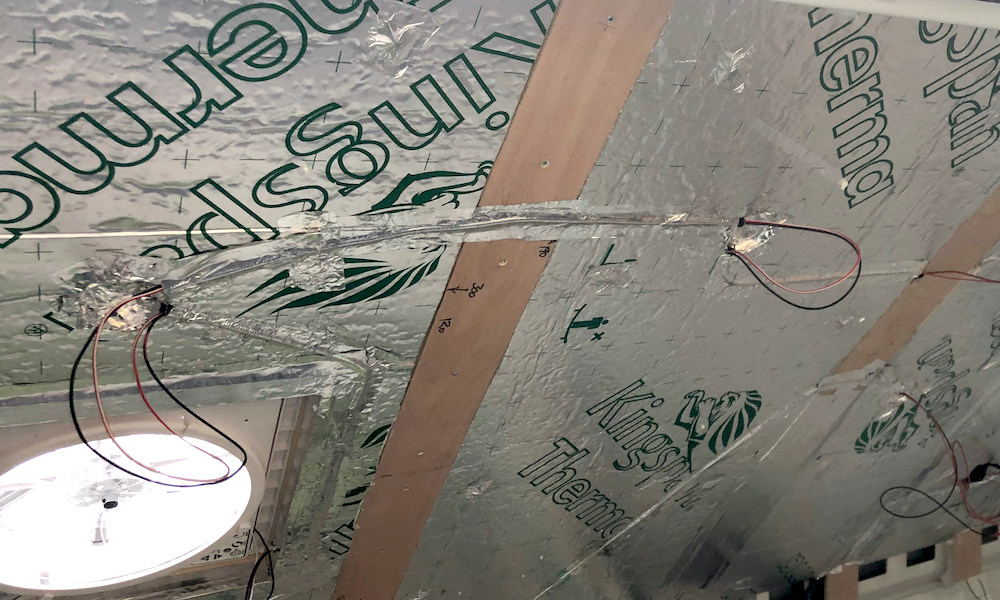
With all the wiring in place wooden 12mm plywood strips can be fixed to the roof supports with self-drilling screws. This gives approximately 30mm of insulation gap for solid insulation boards between the roof supports. The wood is made wider than the roof supports so that the wiring can sit neatly in the gap between the roof and wood.
Slots are made for the wiring conduit to run across the wood. This wood will support the ceiling and trap the insulation boards in place.
Insulating Roof - Boards
16th March 2020
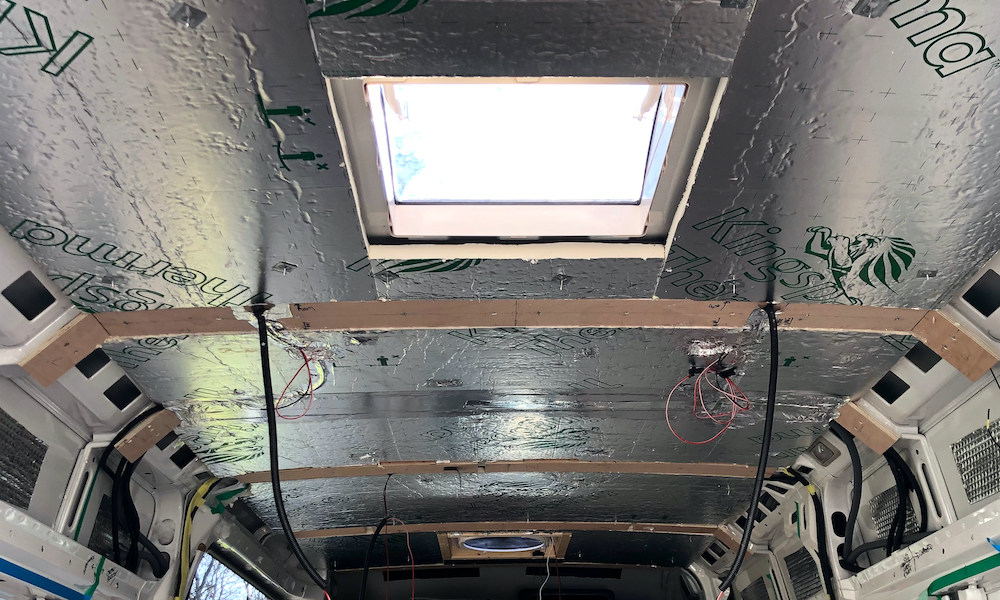
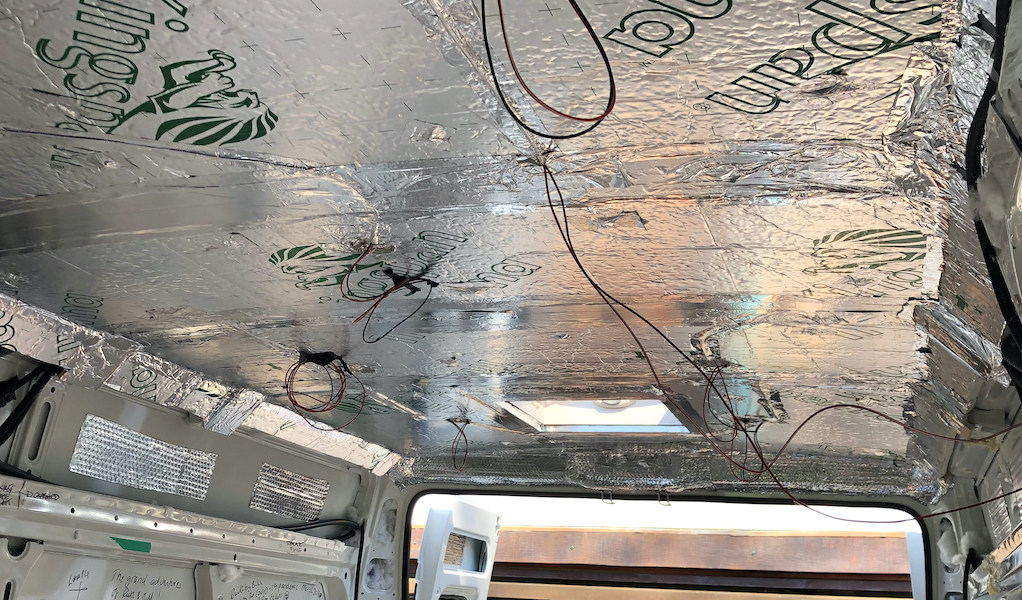
The insulation board is foil sided PIR, very common in all van conversions.
There are numerous ways of holding this to the roof. Some people spray expanding PU to stick it on and use long bits of wood to jam it in place until it has set. Taping it around the edges can also work. I liked Tim's method of cutting it and using expanding PU at the sides to hold it using tackiness and force fit. This does require accurate cutting.
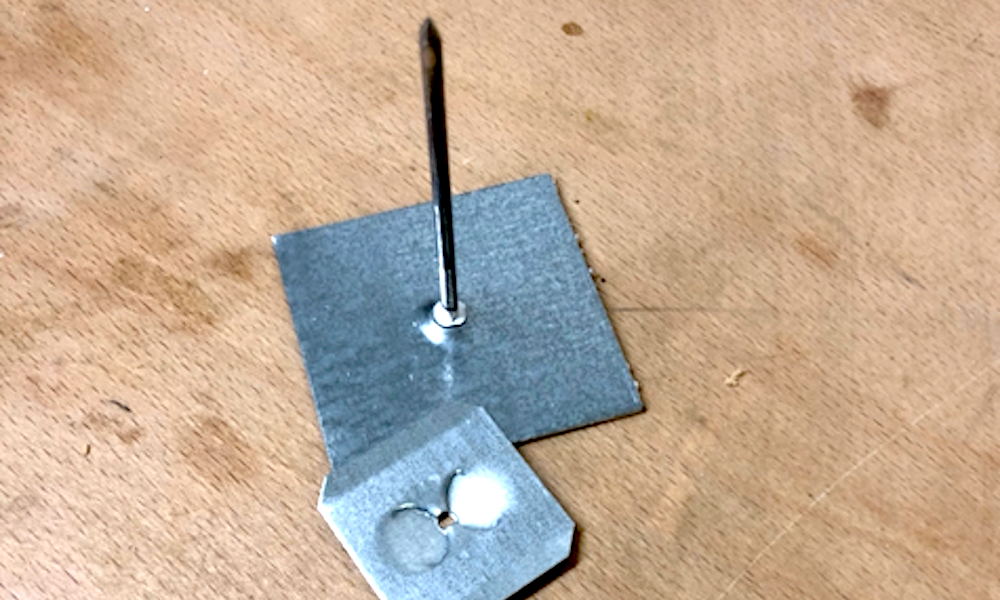
The best and the one I used, having seen Greg doing it, is with pins. Theses have self-adhesive pads that hold the pins in place and then force fit washers to clamp the foam. The excess pin can be easily cut off. This gives a solid insulation so that you can take your time foil sealing all the edges without any messy expanding PU.
LOCKDOWN
23rd March 2020
National Lockdown announced.
Buying wood and bits locally is now an issue. Online shops very busy and low on stock.
Being furloughed means more time on the van!
Wall Supports
26th March 2020
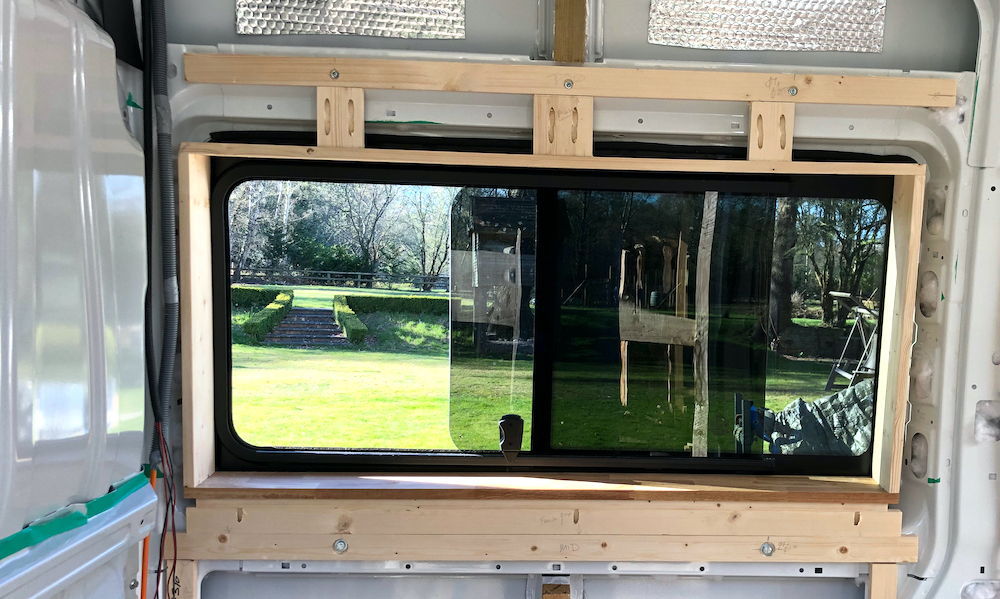
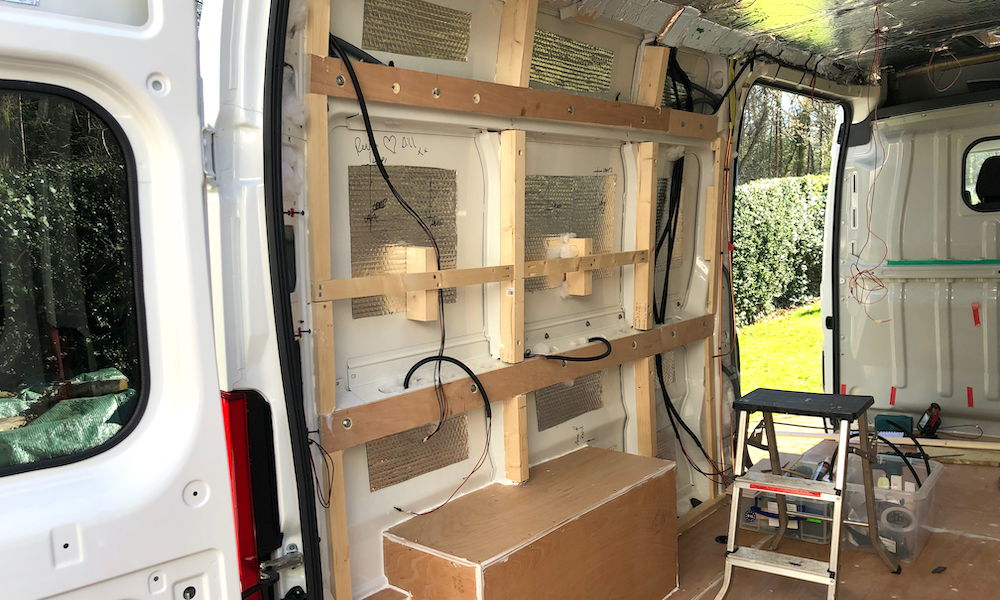
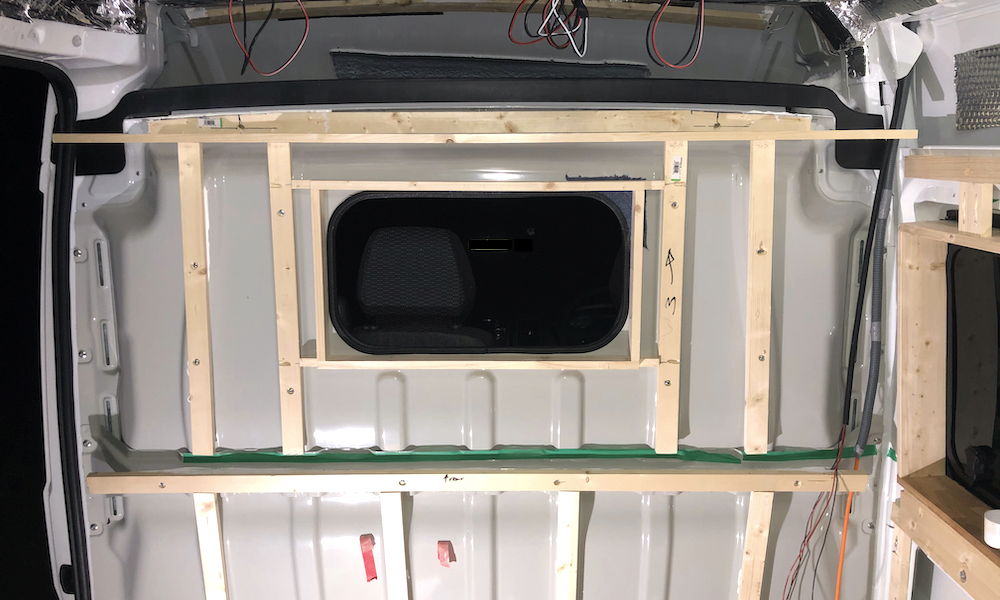
The wooden framing of the sides was done with various sizes of wood that would give a common surface to attach the plywood finish. The wood was bolted and adhered using Sika. M6 & M8 rivnuts were added to the frames inside the van so that the wood could be bolted firmly in place. Sika was added to give extra strength and to stop any squeaks. A few minor packing bits were held only with Sika, no load bearing members.
I also boxed in the wheel arches. These were stuff with insulation wool before the boxes were screwed in place.
The bulkhead also had wooden blocks bolted into rivnuts added to the bulkhead.
Solar Panel on Roof
28th March 2020
The final job before we could board the ceiling was to fix the solar panel on the roof.
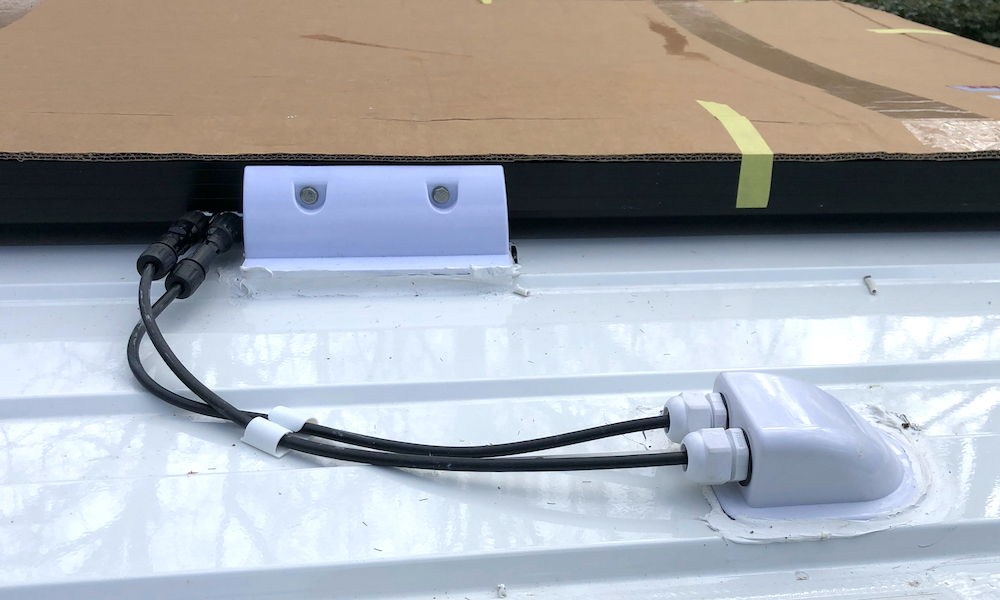
I should have cut a hole for the wires earlier but I didn't want to get water ingress so I had to drill through the metalwork and the insulation to get the wire through. Measured about 4 times before any cuts made.
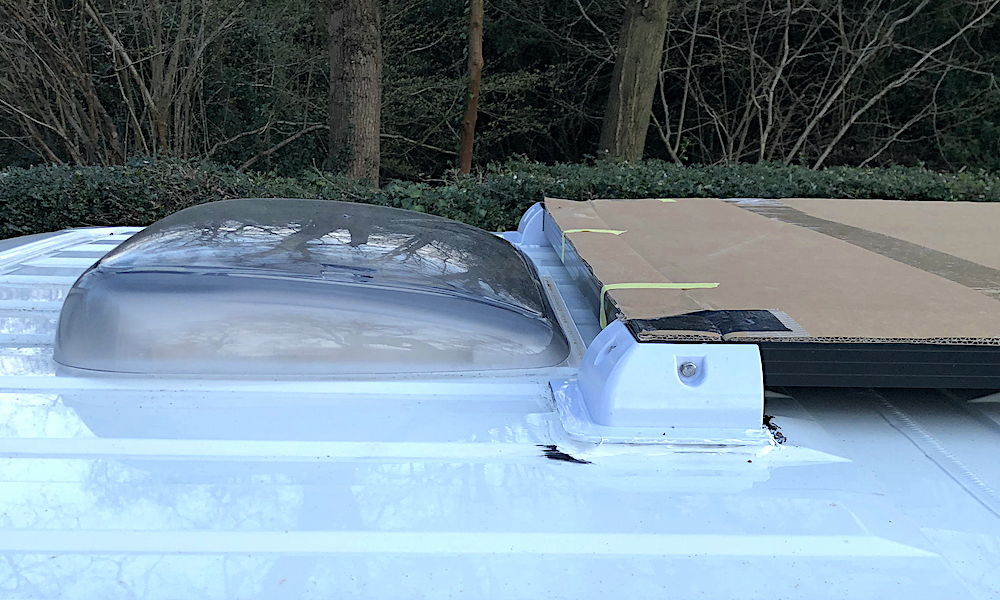
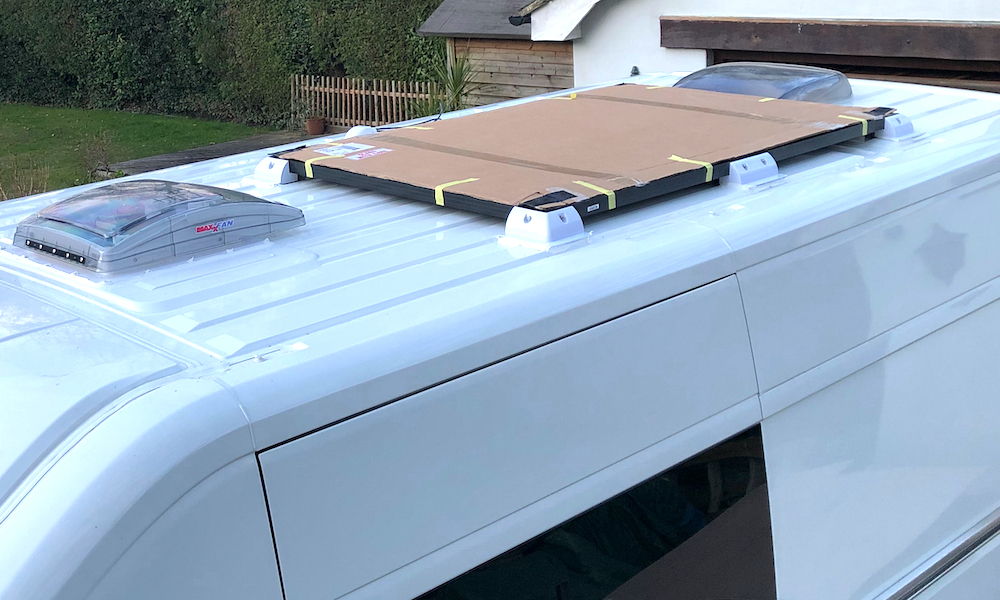
Fixed using 6 solar panel mounts bonded to the roof. The area under the pads was cleaned and then had activator and primer applied (the black around the sealant is the primer) before a bed of Sika adhesive.
Solar panel connectors were added and the wires taken through a waterproof roof mounted connector.
