Build Archive - Feb
Windows
1st February 2020
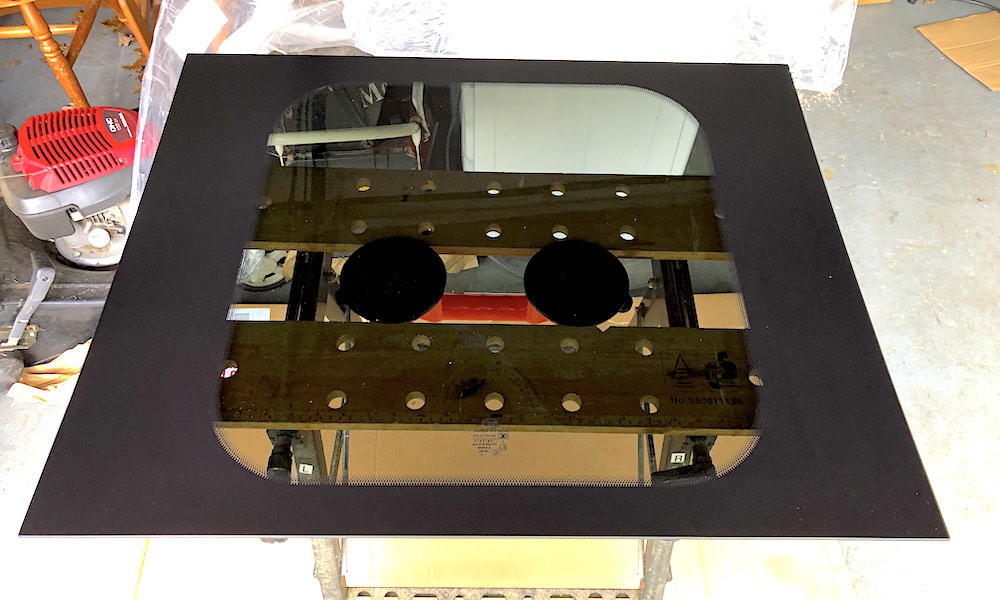
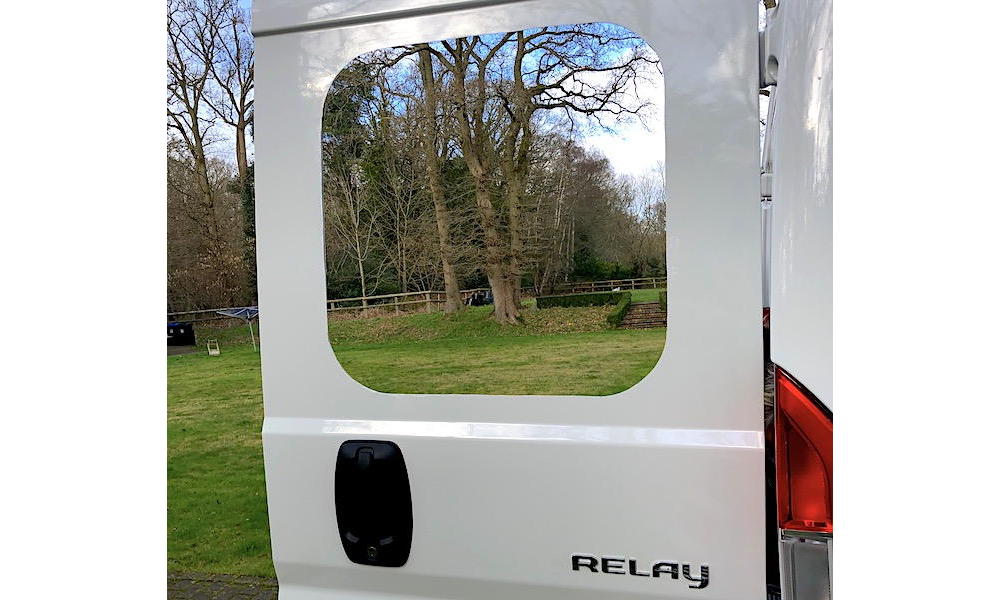
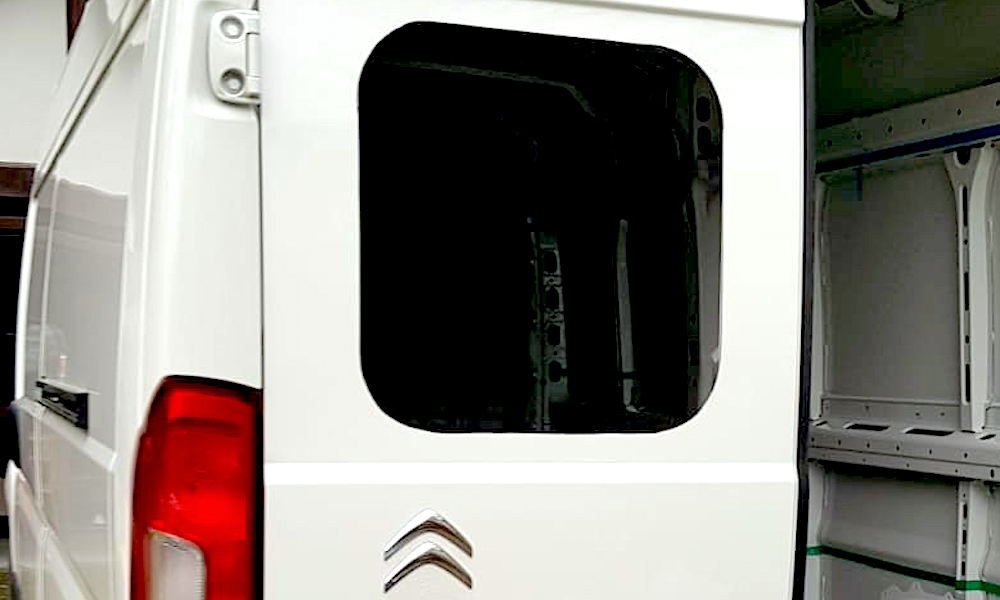
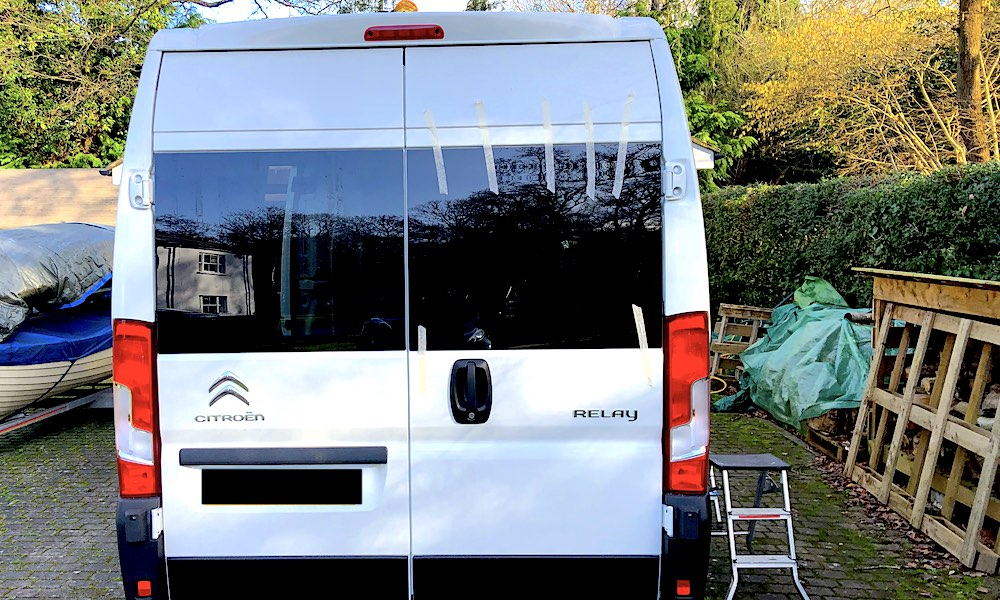
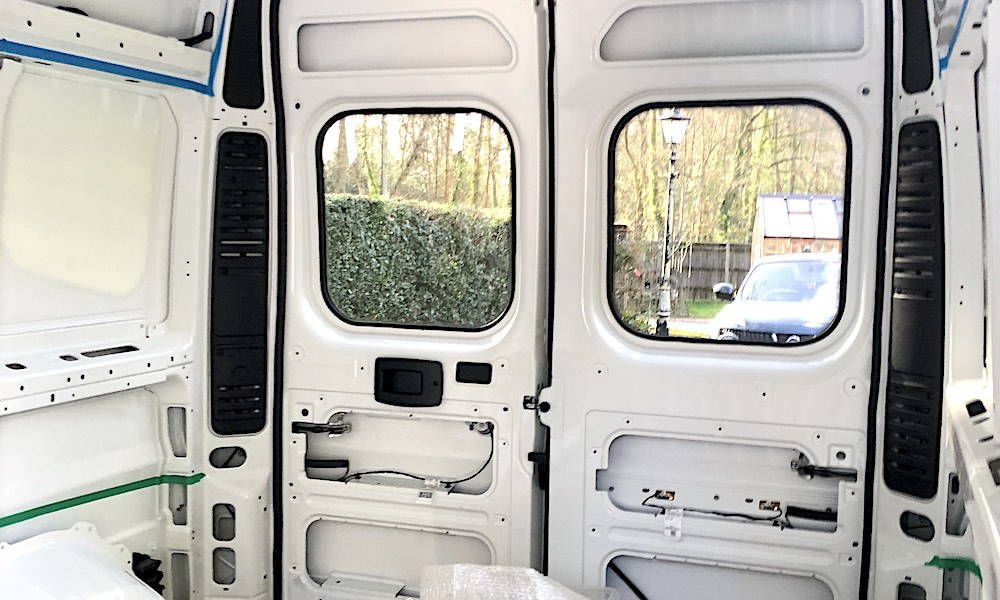
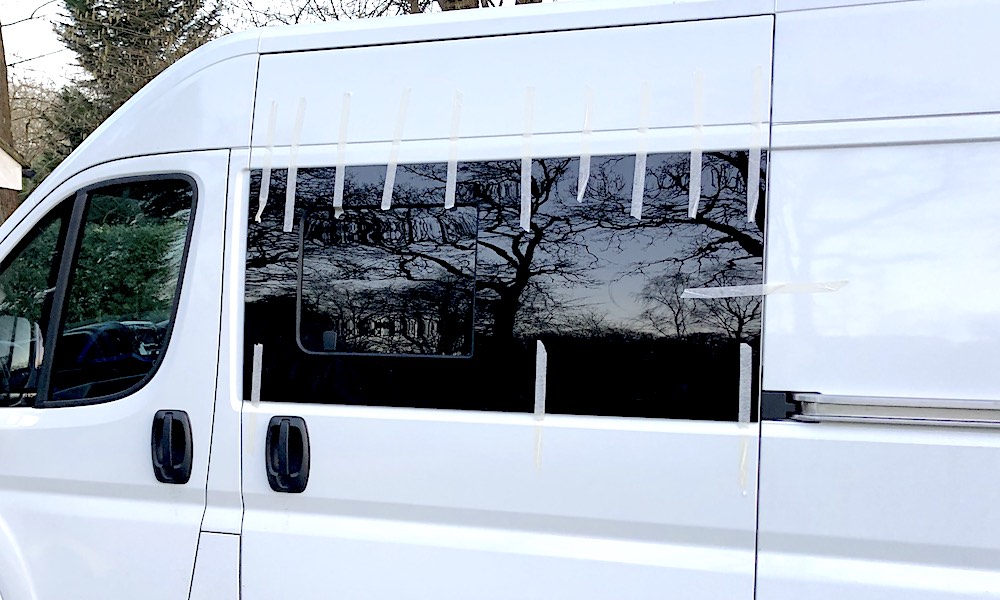
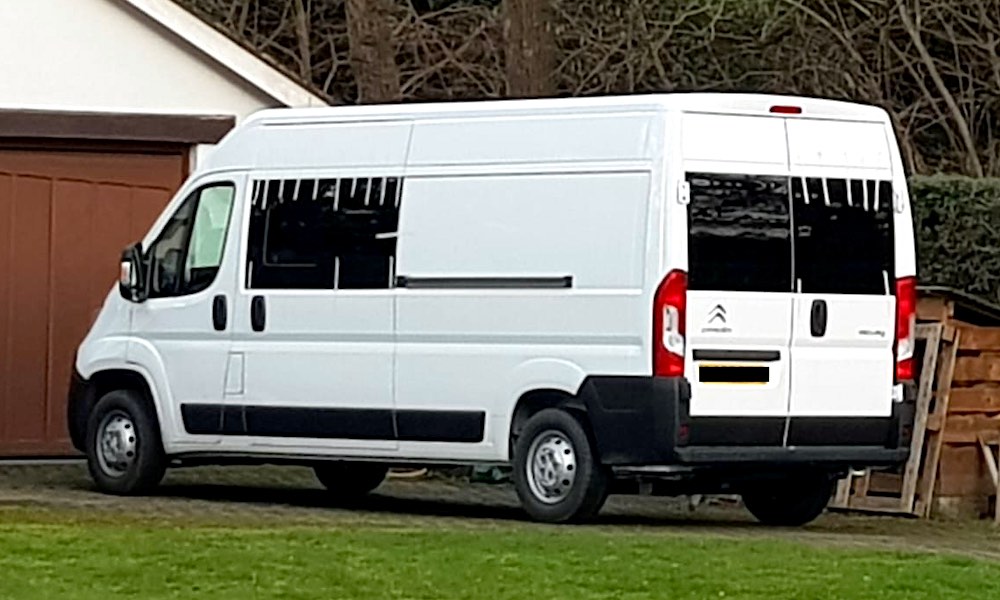
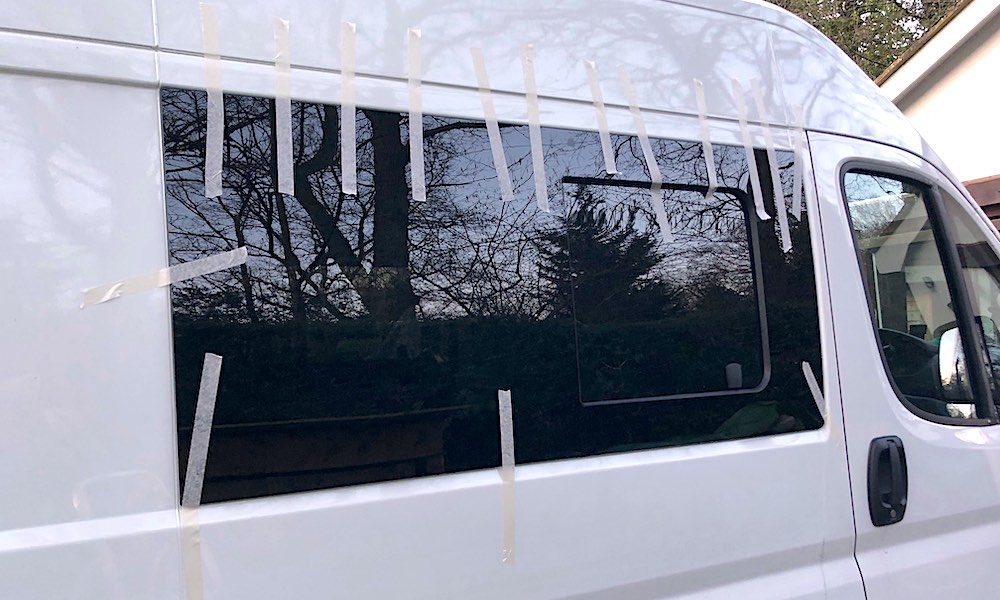
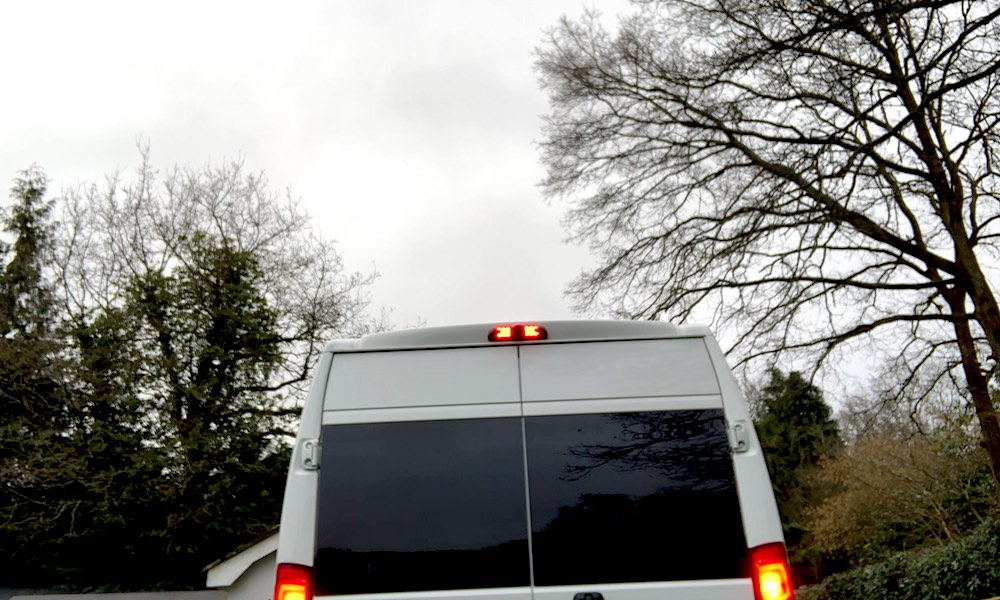
Long day cutting metal, painting edges, adding trim and bonding in new windows. Two fixed rear windows and two sliding windows, one on each side.
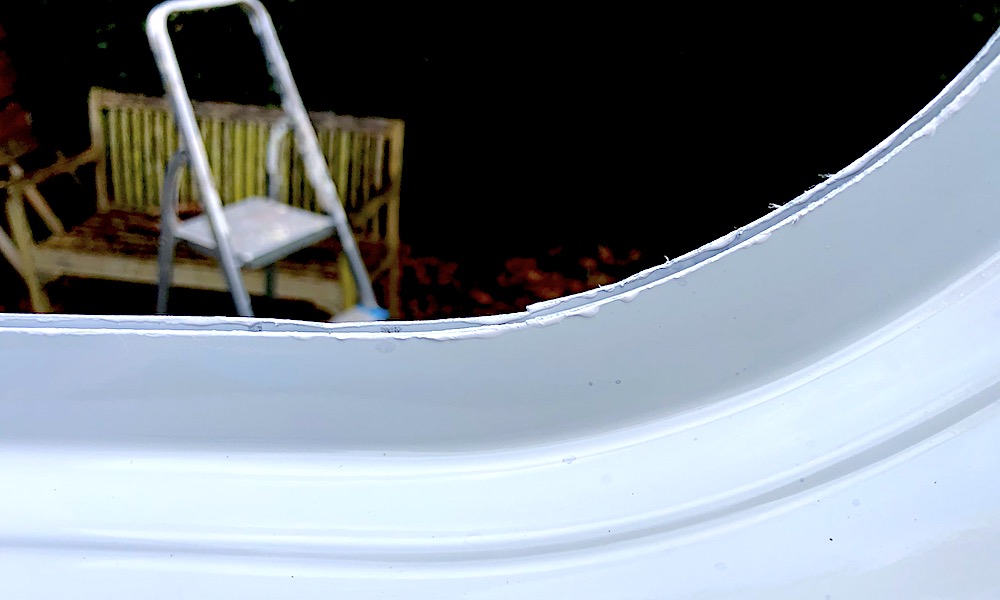
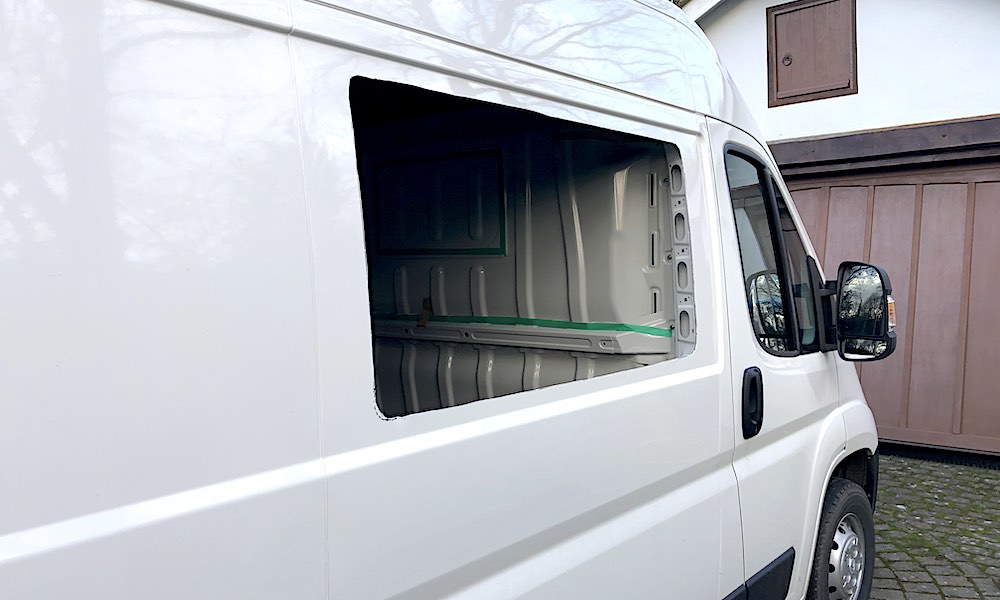
Each window was measured and cut-out marked on the van. Holes in the corners of the windows were drilled from the inside and then a jig saw used to cut the metal. All the edges were filed down before painting.
It makes such a difference to the light inside the van.
Window Failure!
2nd February 2020
We had rain overnight and found water in the van!
Using a watering can, we found out that the first big window had a leak. It looked like we had not aligned it correctly at the top and then slid it up. The adhesive had cured overnight and the window was solid. So, how do you fix it! Two options, get it off whole or break it. After 5 hours of wire, saws screwdrivers and blades we got it off whole. The van was covered in uncured PU adhesive and scratches. We were cut, sore and tired.
Moral of the story - Do it right first time or pay someone else to do it.
Two days later we had another go and got it right this time - a dry van.
Sound Deadening
22nd February 2020
After a break due to surgery, I'm back on the van.
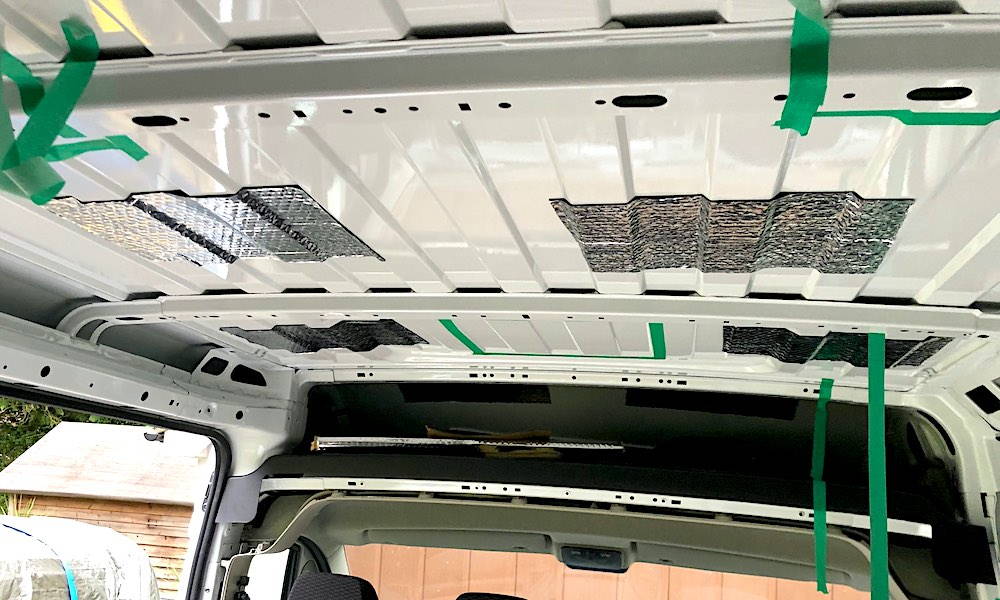
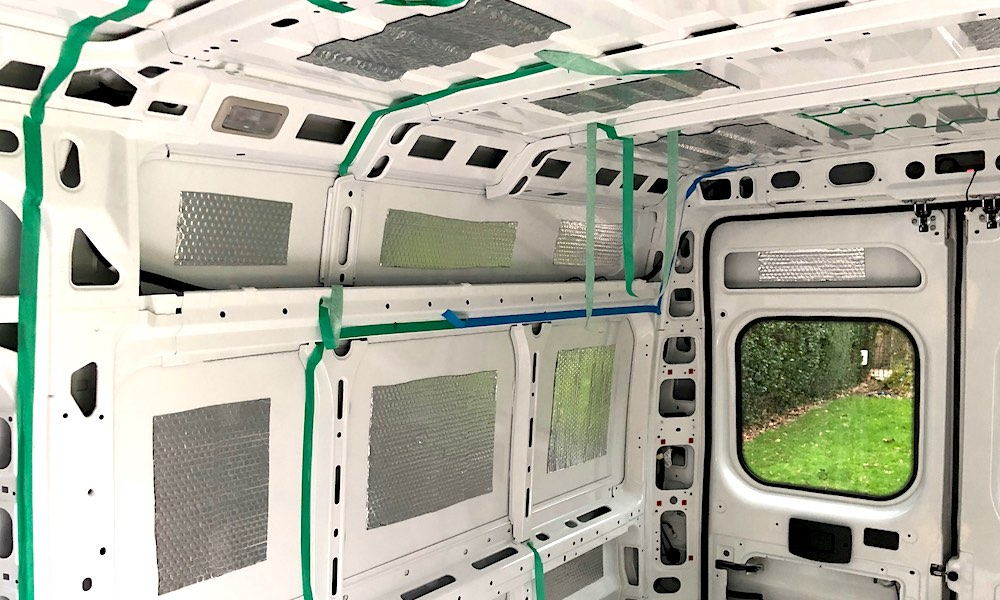
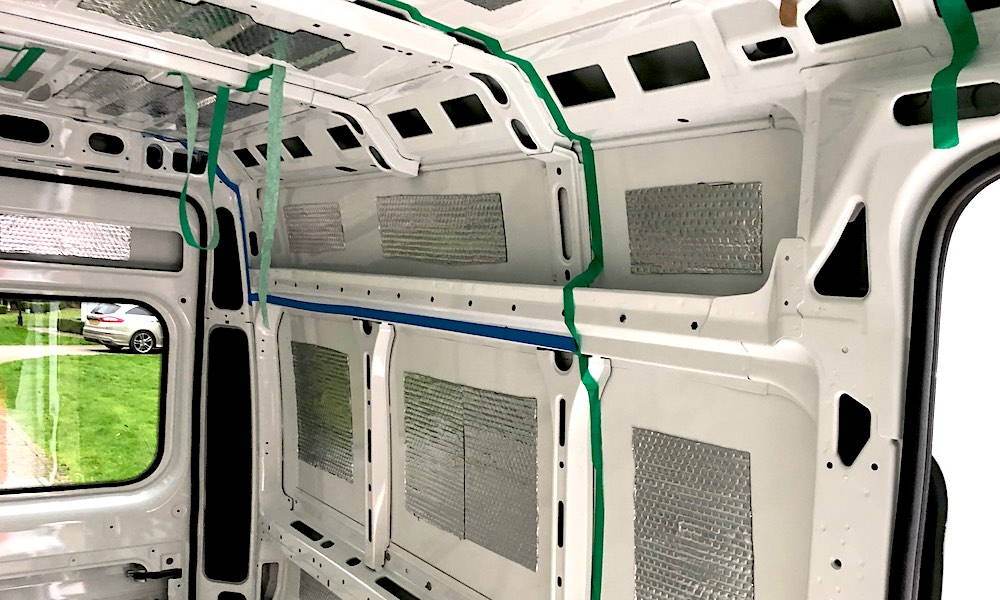
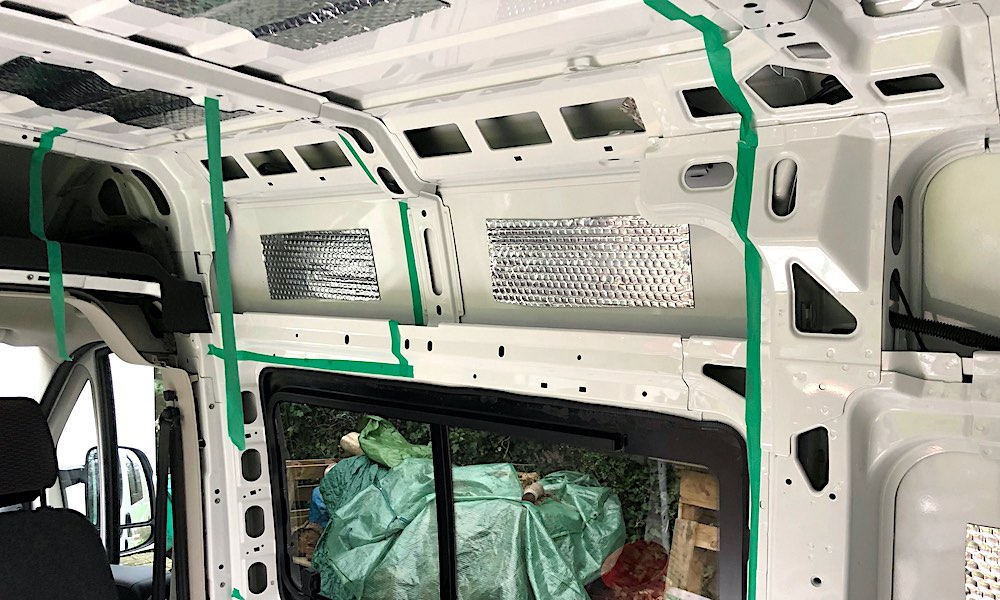
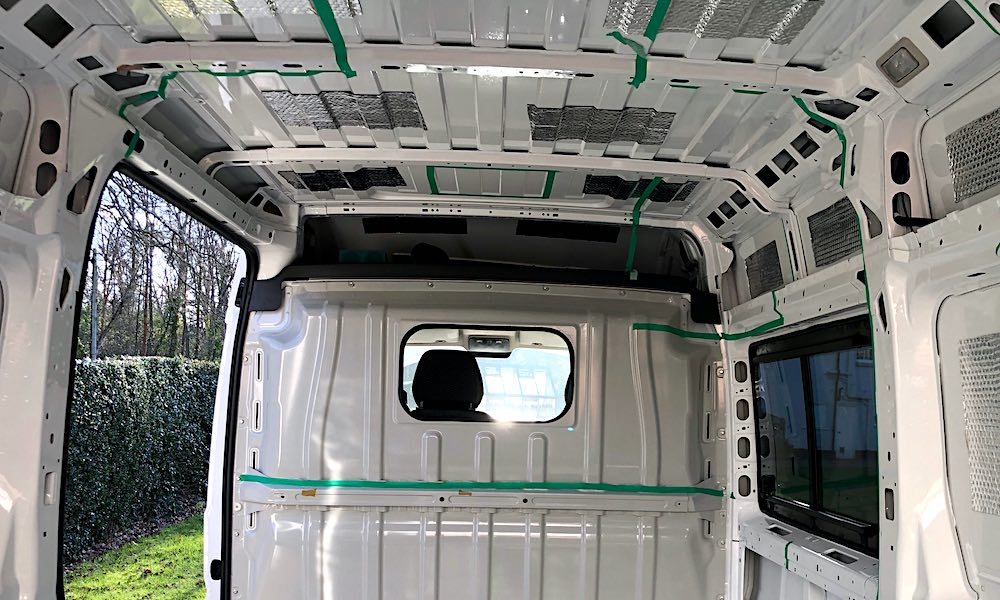
Moving on to sound deadening. Like most things about camper vans there is a lot on the internet about the right way to do it and everyone has their opinion on what that is. Some are interesting and some are just wrong. I decided to use the popular Dodomat, which is a foil covered bitumen like material. The aim here is to add material to the panels to change the resonant frequency of the panel. Panels are very thin and vibrate easily, radiating noise. Adding material to the panel will lower the resonant frequency, for simple harmonic motion the resonant frequency is inversely proportional to the mass, so more the mass, the lower the frequency. So simply adding stuff to the panel will change the frequency and stop it ringing.
Hitting things is often the best way to see the effect. Tapping the panel before and after adding the mat will show the difference. Some say 25-30% other 50-75% it all depends if you are buying or selling the material.
Bulkhead Modification
27th February 2020
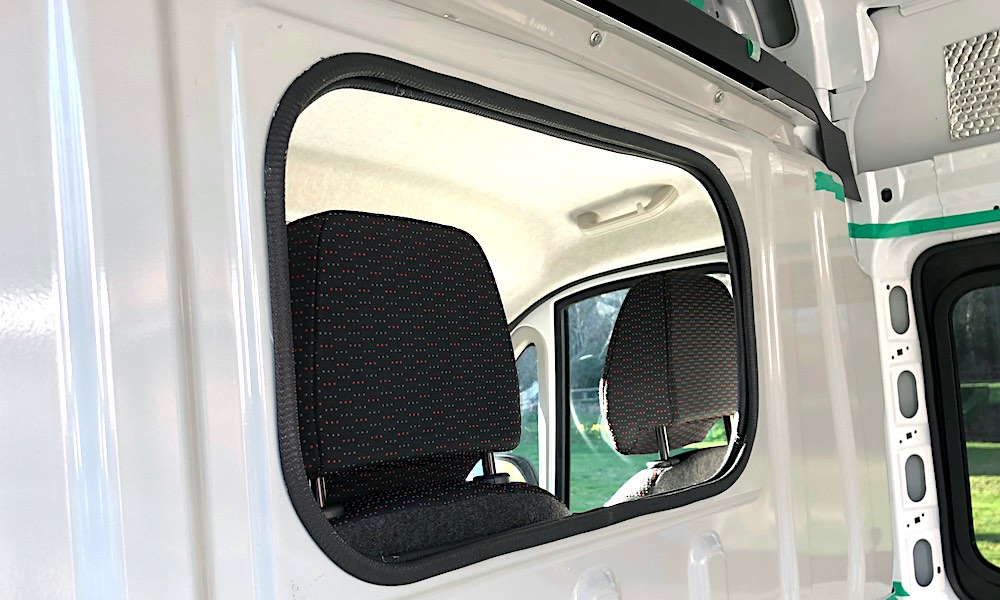
We took the bulkhead out of the van, which is held on with about 20 M6 bolts. It is heavier than it looks and has the trim panel hot glued on to it. The trim panel was removed by heating up the glue and peeling it off. We then cut a hole in both parts so that we can see out the back of the van when driving (even though we added a reversing camera). It also helps bring more light into the rear.
The plan is to add doors inside so that the bulkhead window can be closed. This will keep the heat and light from coming through from the cab. I also think that it makes the rear seem more separate from the cab and I didn't want to sit on a cab seat all day driving and then sit on the same seat to eat my dinner.
Floor Timbers & Insulation
28th Febuary 2020
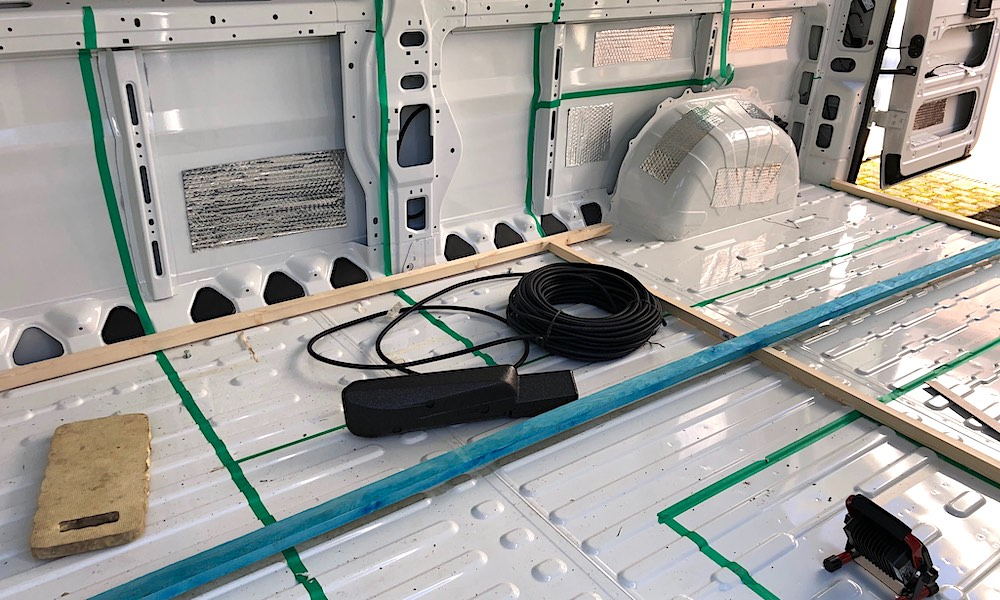
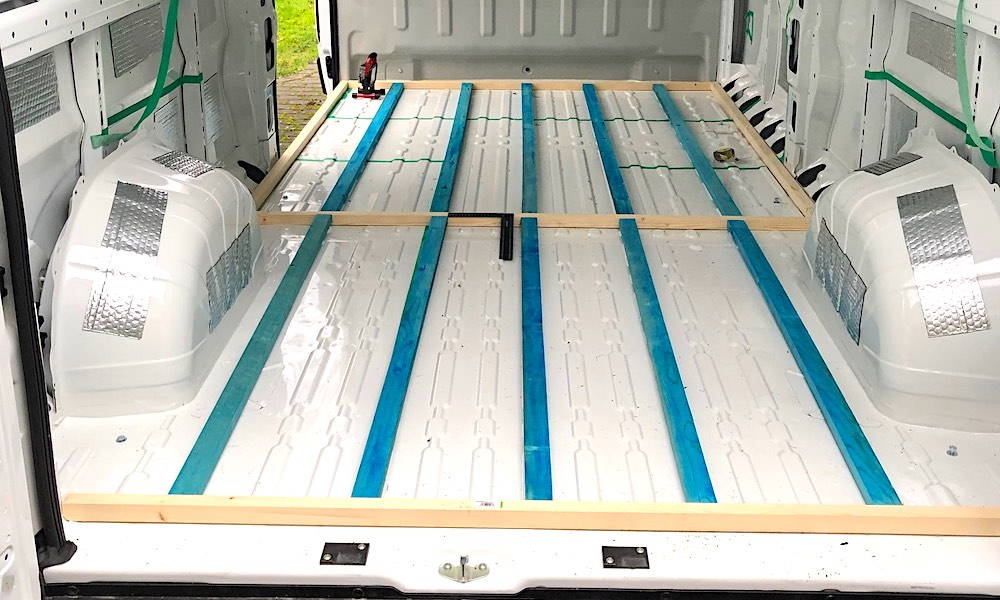
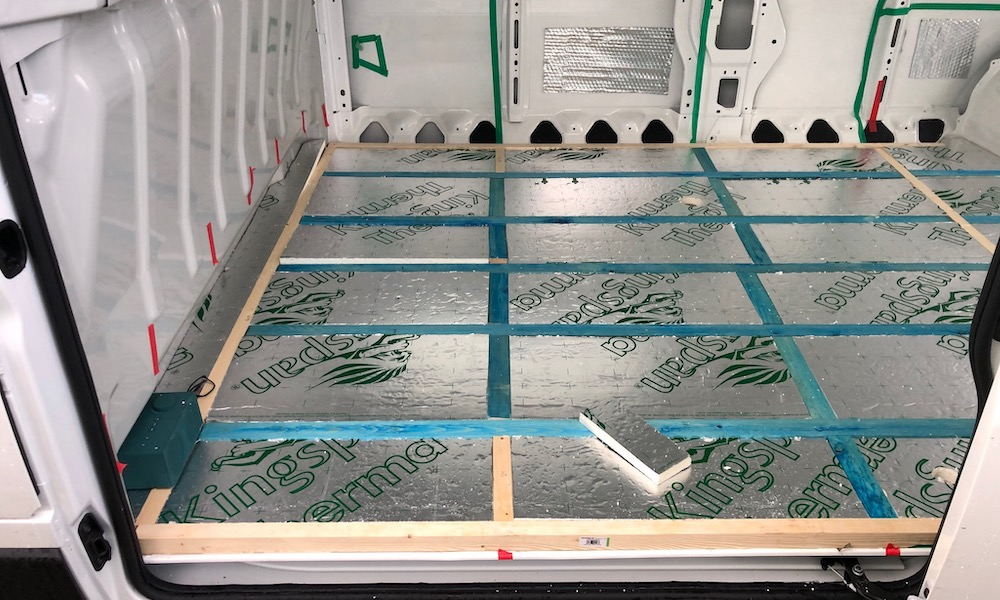
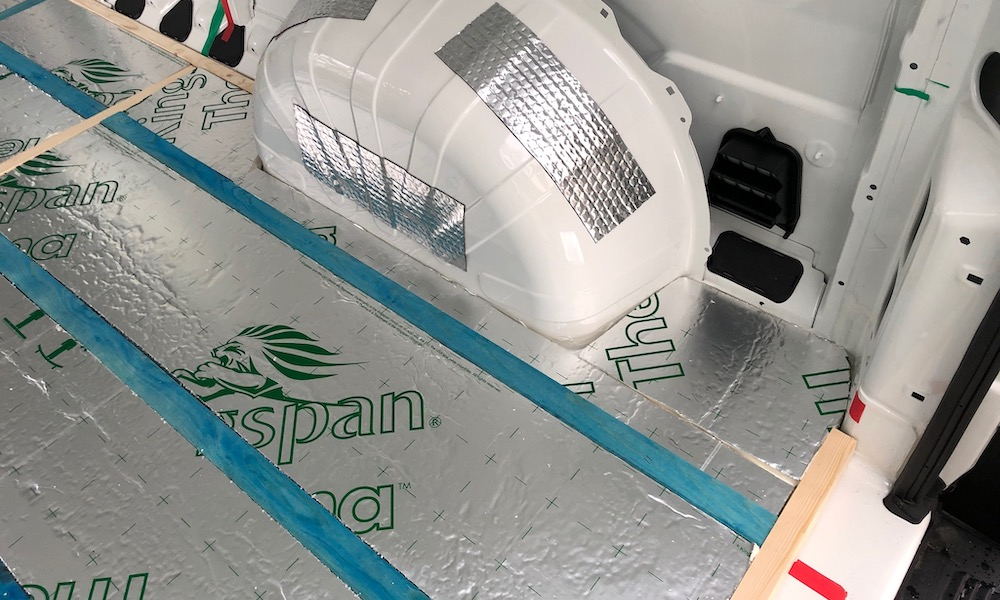
The floor insulation construction consisted of framework of wooden battens to support the floor and solid insulation sheets placed inbetween.
The battens were bonded to the floor with Sika and placed where the units were going and in the walkways. I used 25mm roofing battens (blue) on the floor ridges and 34mm timber where they were in the valleys.
The insulation sheets were cut to fit between the timbers and were there were gaps I used expanding foam.
Floor - Plywood Cut Out
29th Febuary 2020
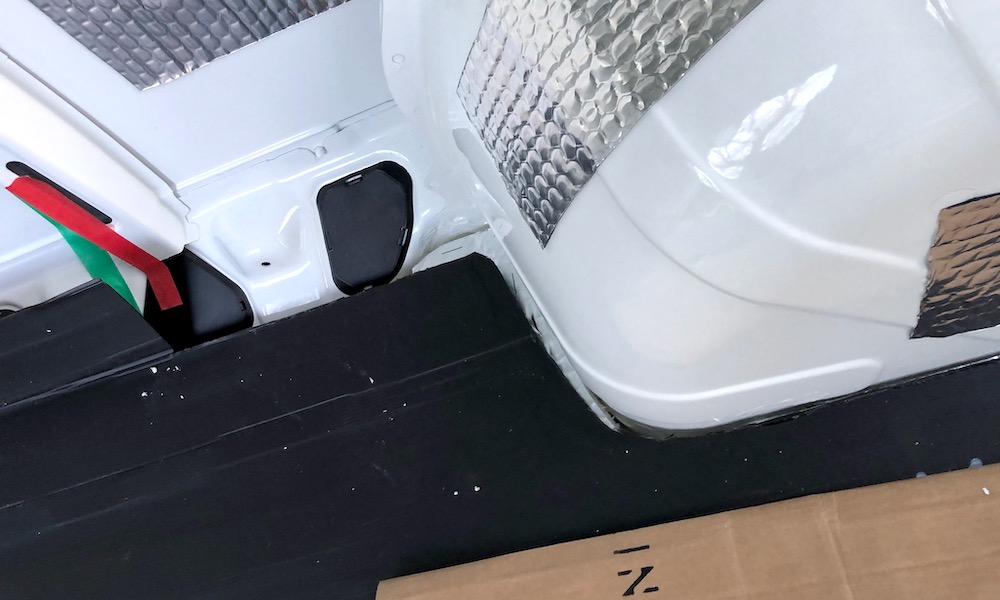
I used corrugated plastic sheet, which is sold as floor protector, to create a template for the plywood floor. This was easily cut and modified.
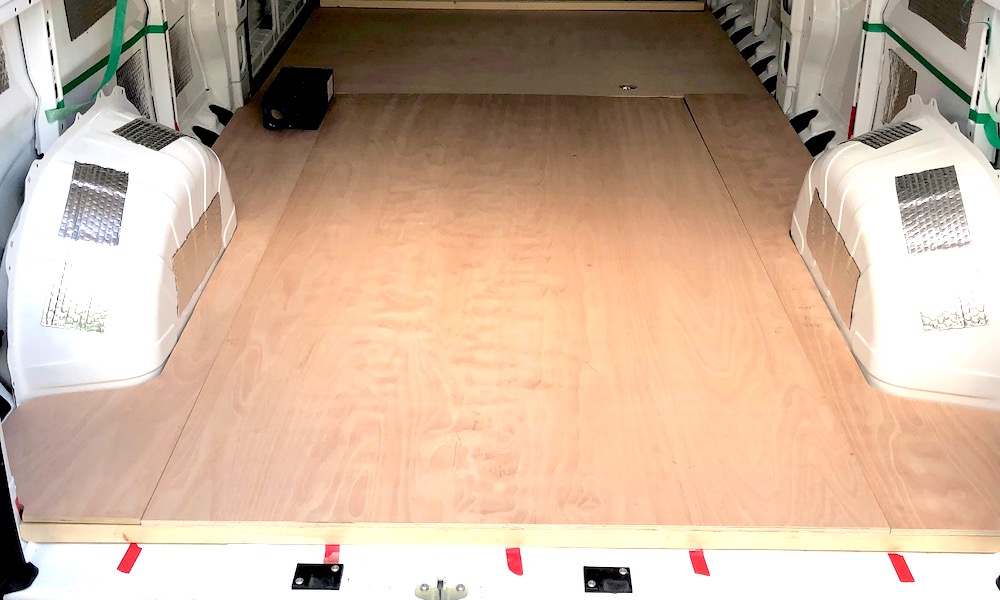
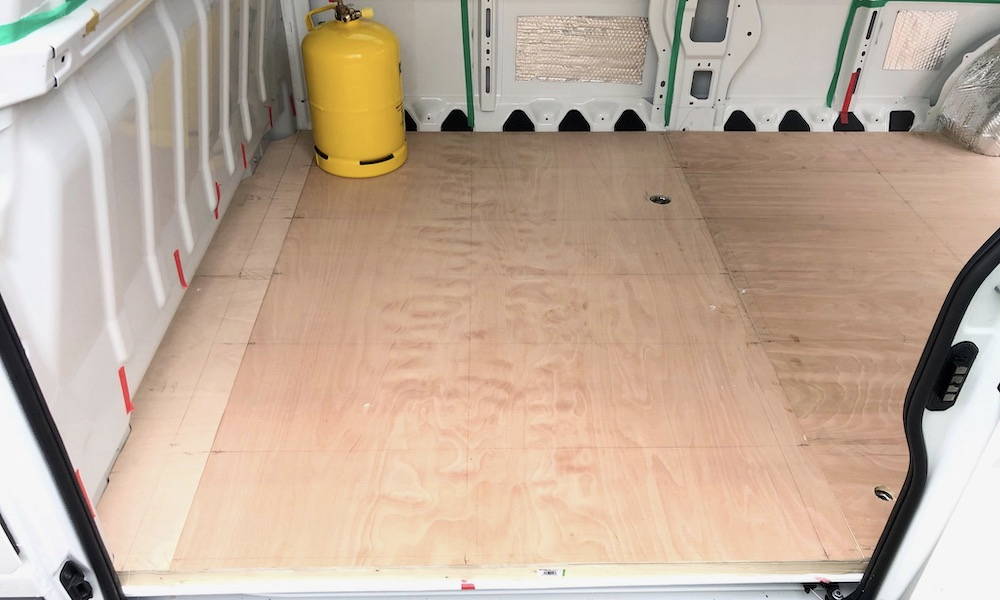
The 12mm plywood was cut to shape and laid on the insulation.
At this point I cut the holes in the floor for the gas dropout vents, heater and shower tray. This means I could treat the metalwork and foil line the holes through the insulation.
I also marked the wood under the ply on the top surface to make fixing it easier.
