Build Archive - July
Completing 2nd Tall Cupboard
10th July 2020
Continuing building the second tall cupboard on the door side.
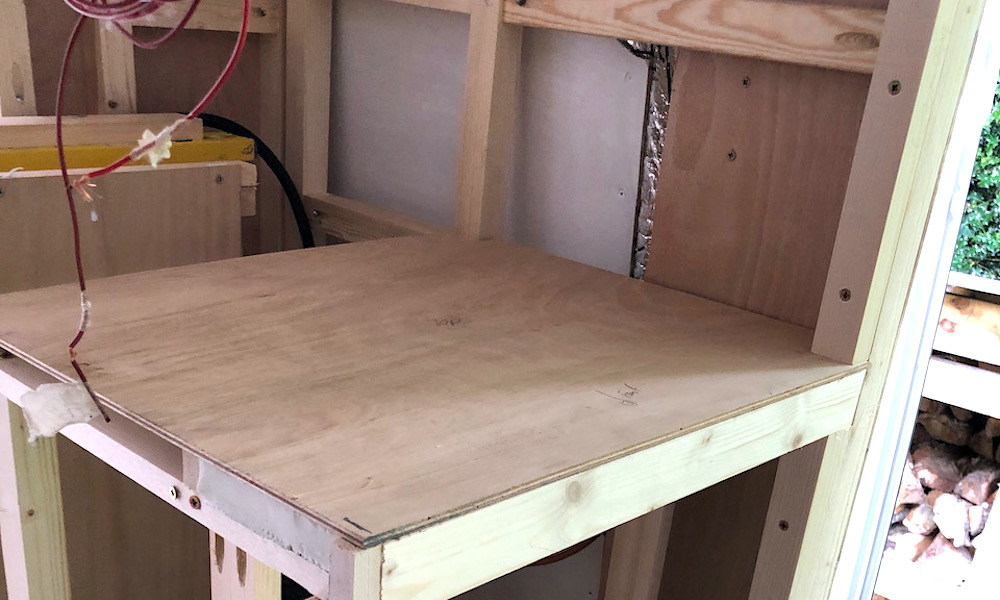
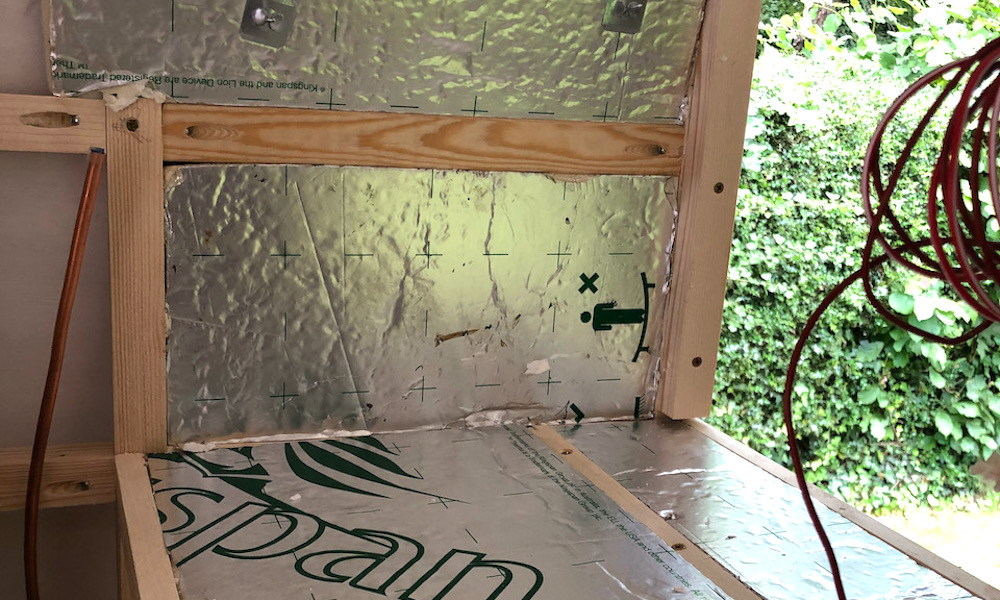
The final level was for the gas cooker. I used off-cuts of insulation to insulated between the fridge and oven I also added it to the side walls. There was a large gap at the rear and top of cooker to allow plenty of airflow. I added a vent at the bottom and top to ensure air could flow.
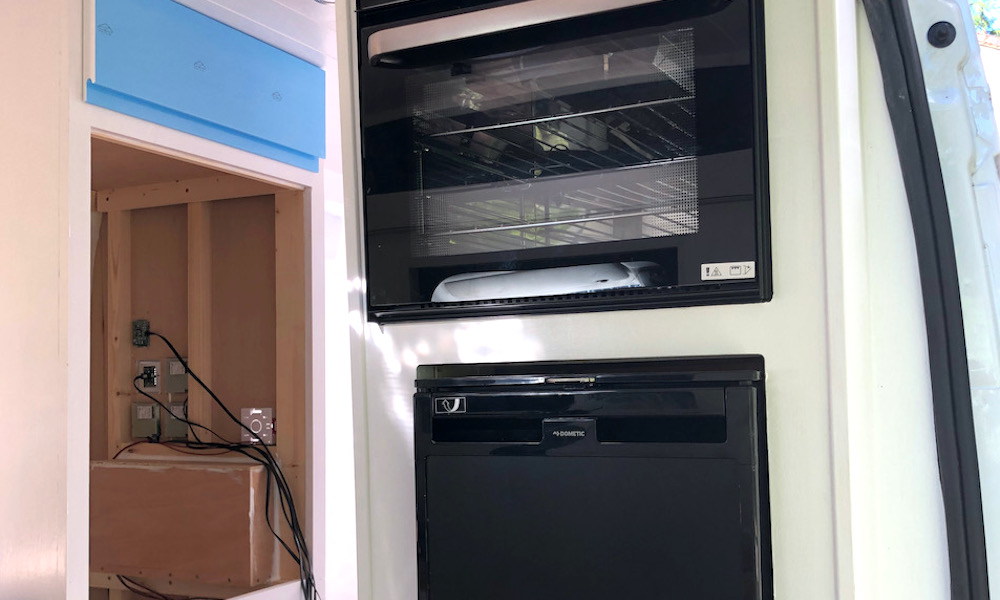
When the frame was complete I added the ply skin and then routed out the openings for the fridge and cooker to be flush with the frames. The fridge (Dometic CRX50) and oven (Thetford Duplex) both black and from Jackson Leisure.
Lots of cut-outs
12th July 2020
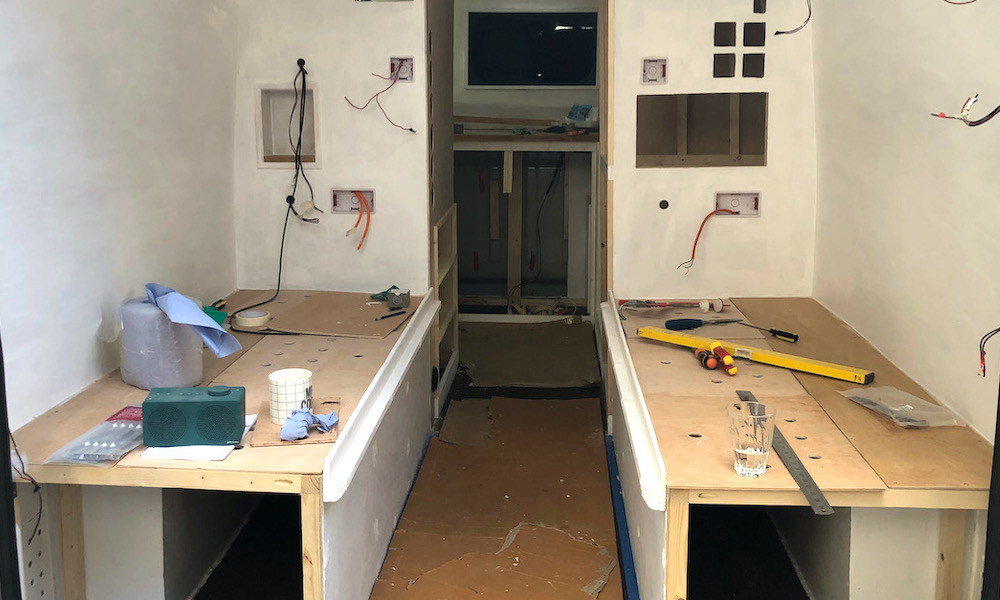
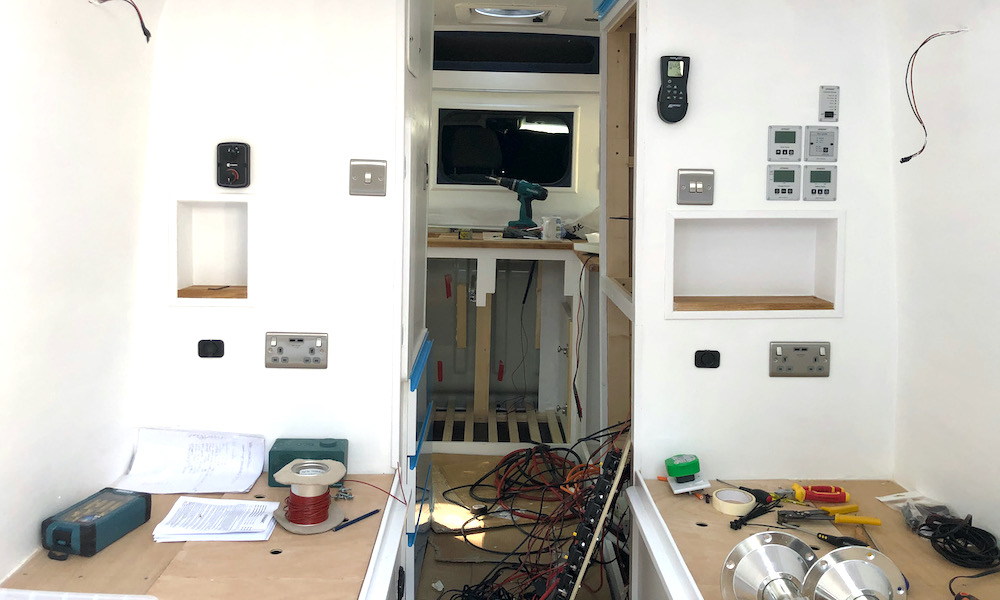
Now that all the lower cupboards had been framed and clad with ply I could begin the job of adding all the cut-outs.
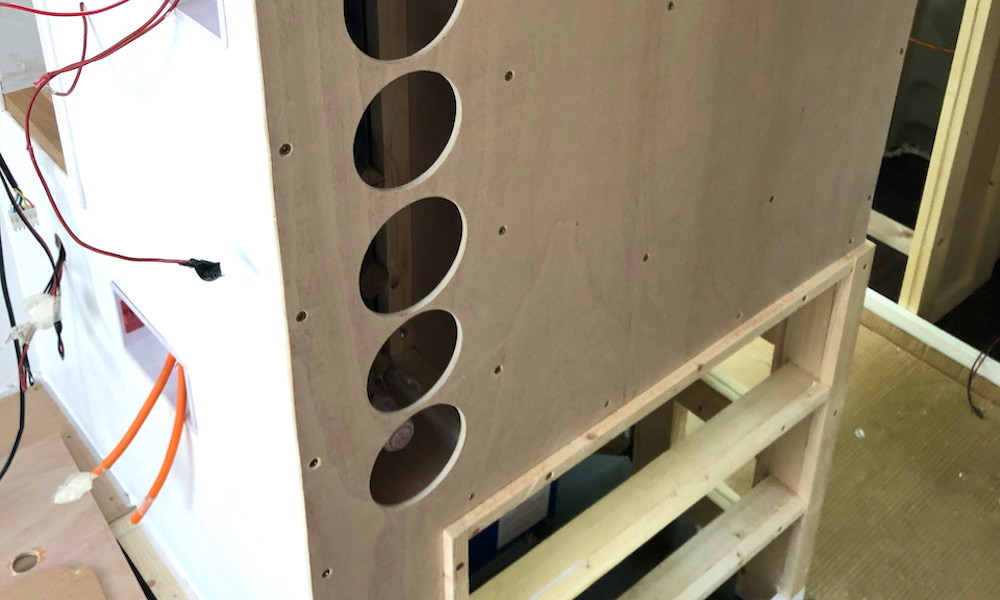
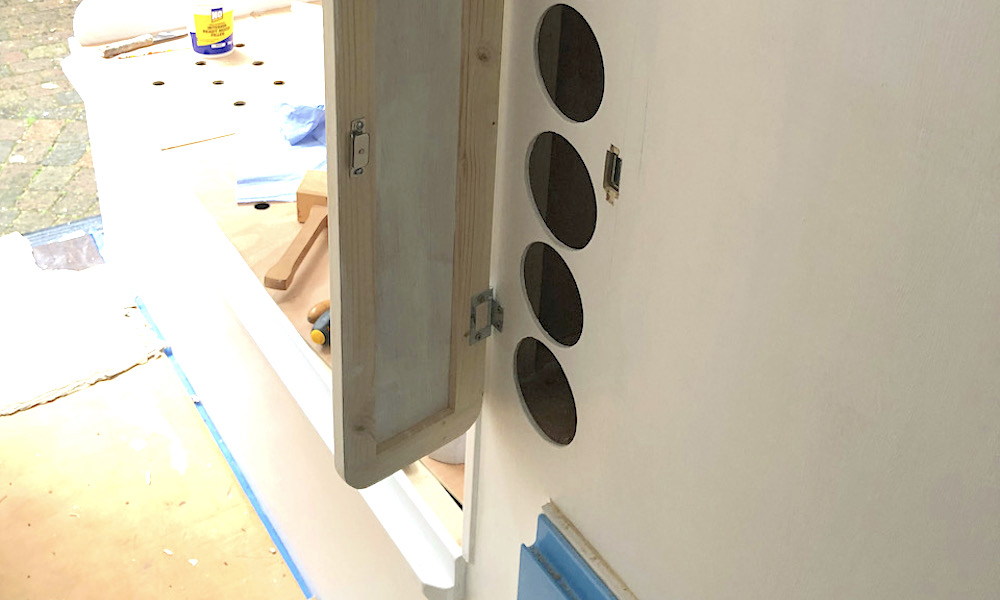
These would be for the wiring of the 240V and USB sockets, switches, shelves and control panels. One of the trickiest jobs would be the cut-out for the wine rack!
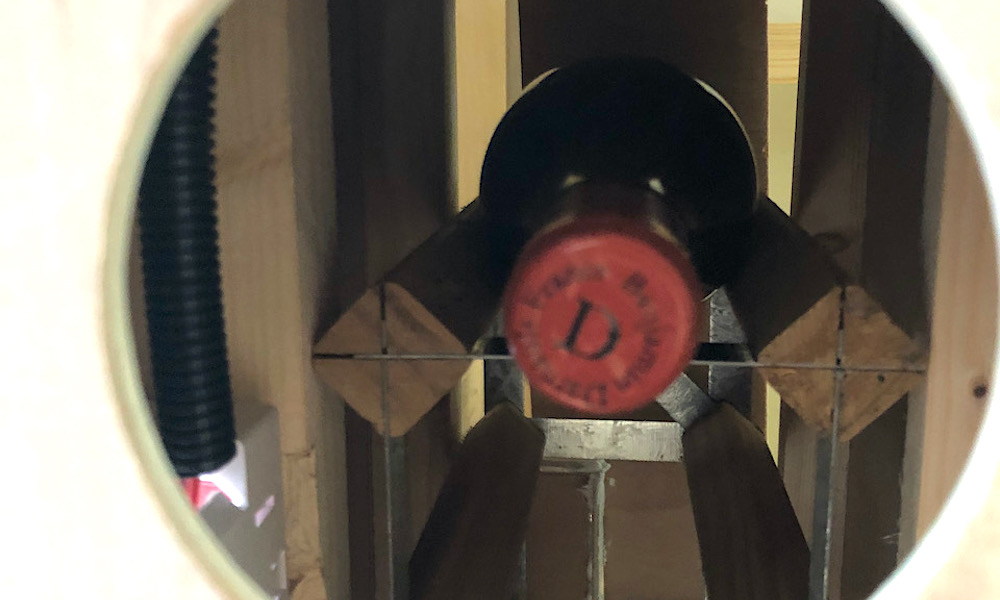
Until I planned the wine rack I had not really realised how many bottle sizes there were. The biggest was Champagne and the smallest Merlot. To avoid a very thin gap between the bottle cut-outs I opted for 3 Champagne bottles and 3 wine (Burgundy wine would have to go in the Champagne slots).
The wine rack was actually a proper wine rack cut to a single 6 bottle size and screwed in place behind the fridge (6 bottles and 2 white in fridge should be enough!). I added panels around it to box it in. The cut-outs were offset slightly to stop the bottles coming out. I did however decide to add a door, which I will add later.
Front Kitchen Shelf
12th July 2020
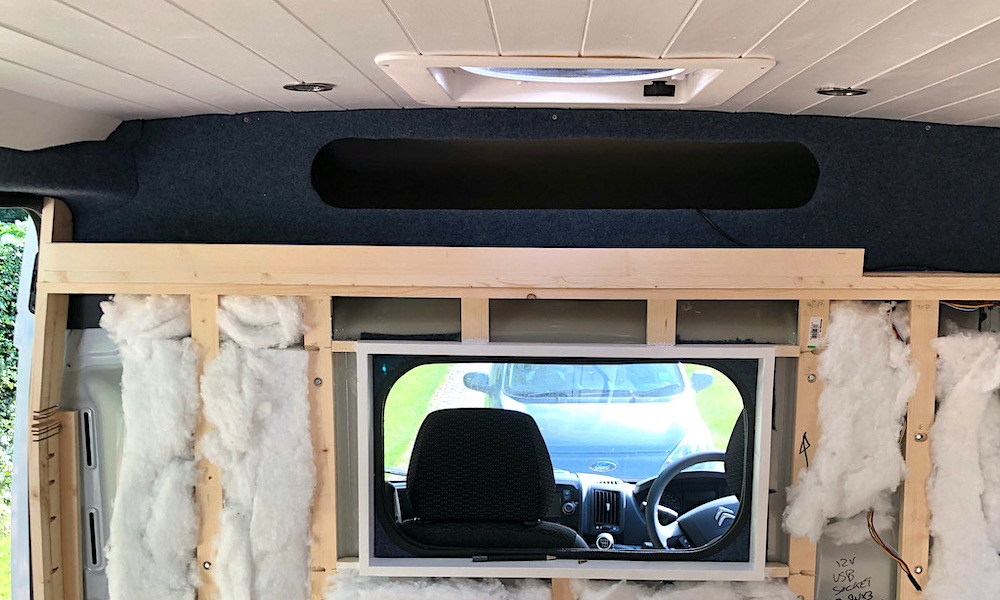
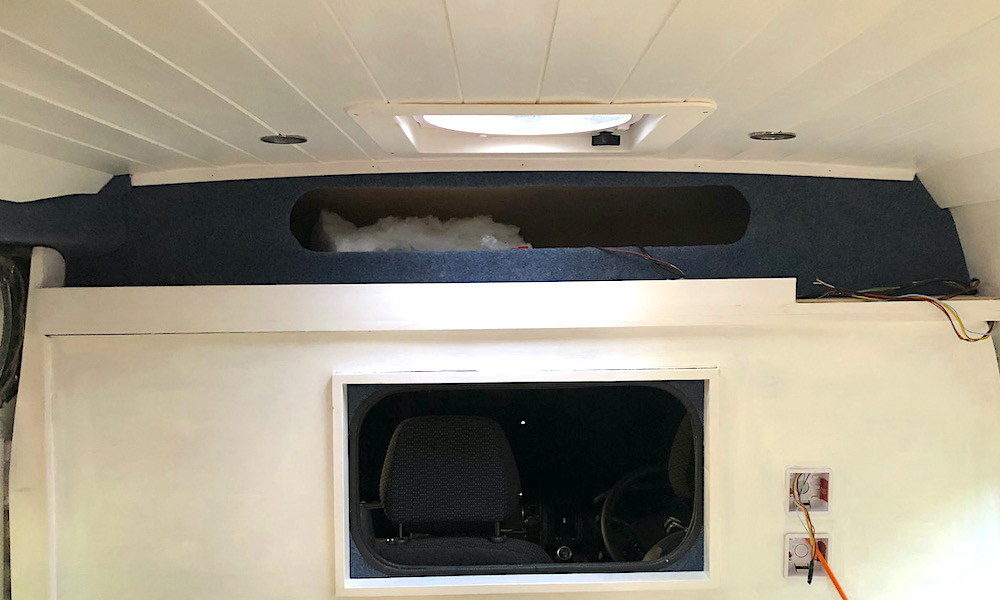
The area above the kitchen panel had a step which I was turning into a shelf. The finishing of the LHS at the door cause lots of head scratching.
The front of the shelf was easy as I added a front to stop things falling off and added a series of dividers so it was easy to pack mugs and jars in separate areas.
The LHS ended up being a shaped piece of wood that I had to bend by adding cuts, wetting and shaping in a vice. Another shaped piece of wood at the front helped bend the ply facing to give a good finish.
The RHS is stepped down as there will be a locker in the corner at some point.
Kitchen Worktops
13th July 2020
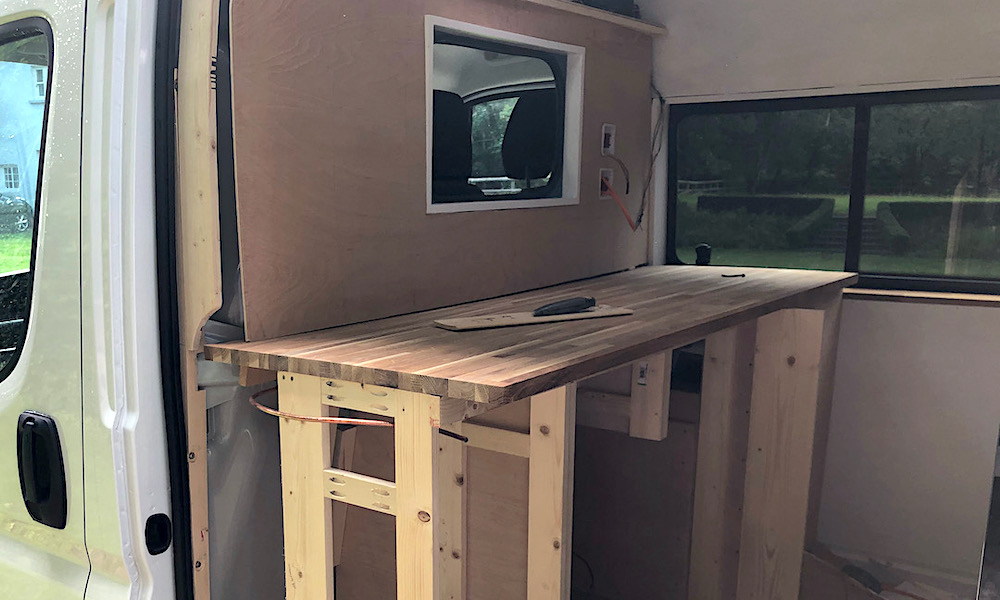
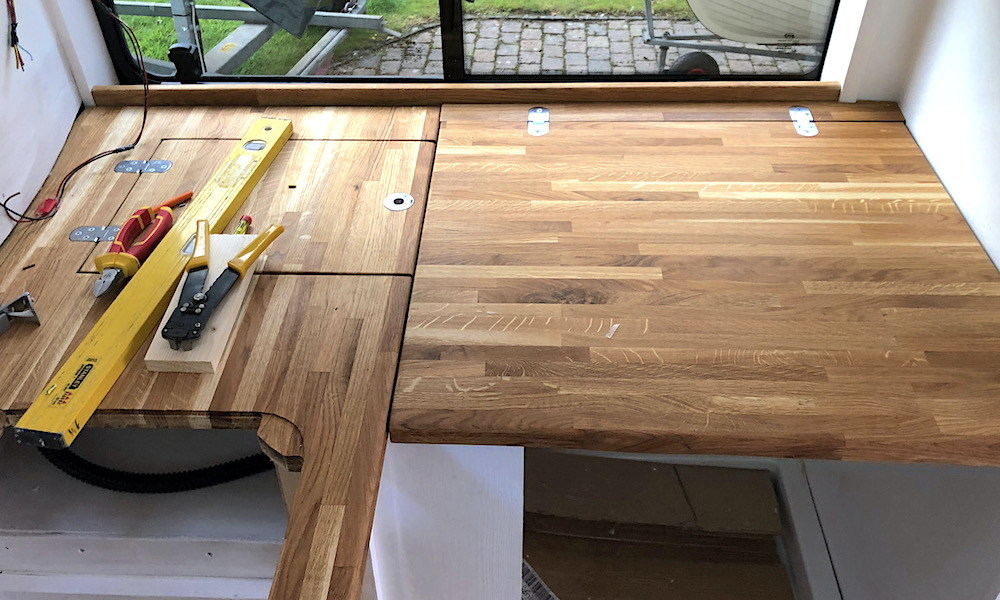
The kitchen worktop was in two parts. One long section with the hob and sink and a smaller side section above the toilet/shower.
We were using 26mm oak block wood to help keep the weight down.
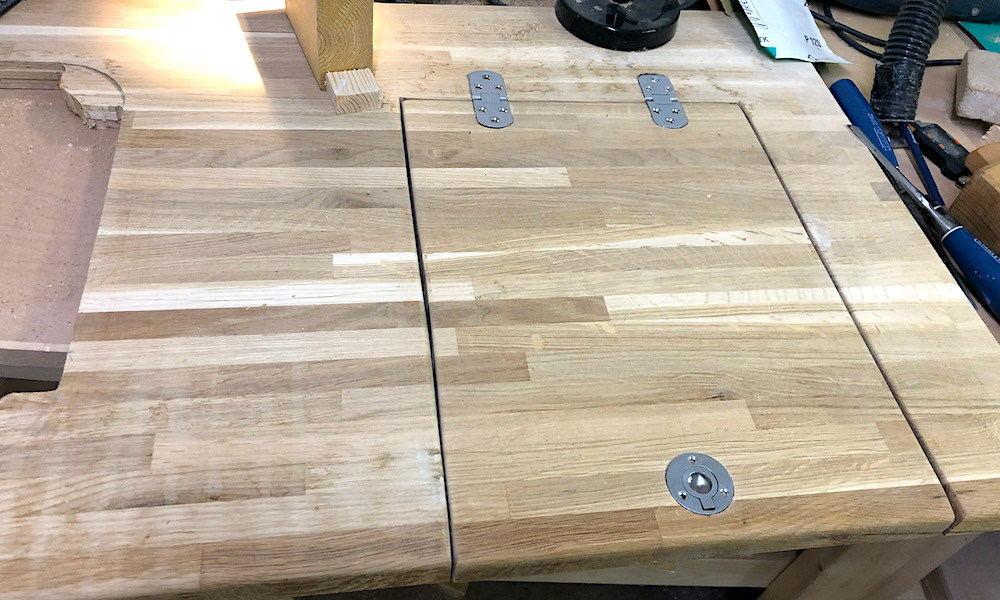
Due to the gas locker we had ended up with an area above it that was wasted space. To aid access I cut a door into the worktop to allow top access.
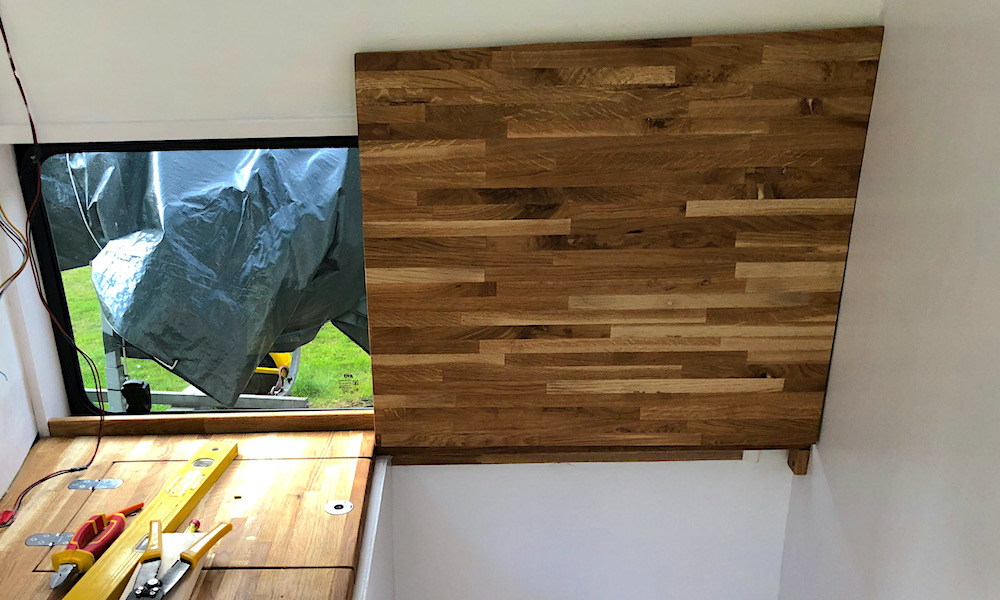
The shower/toilet top was hinged at the rear where I had added an upstand to stop anything from falling on to the window ledge. This void also gave us somewhere to tuck the curtain out of the way.
Mattress
16th July 2020
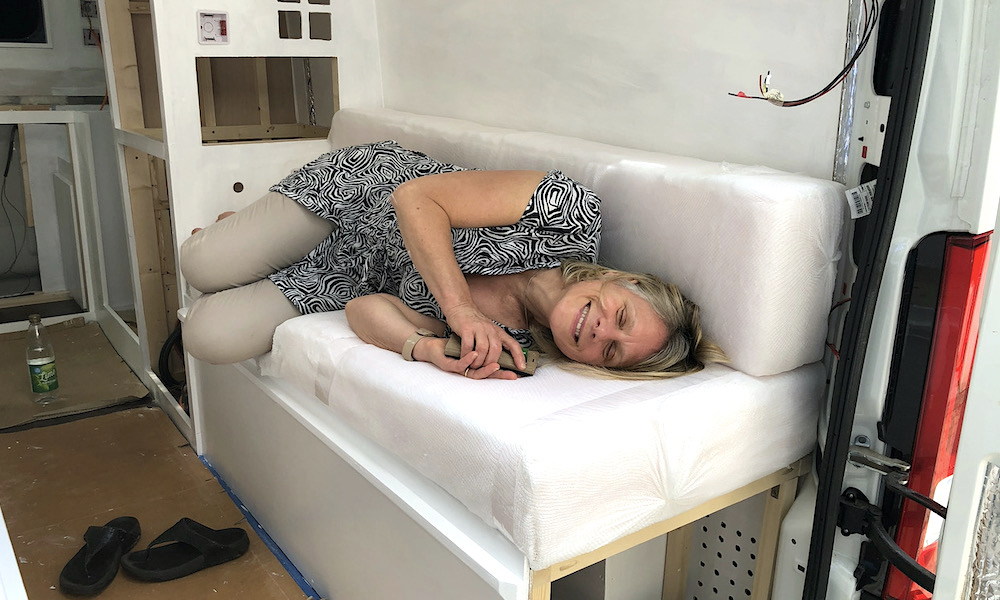
The mattress arrived and Ruth had to test them!
We had ordered cut to size foam mattresses from eFoam. They have many foam grades and will foam wrap the edge and socking net them for a small cost.
We had chosen Reflex Superior (medium) grade we had 100mm thick foam. 600mm wide sides and 300mm backs to infill when converted to a bed, to make a 1800mm x 1500mm bed.
Rear Lockers
18th July 2020
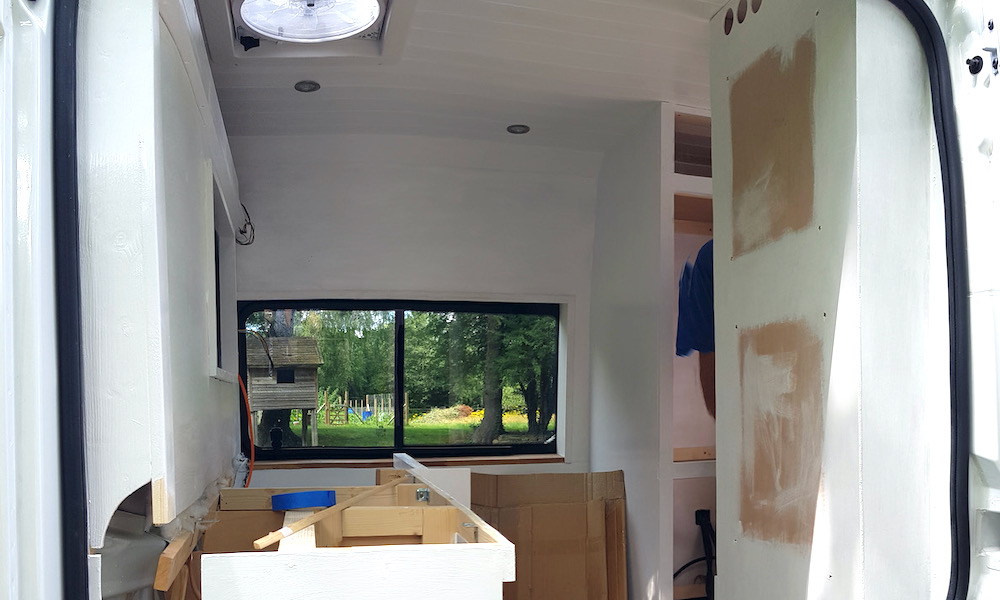
To stop stuff falling out when we open the rear doors I added endplates to the lockers under the bed. These endplate would also hold the mattress in place.
Holes large enough to get at the chairs and toolbox were cut in the plates. On the LHS the cover would be made of the small section needed for the bed. This made a perfect storage place as this bit of wood is only need when the bed is made up and is on the normally closed side of the door.
The outer side had a hinged door made with a simple catch to keep it closed. All to be painted in white gloss.
Rear Trim
19th July 2020
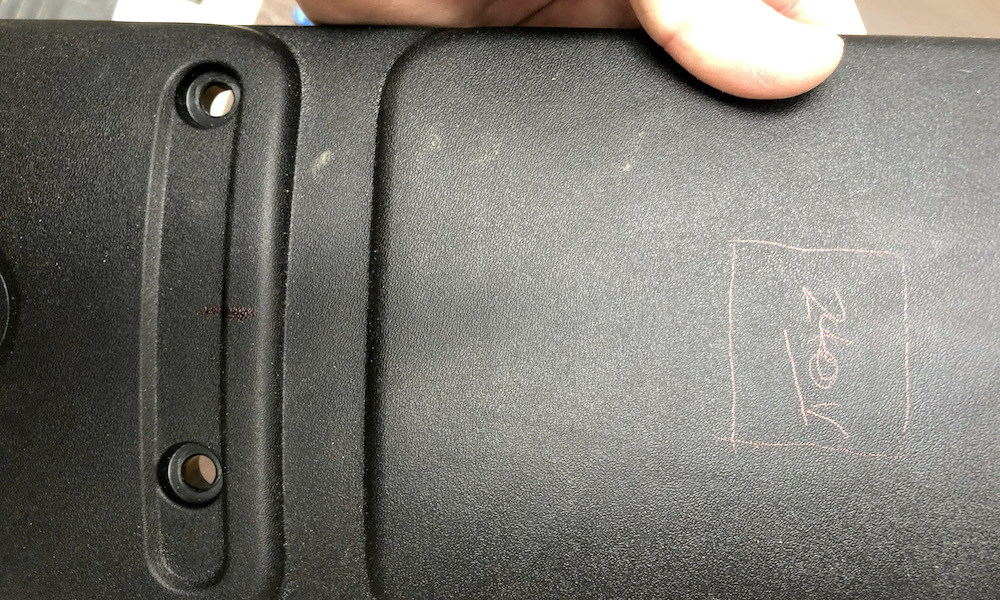
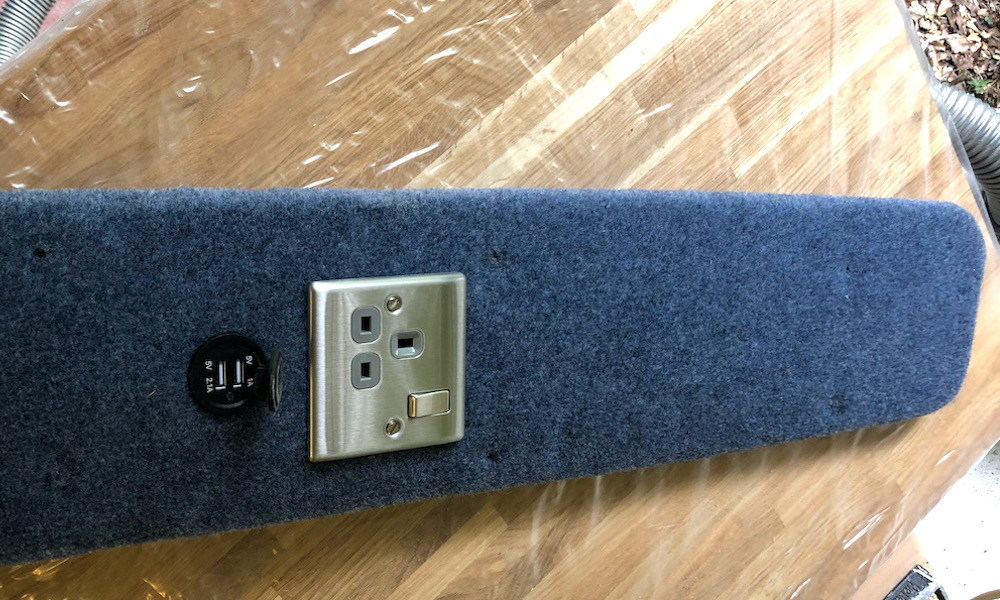
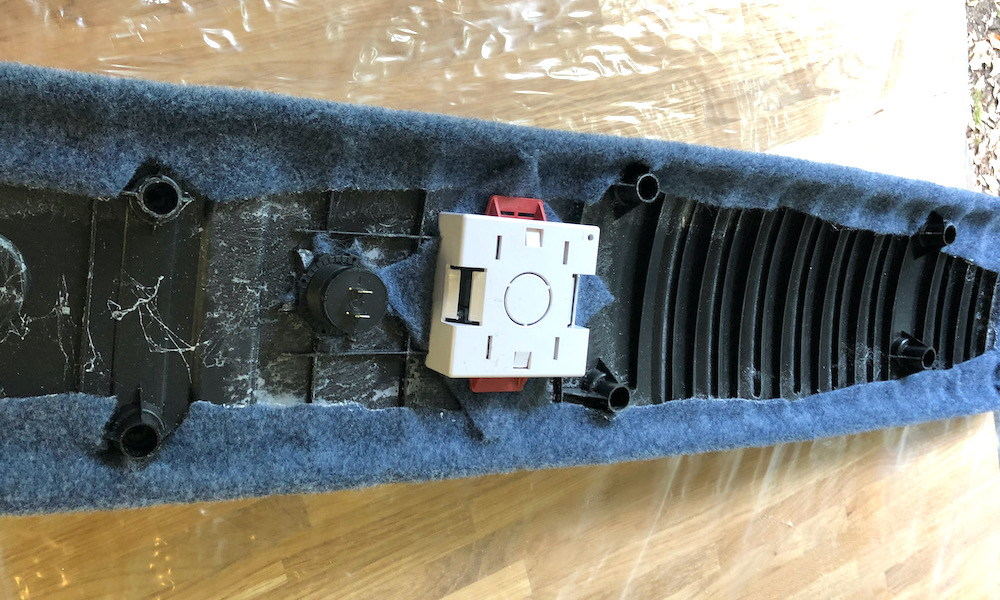
The large black plastic cover plates at the rear were going to be used as mounting plates for a single 240V AC socket and a twin 12V DC USB port.
To make them look nicer and to blend them in with the colour scheme they were covered with 4 way stretch carpet. To aid the smooth finish and to stop the carpet getting back dirt lines where air goes through the carpet, I covered the whole thing in 3mm closed cell neoprene before adding the carpet.
The panel can still be removed to get to the rear lightbulbs.
Rear Doors
20th July 2020
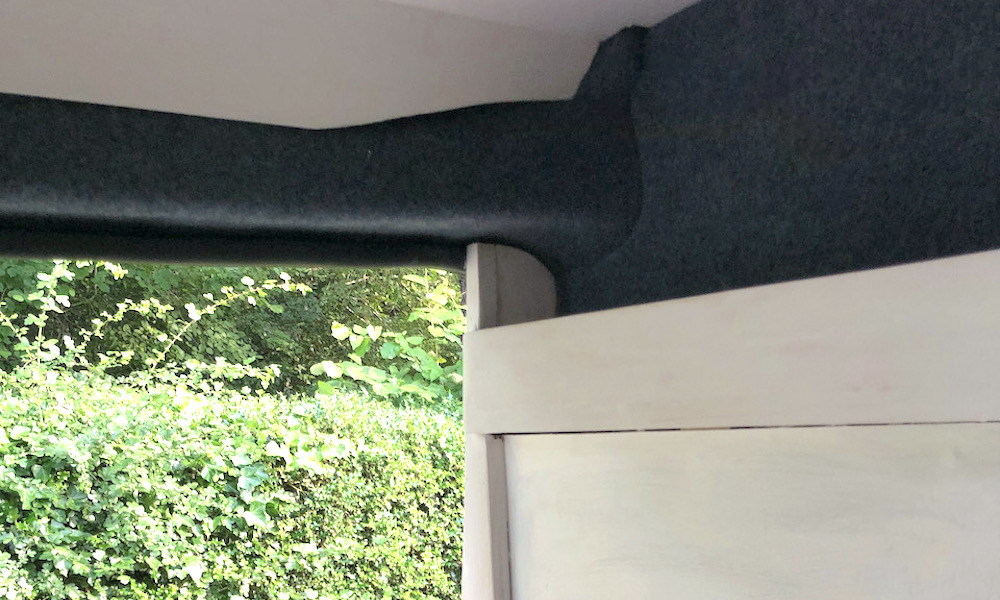
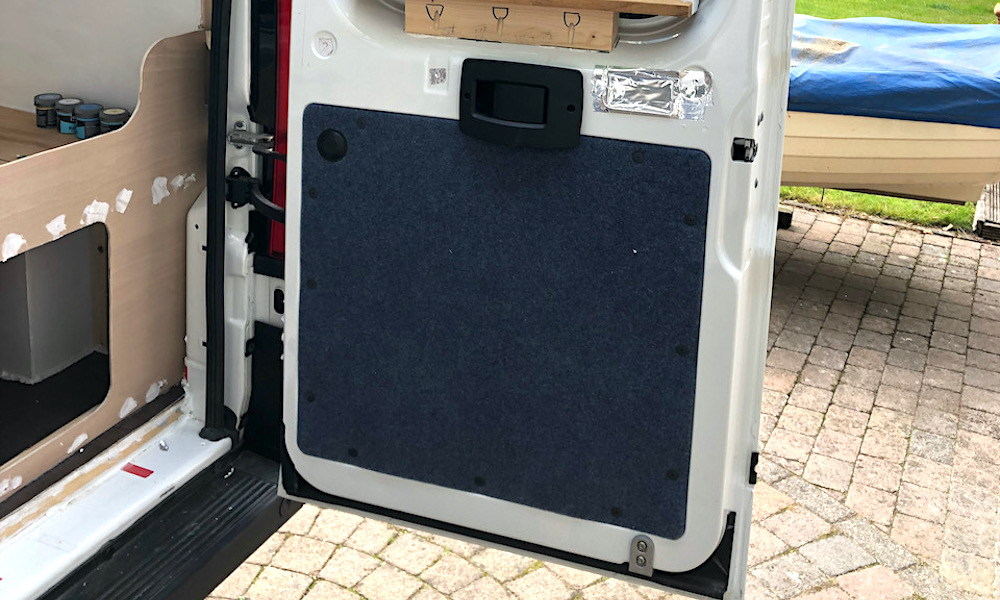
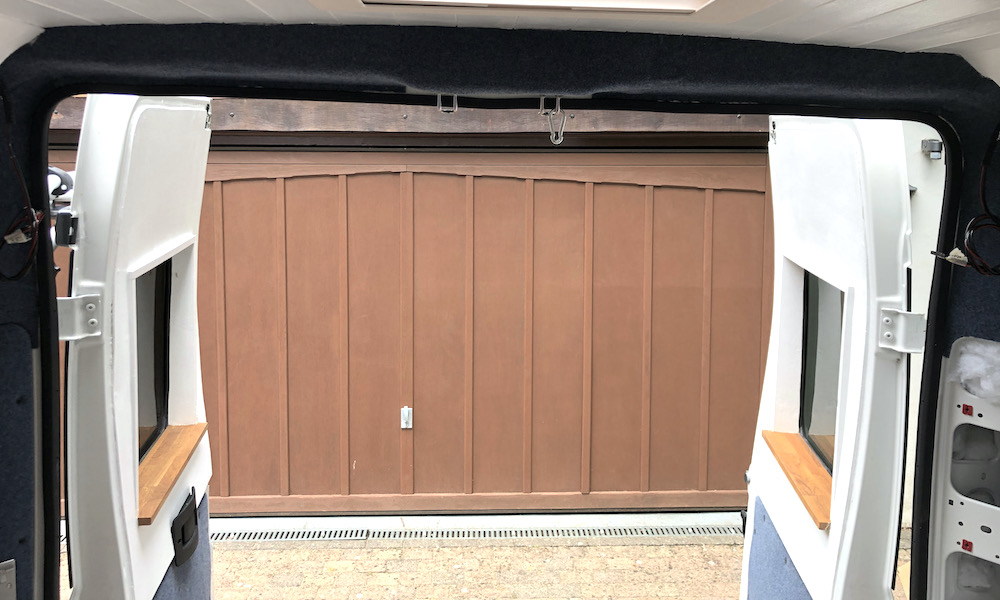
The black trim panels were covered in 4-way stretch carpet.
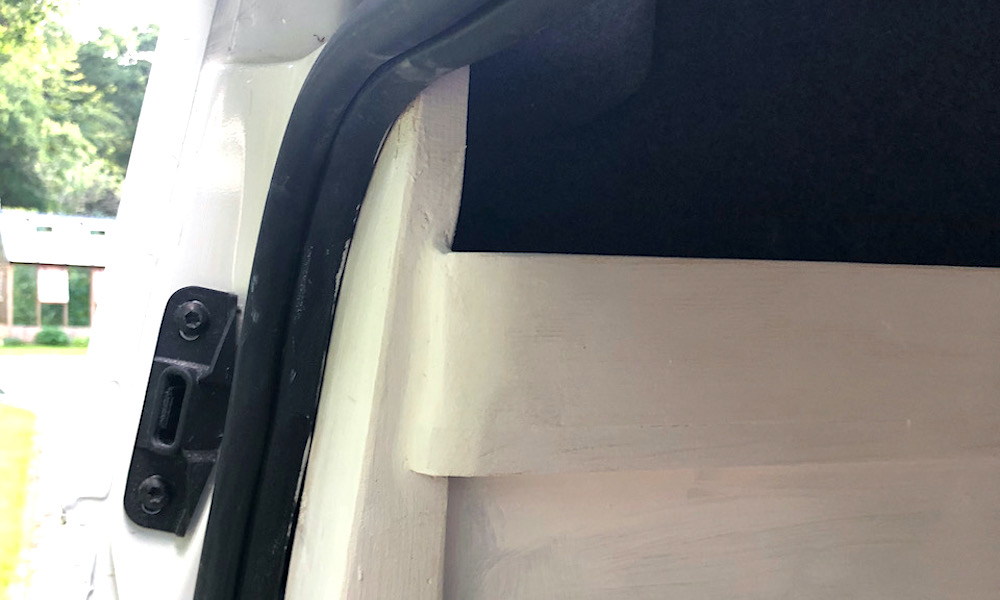
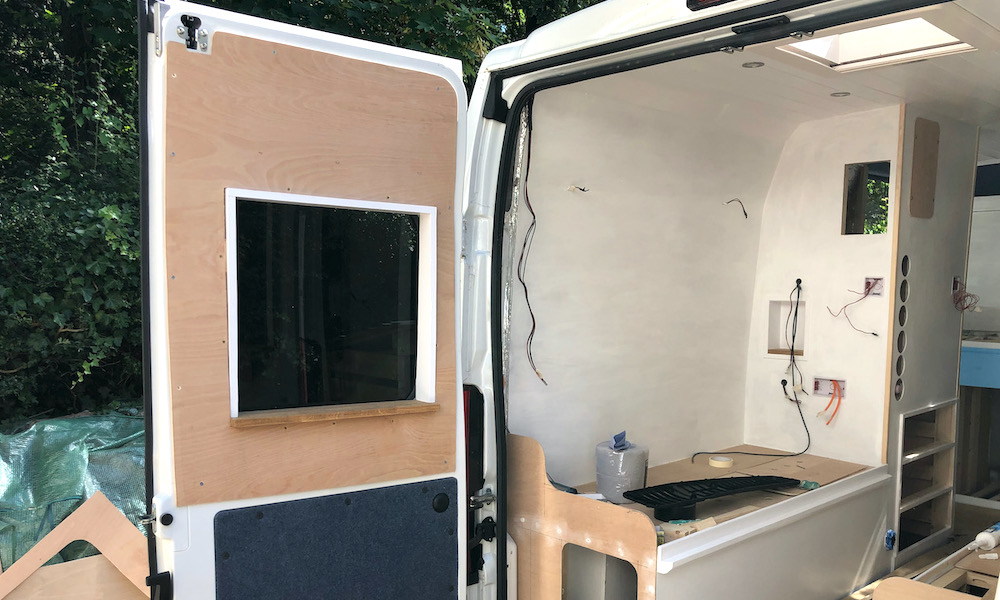
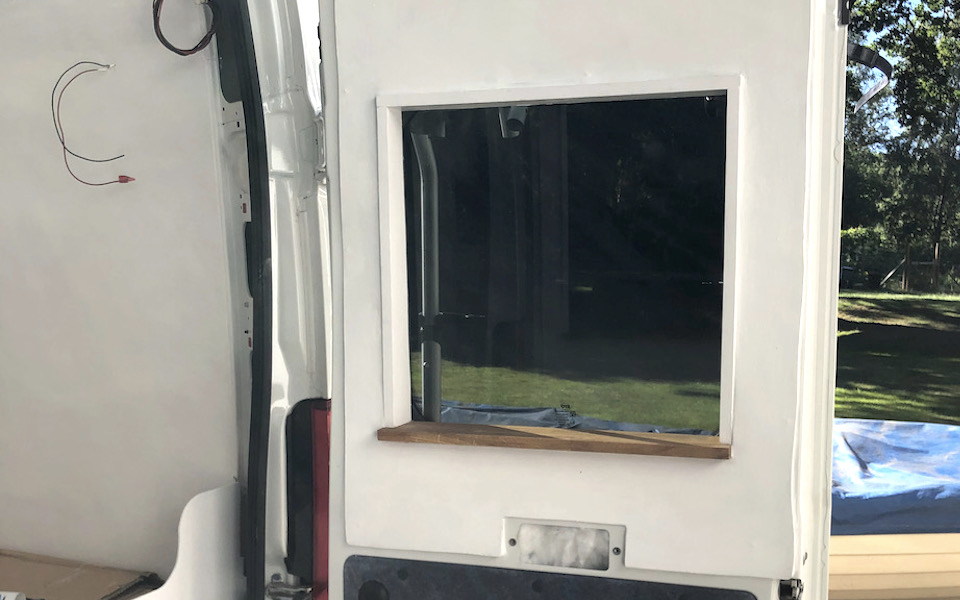
Around the window frames 5.5mm ply added, it was cut as close to the rubber seal a possible. This was screwed to the door and the frame. It was then painted white and the edge sealed to stop water getting behind it.
The gap around the frame and door was filled with insulation before it was attached.
Cushion Covers
24th July 2020
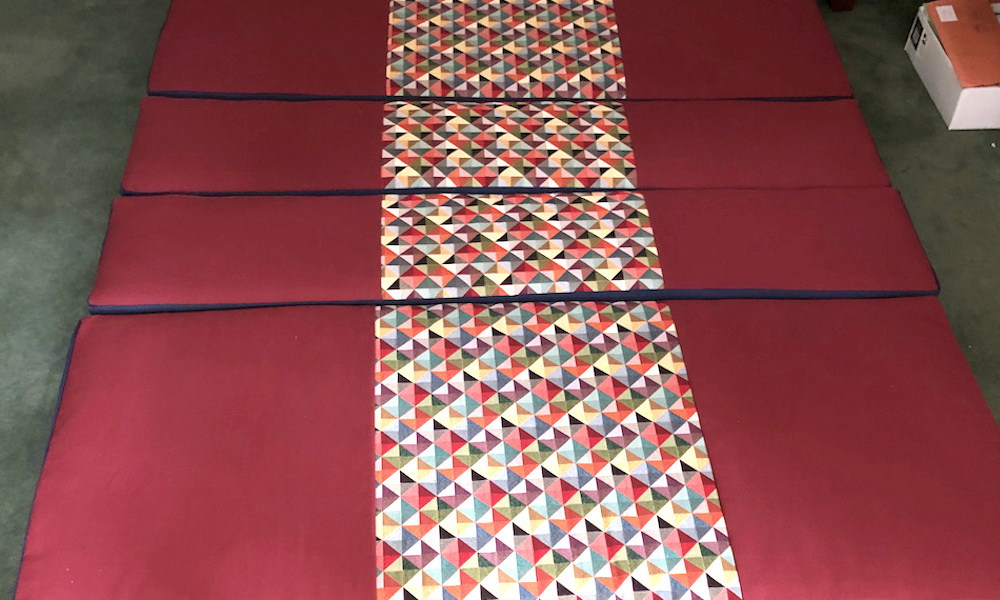
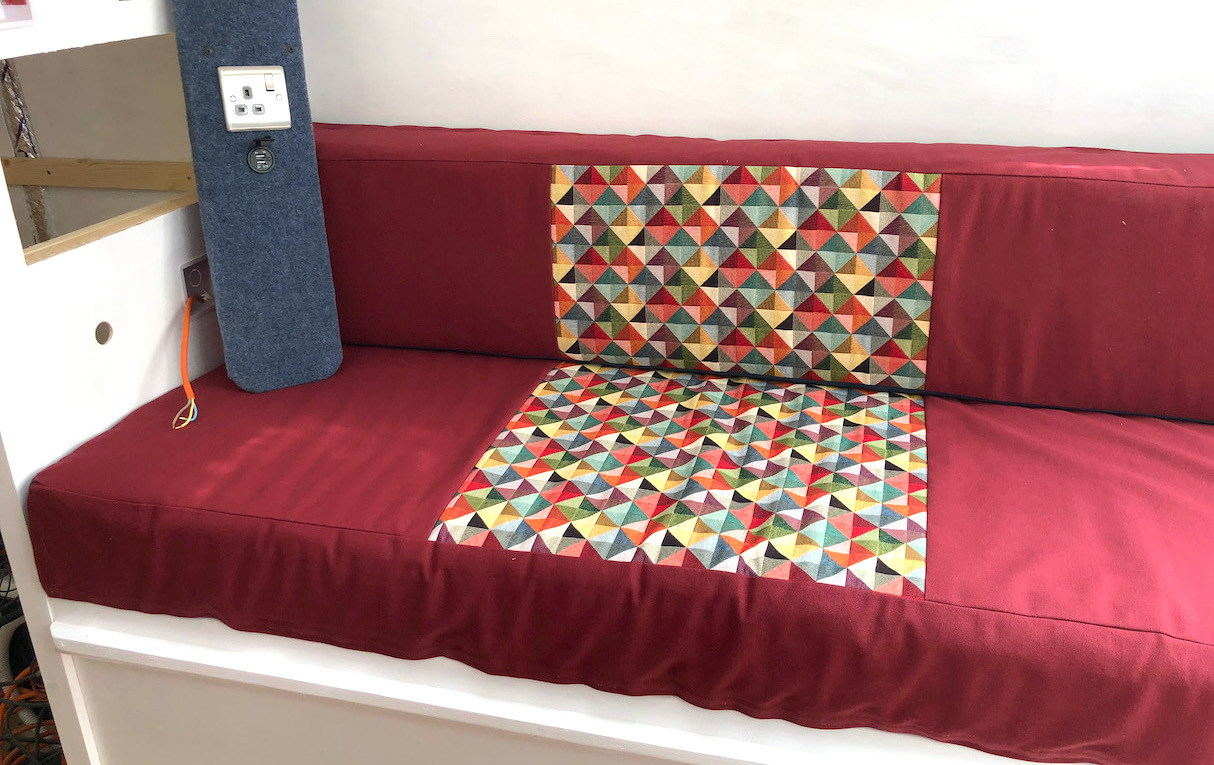
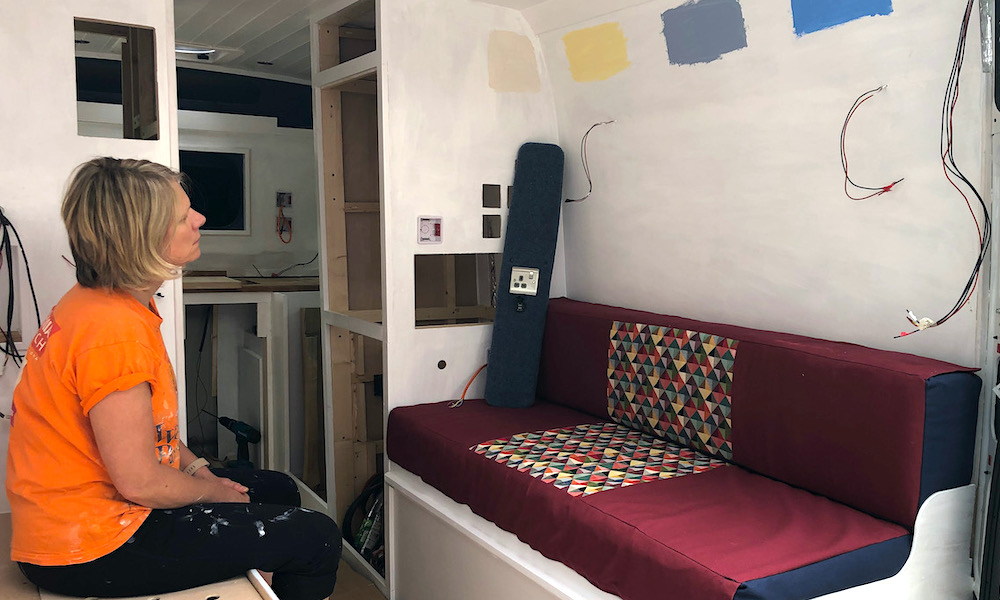
Ruth made removable covers for the mattresses. We had opted for a basic white design so the material had to add a bit of colour.
We chose a red and blue base material with a multi-coloured insert. The mattresses were reversable so we could change colours.
The multi-colour section was to try and tie the colour of the 4-ply carpet and blue fabric together. It also complemented our mosaic tiles for the kitchen.
Ruth is trying to decide on a colour for the rear walls (we didn't pick any of these).
Drawers
26th July 2020
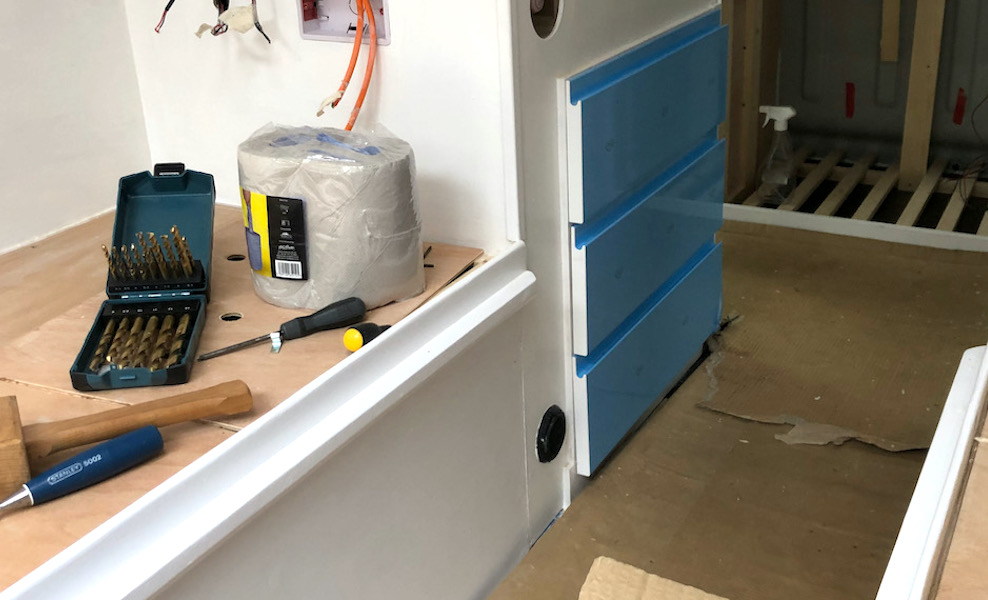
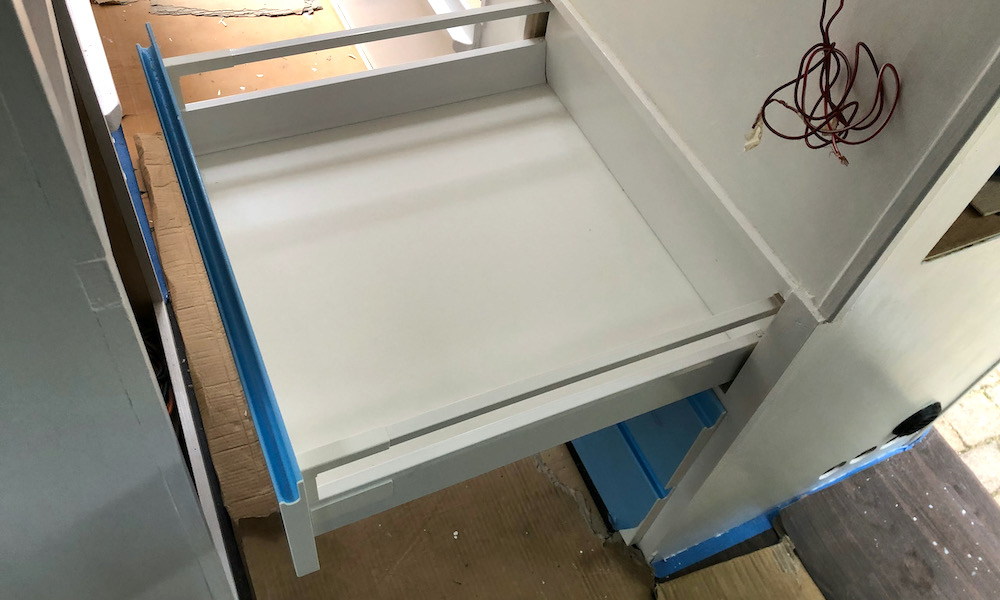
We were using IKEA drawer fronts for all the cupboards. We had chosen the J top style to keep the number of projecting object to a minimum. In a tight van the last thing you need is to catch yourself of a door knob.
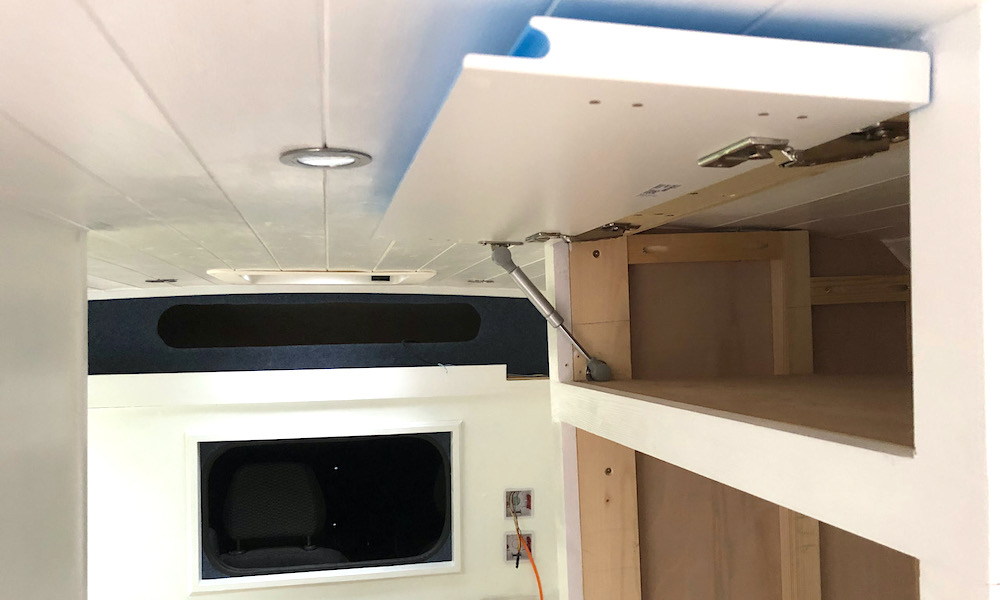
I added a small gas struts from Euro Direct to the top horizontal doors, they were 50 N force which was perfect and only 150mm long.
The main set of 3 drawers fitter perfectly across the walkway, with enough room to get them out for access to the heater.
I also added the door for the wine rack.
More Wiring
27th July 2020
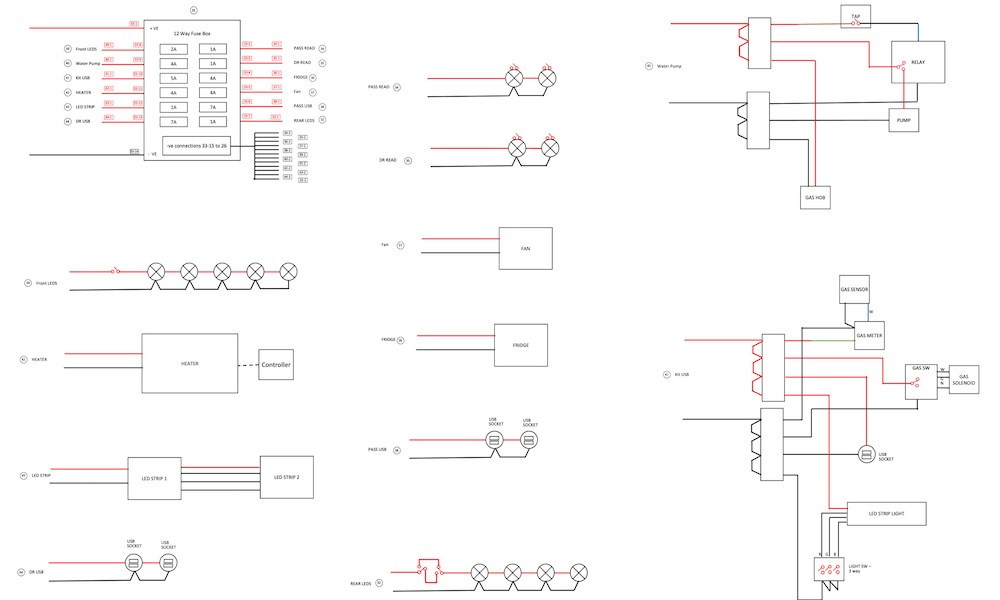
It was now time to tackle the wiring up of all the devices. Having spent ages on the main wiring diagram and layout it was time to see if it worked.
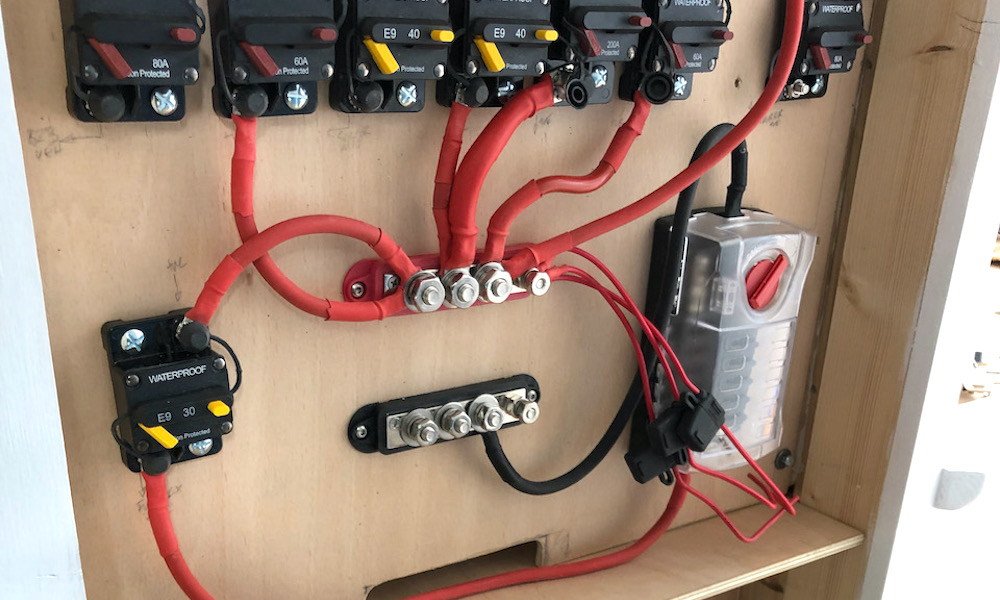
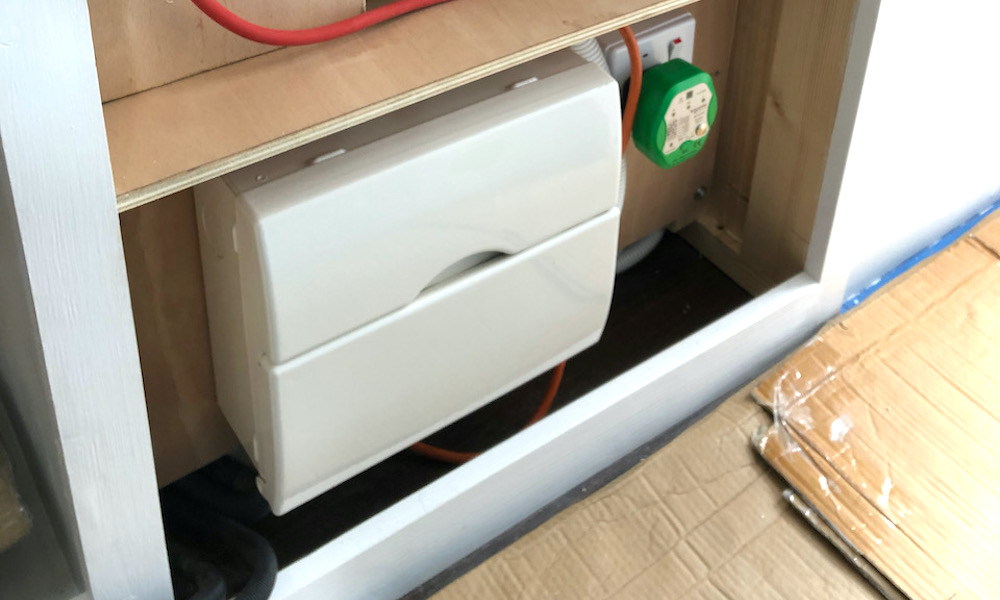
First I installed the DC distribution board and the Mains consumer unit in place. I then connected all the control panels, lights and sockets.
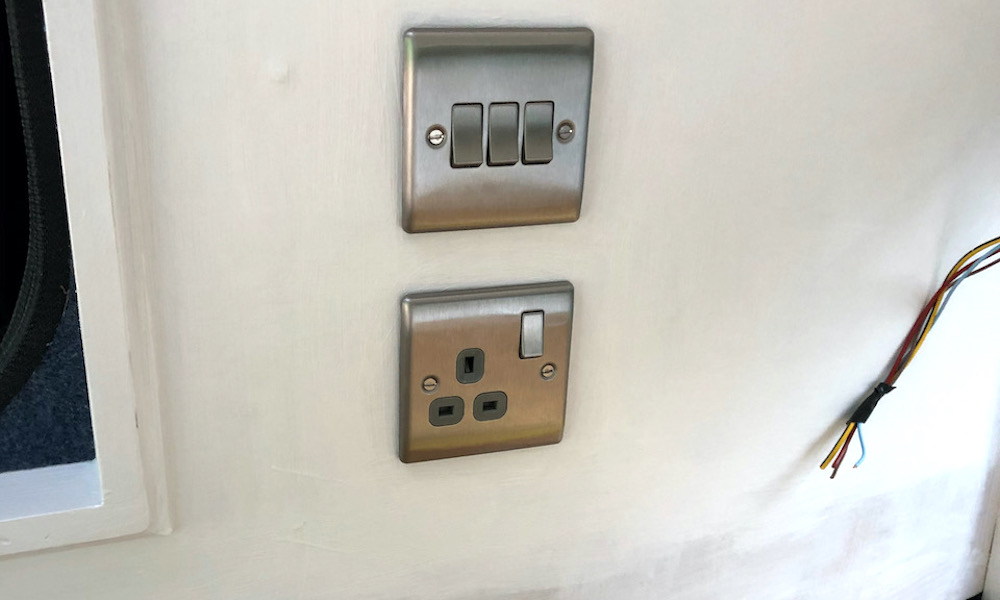
We had a rather strange switch for the front LED strip over the kitchen area. I had bought a 5m length of multi-coloured LEDs with WIFI controller for the area over the bed and had enough for the kitchen but no controller. So as the lamps are actually 3 colours with different voltages to get a mixed colour, I fitted a 3 switch panel with 1 switch to each earth line. So we can get R, G, B or R+G, R+B, G+B and white light!
I also recorded all the circuits that go back to the 12 way fuse box.
